desk34

The making

From billet to final wax

01

Selecting the timber

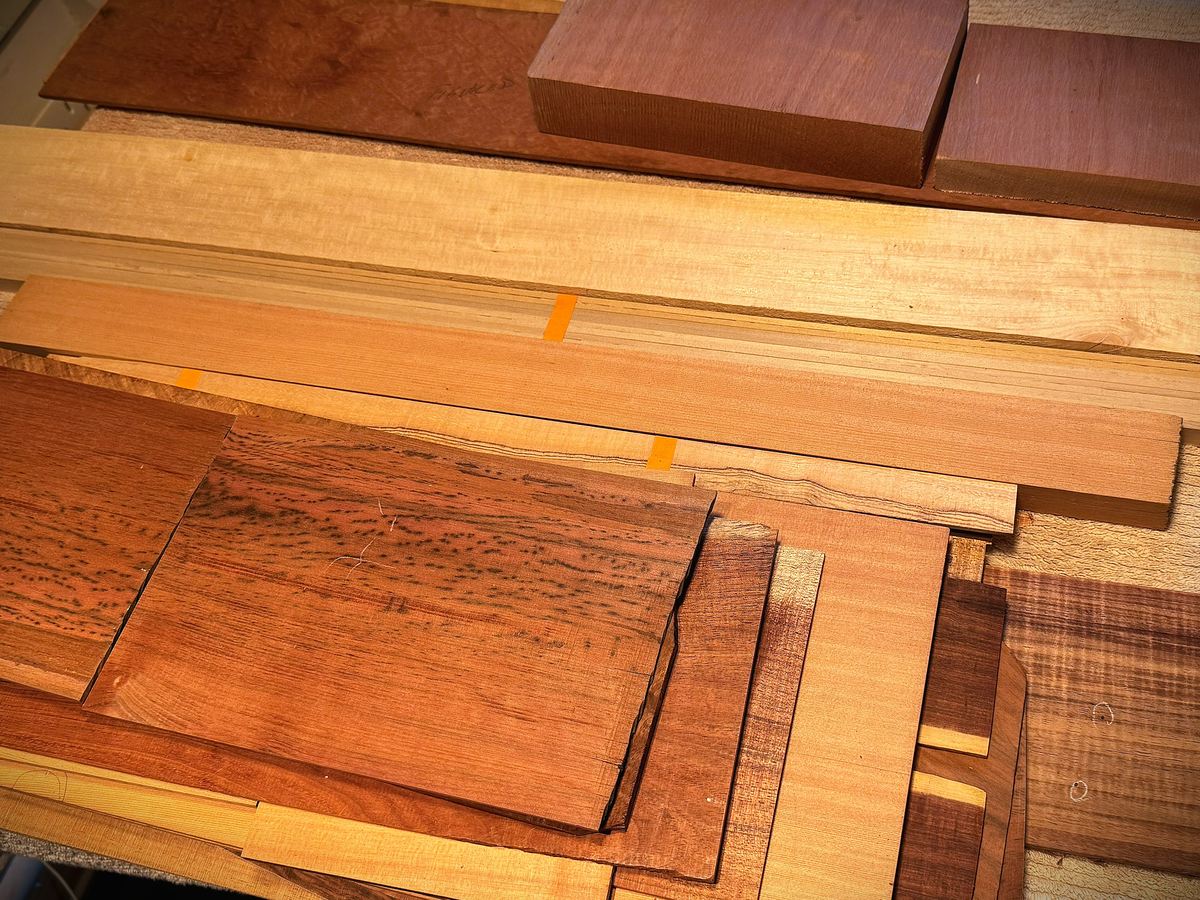
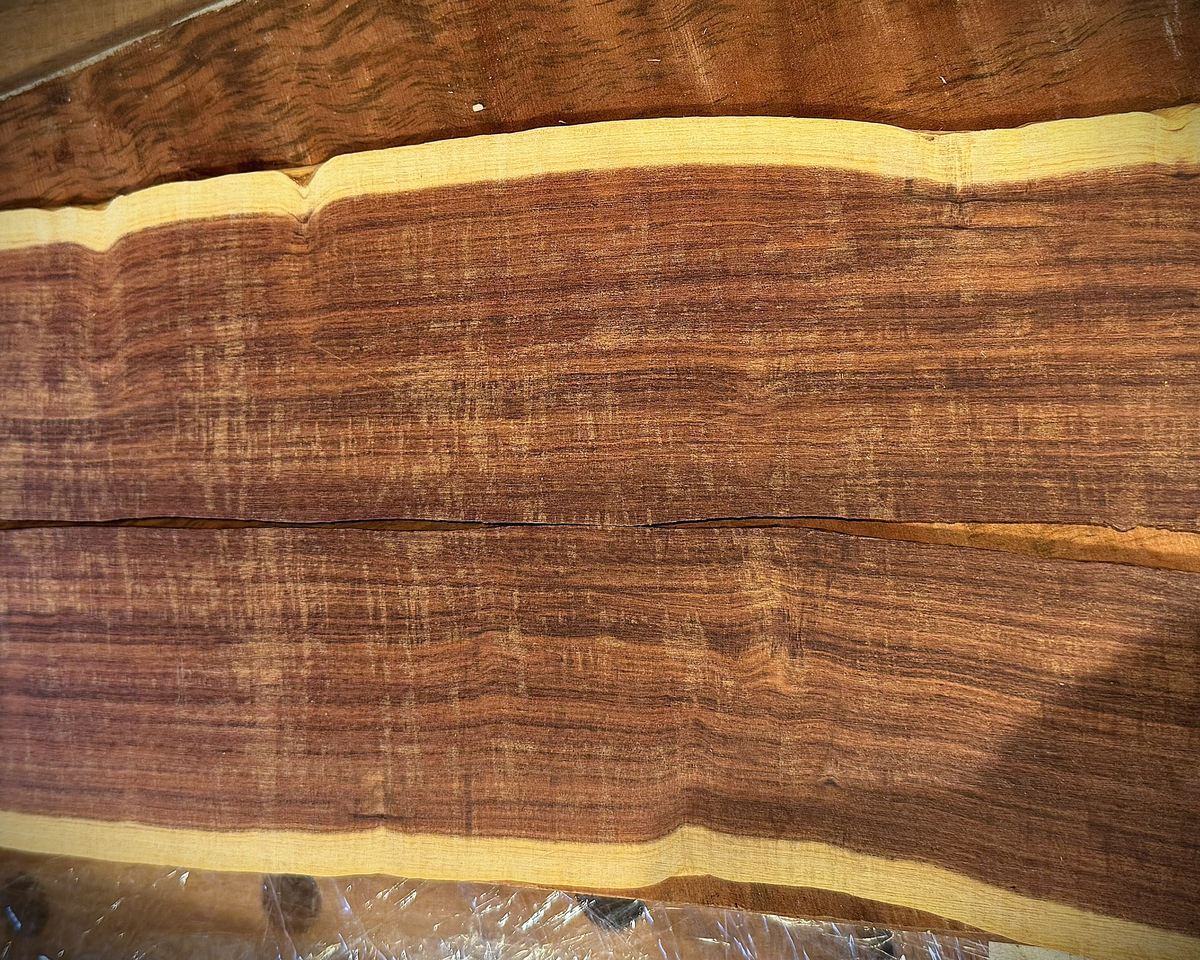
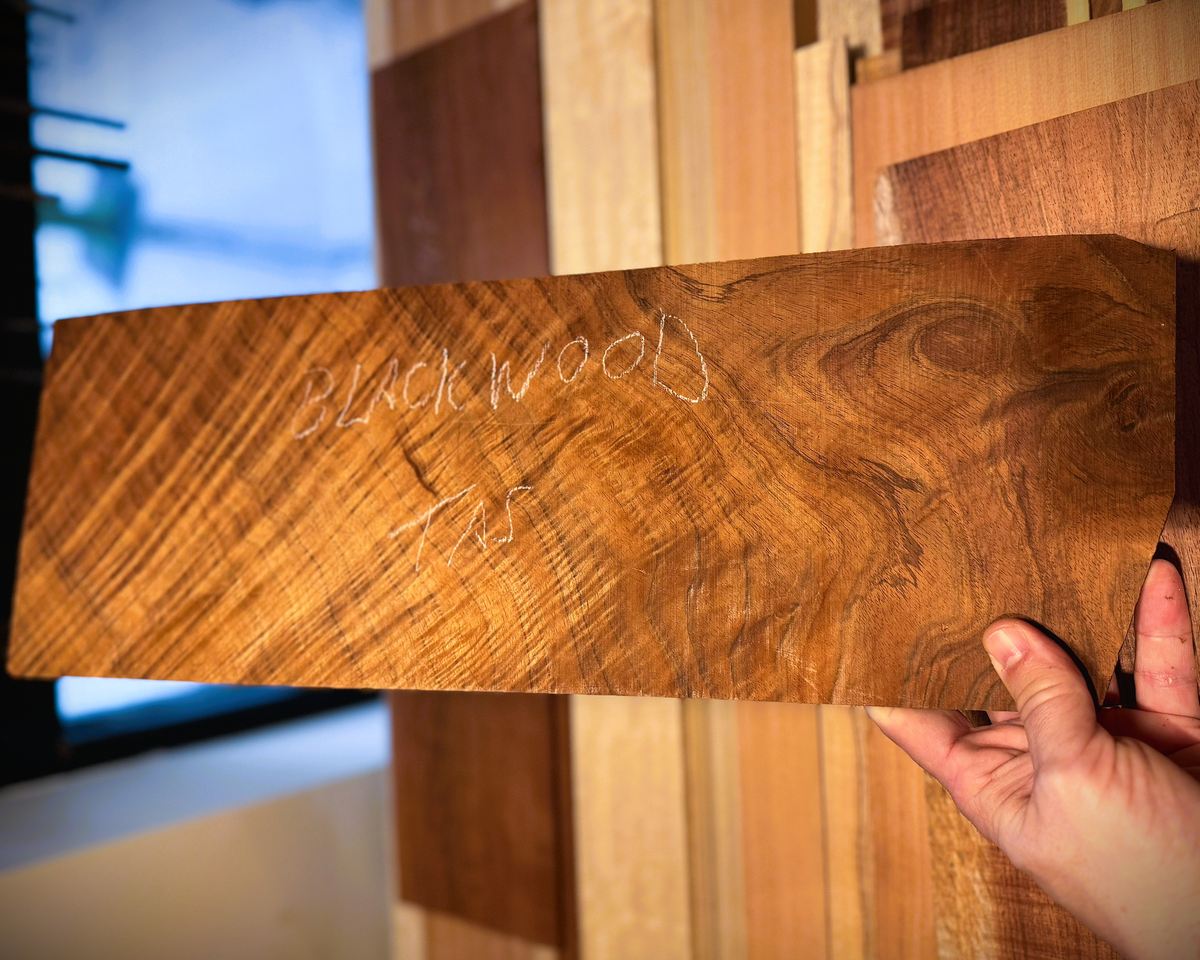
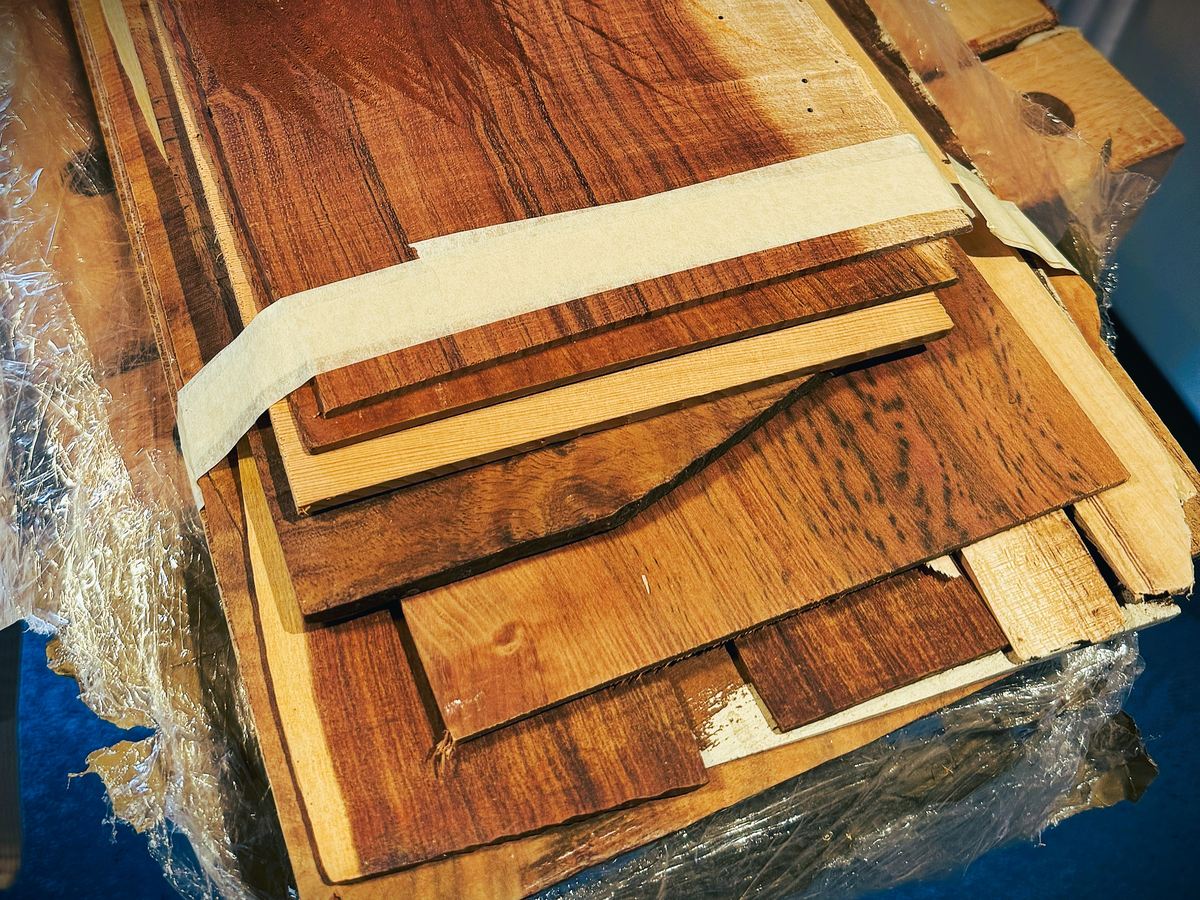
Boards are chosen for grain orientation, stiffness across and along the fibre, and colour under a wet rag. Quartersawn stock for plates, the soundboard is tapped and listened to before a single cut is made. The King Billy is from recycled stock, so selection here also means reading where the old nail holes fall and deciding what the layout can carry.

02

Designing the moulds and jigs

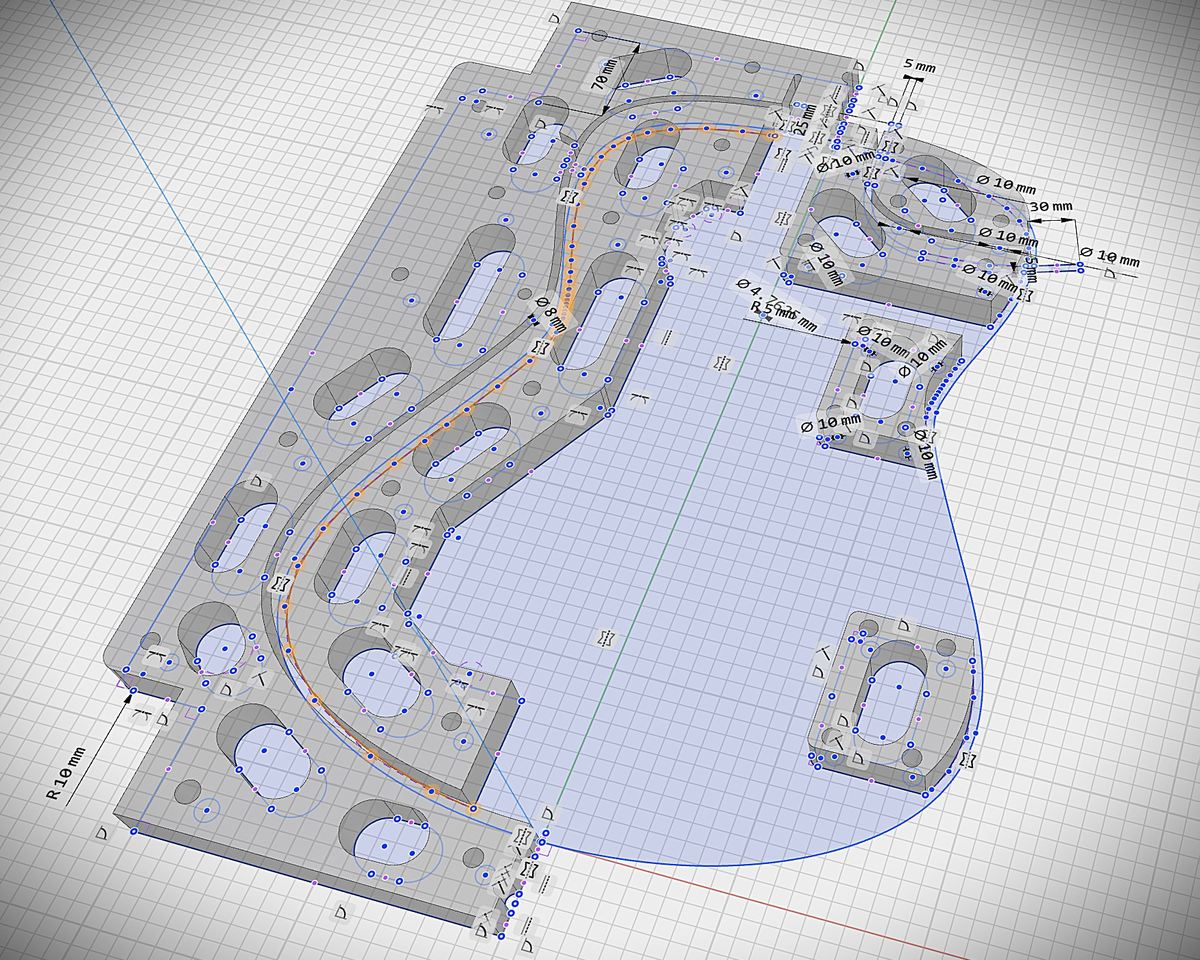
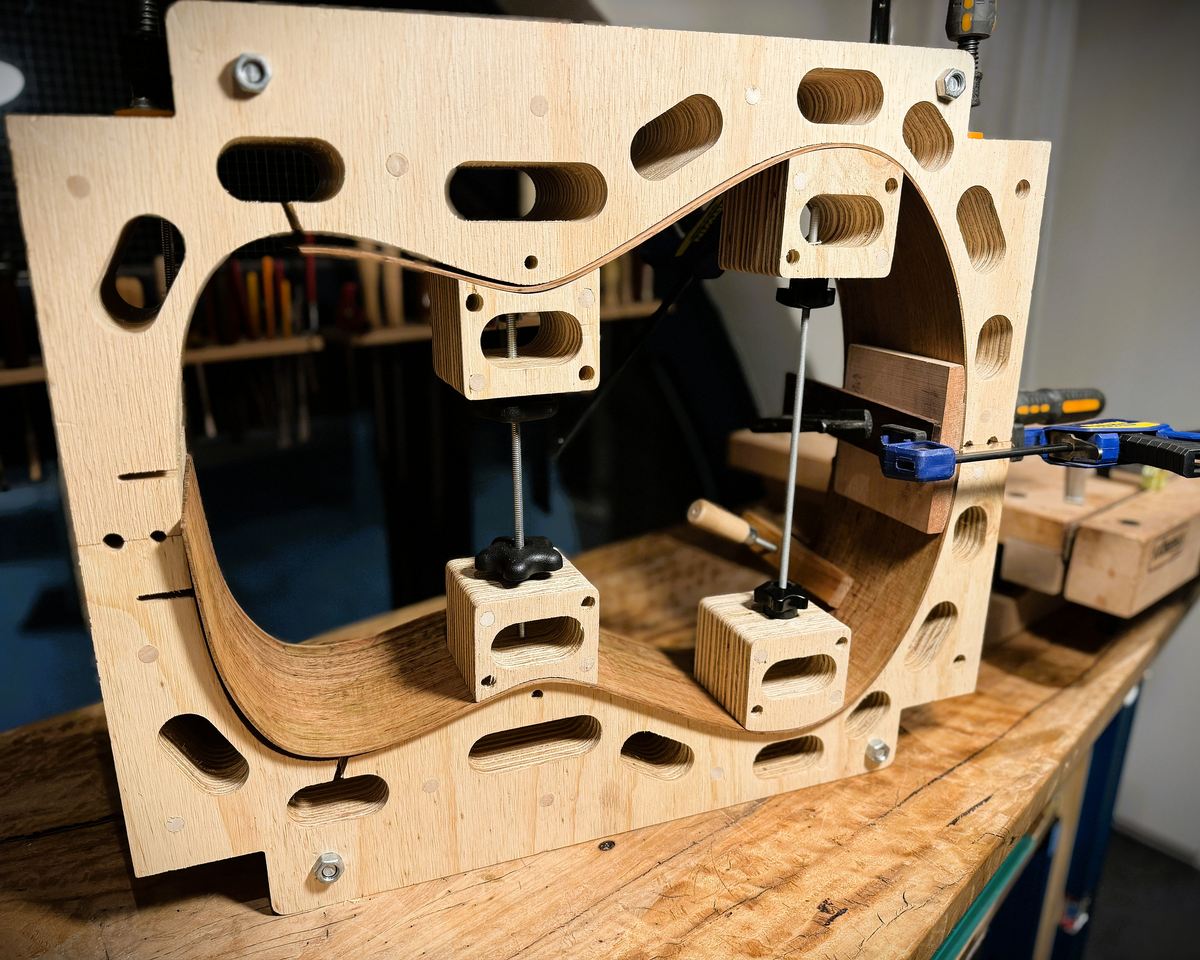
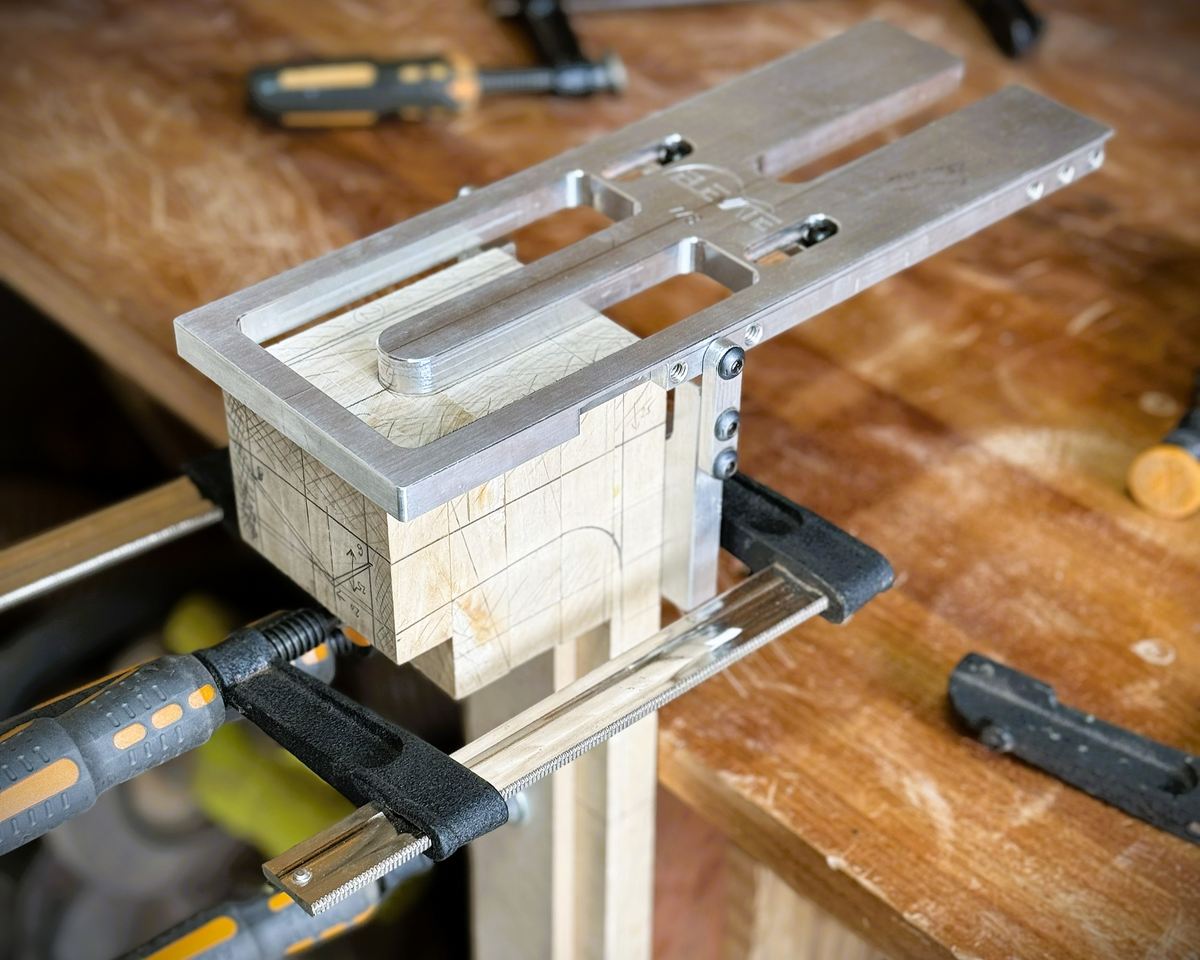
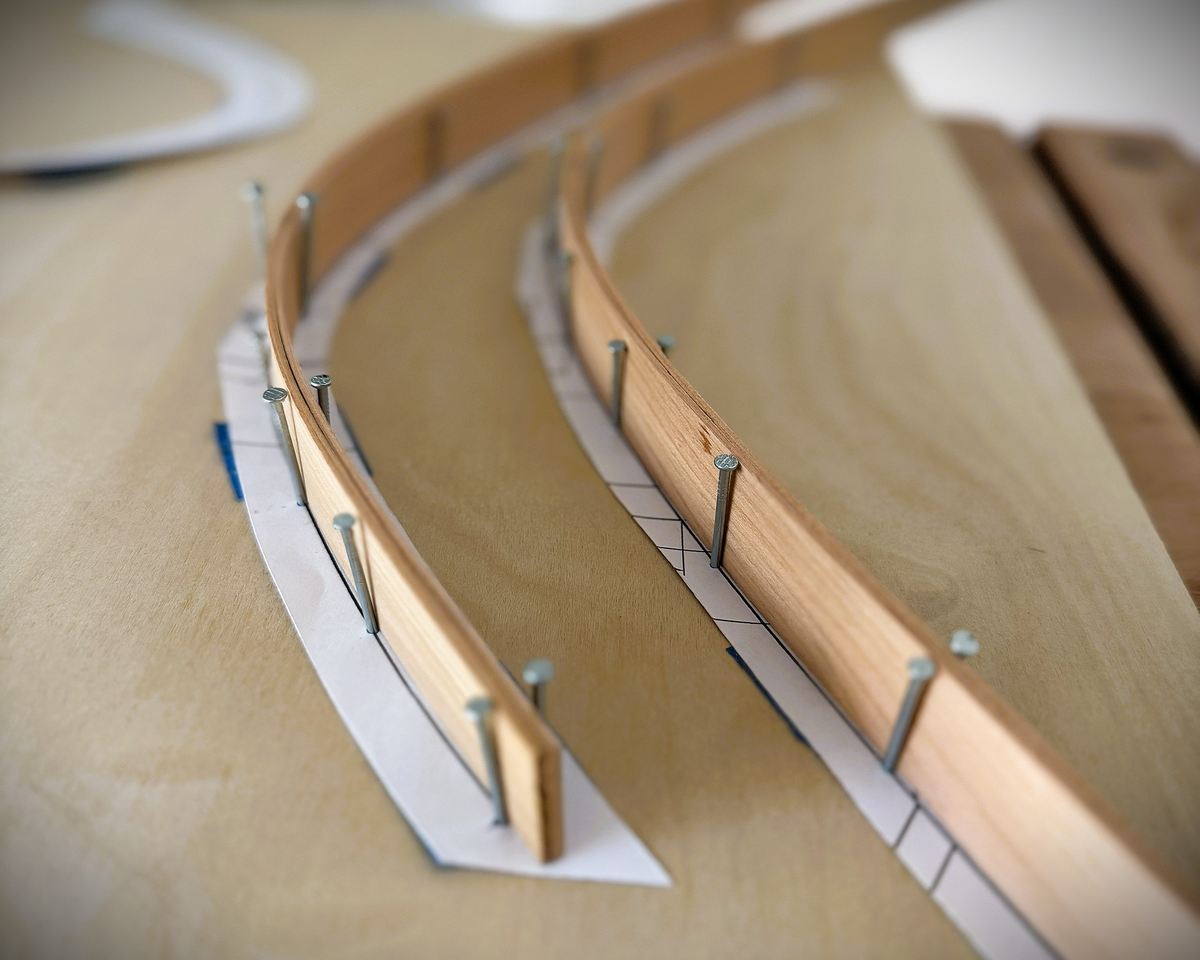
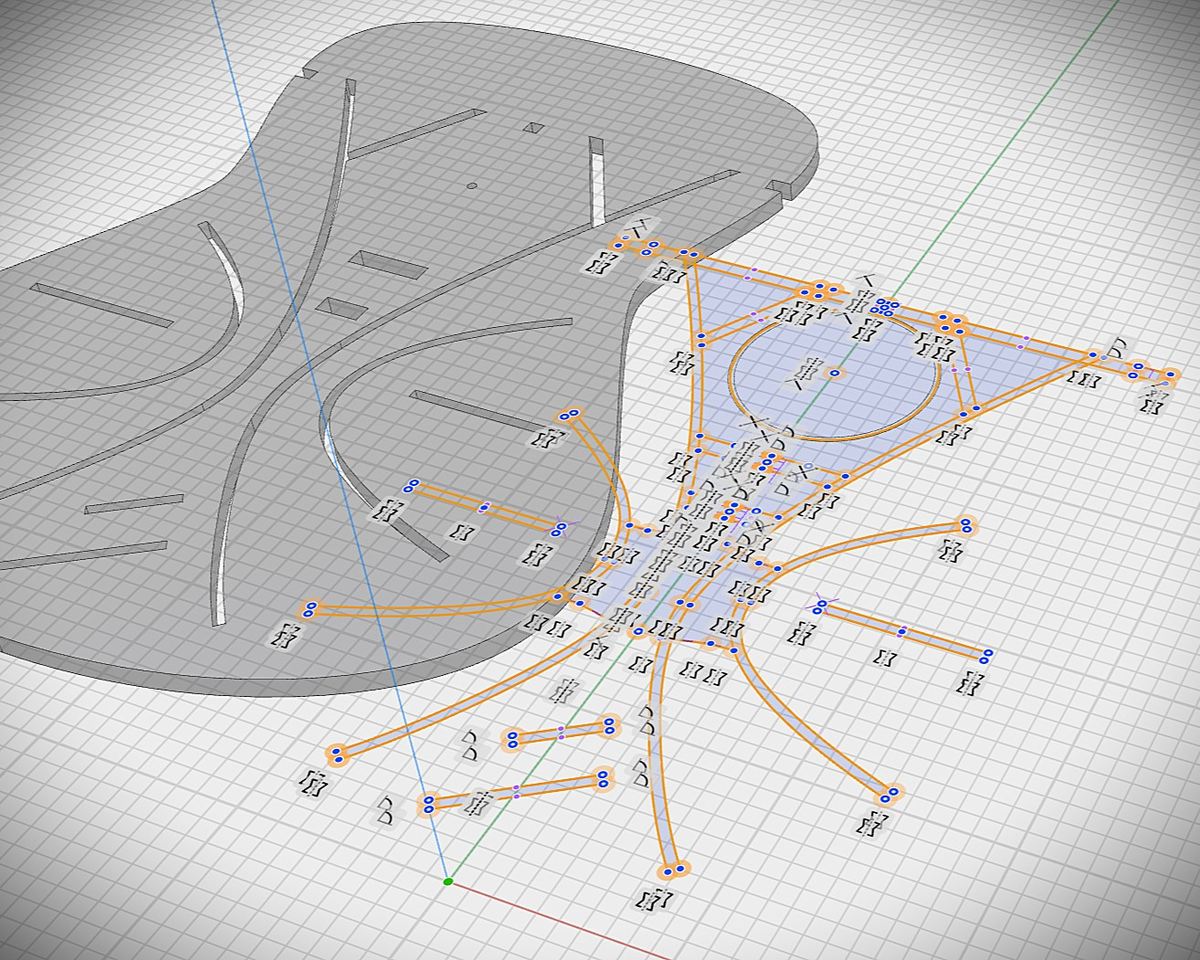
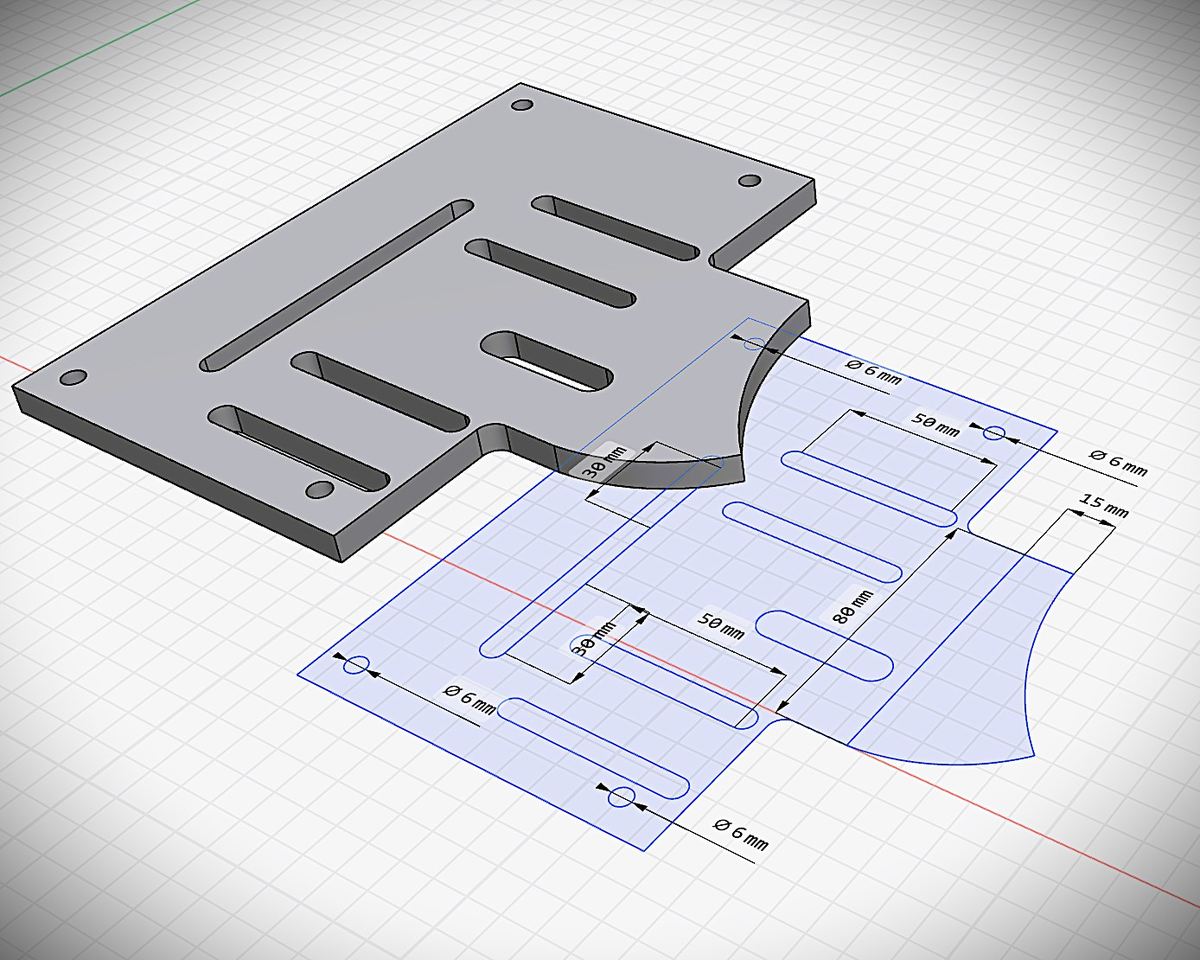
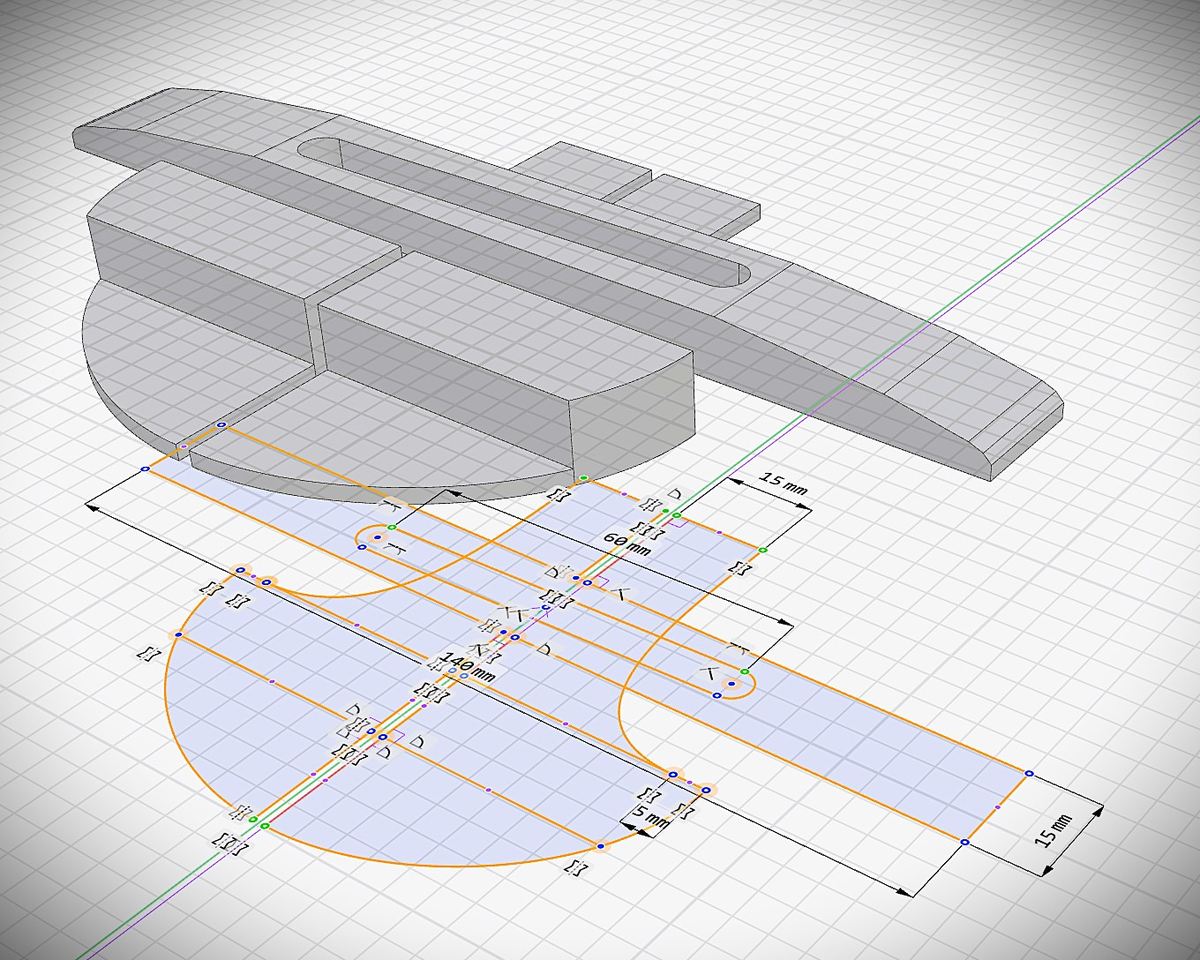
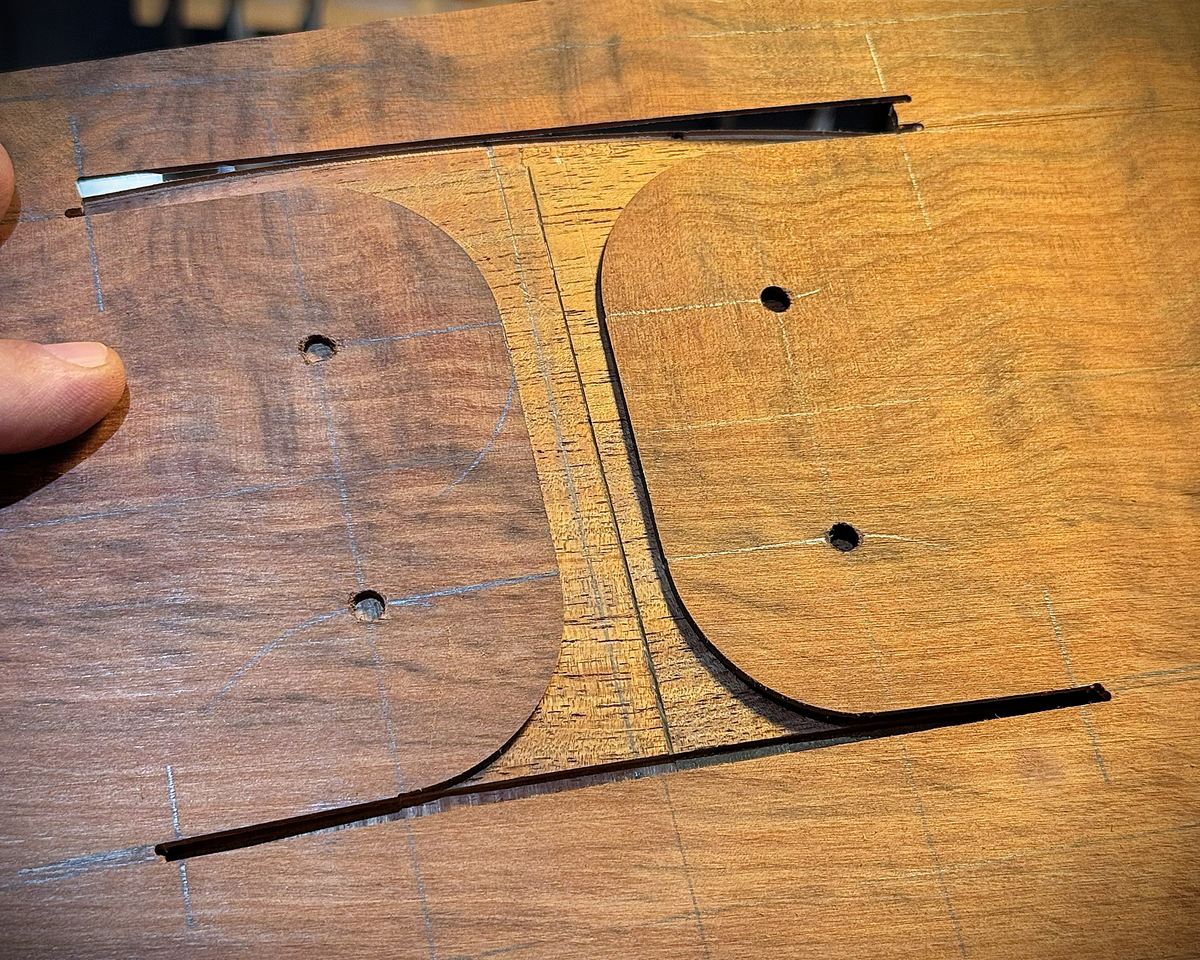
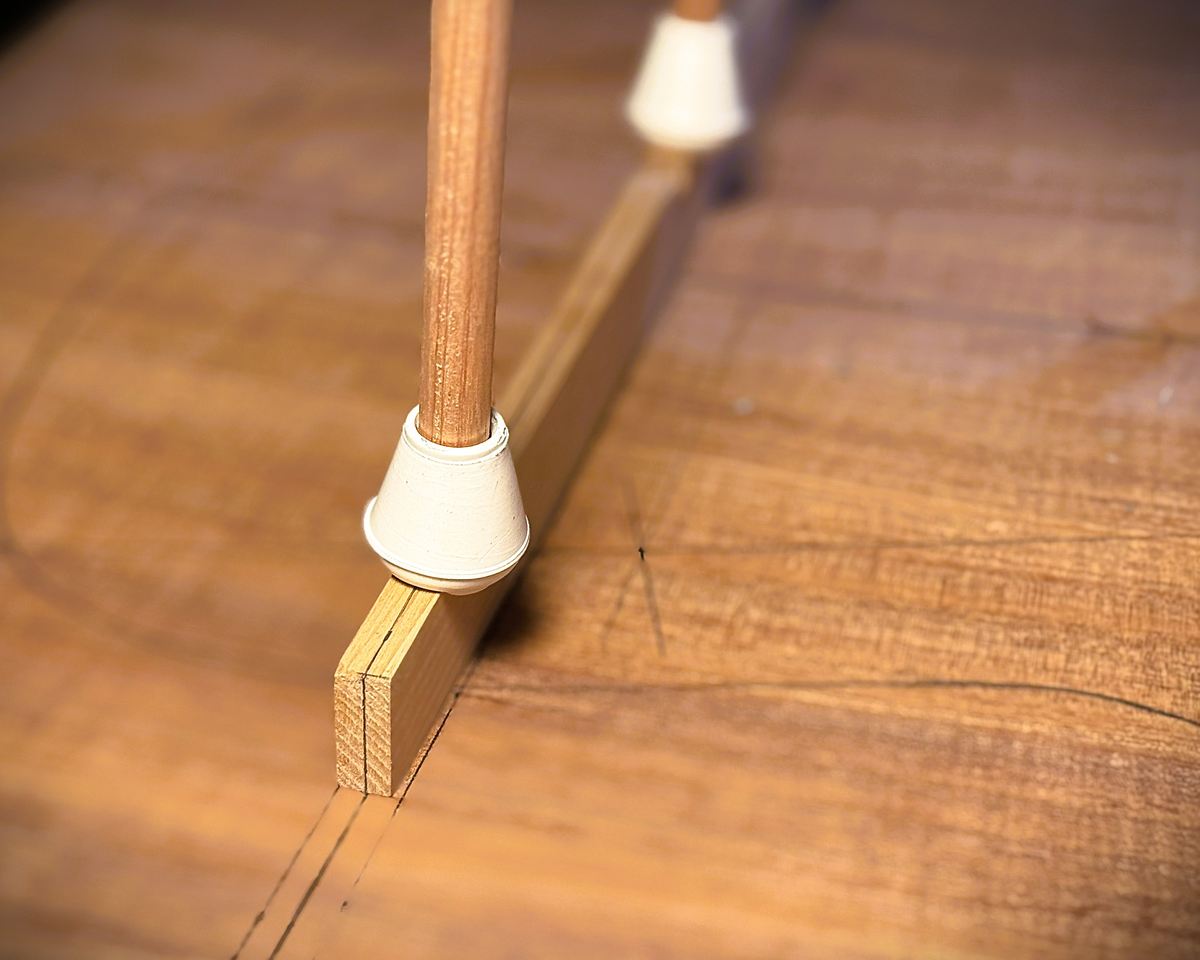
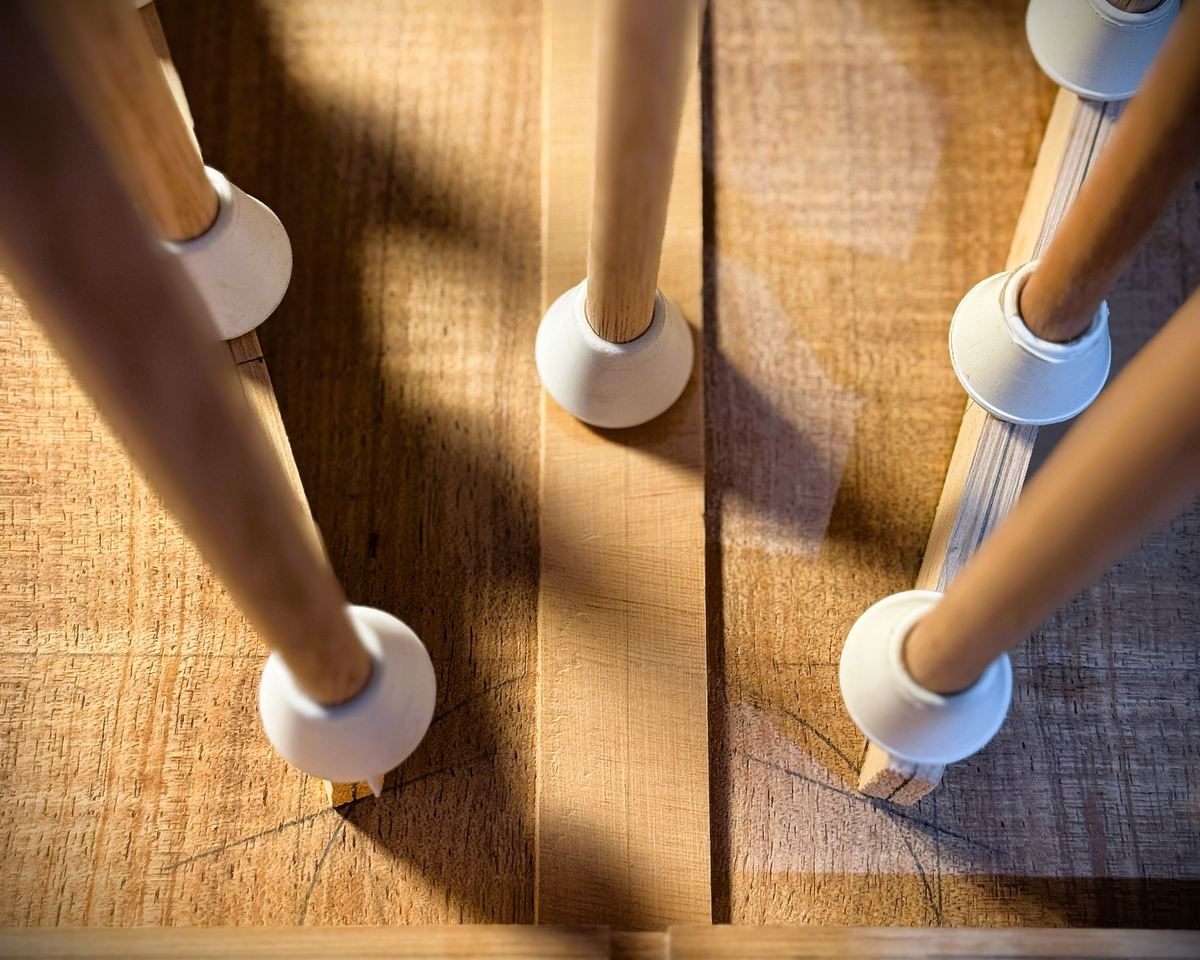
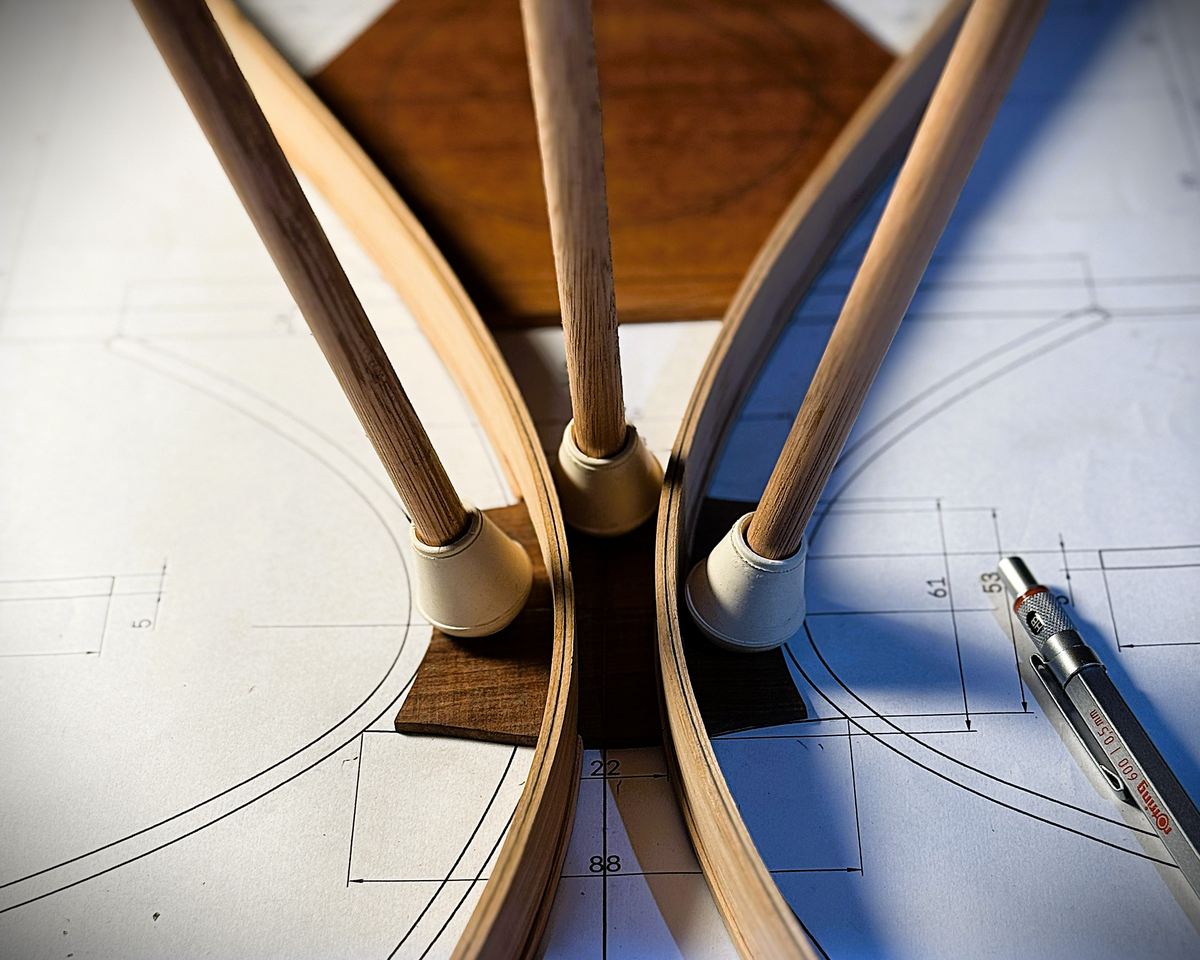
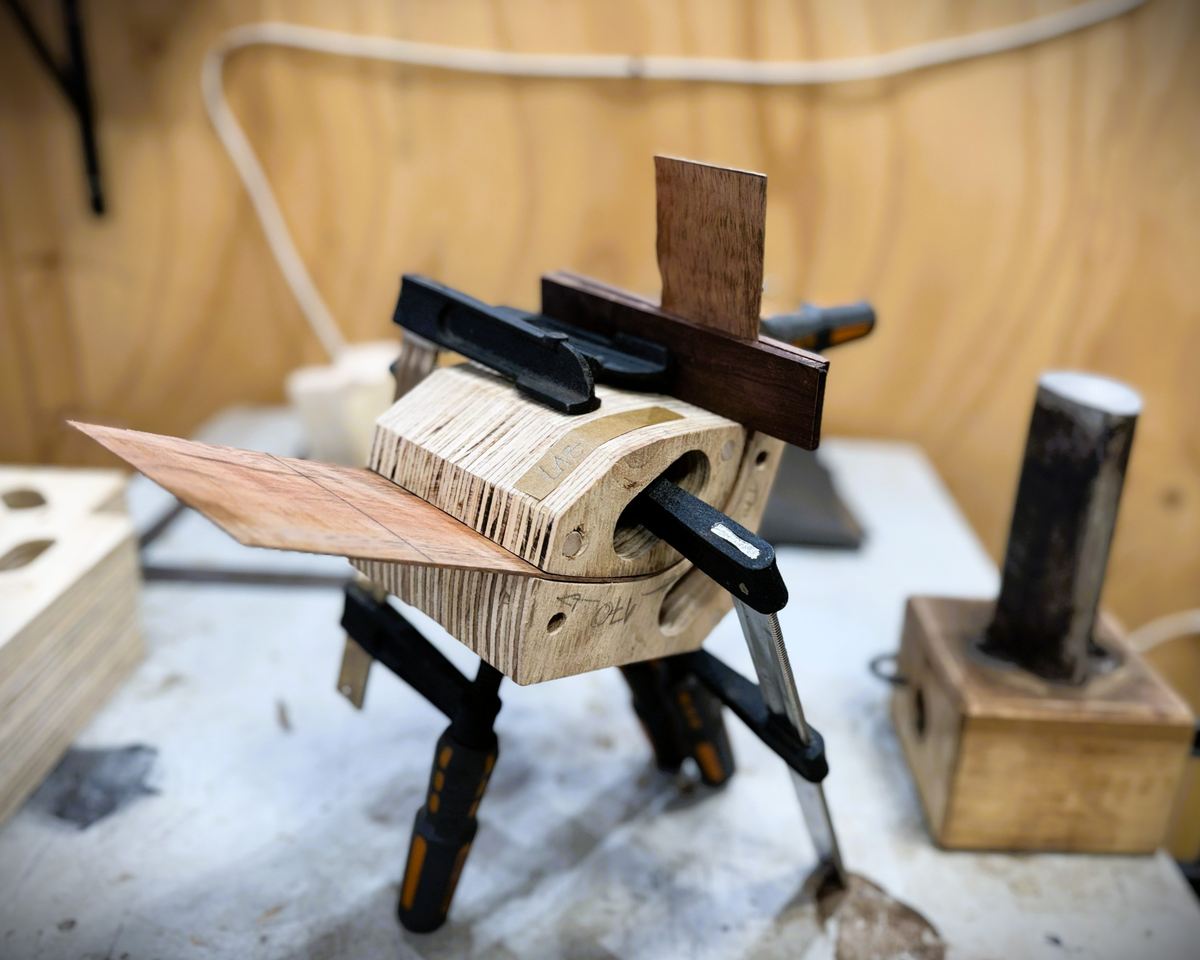
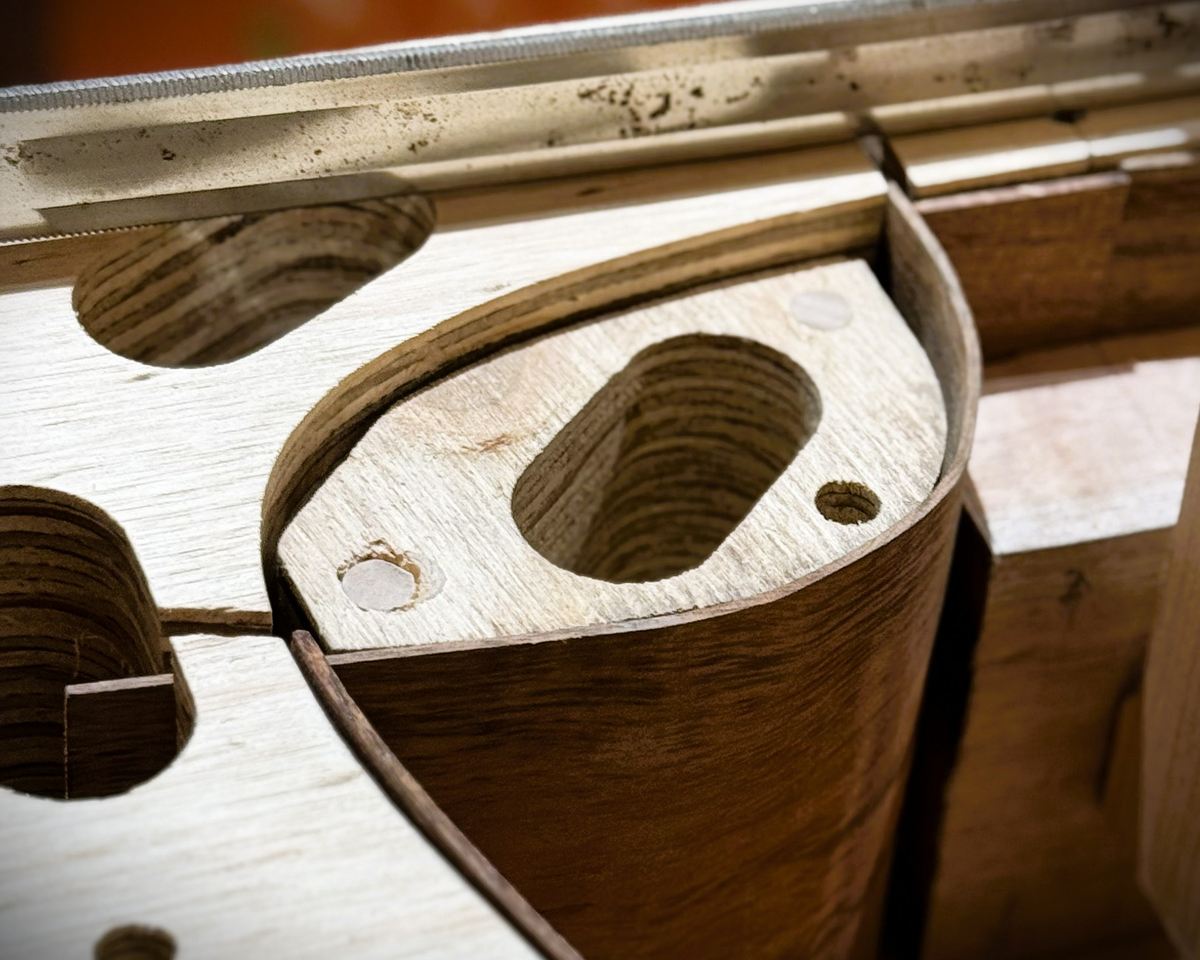
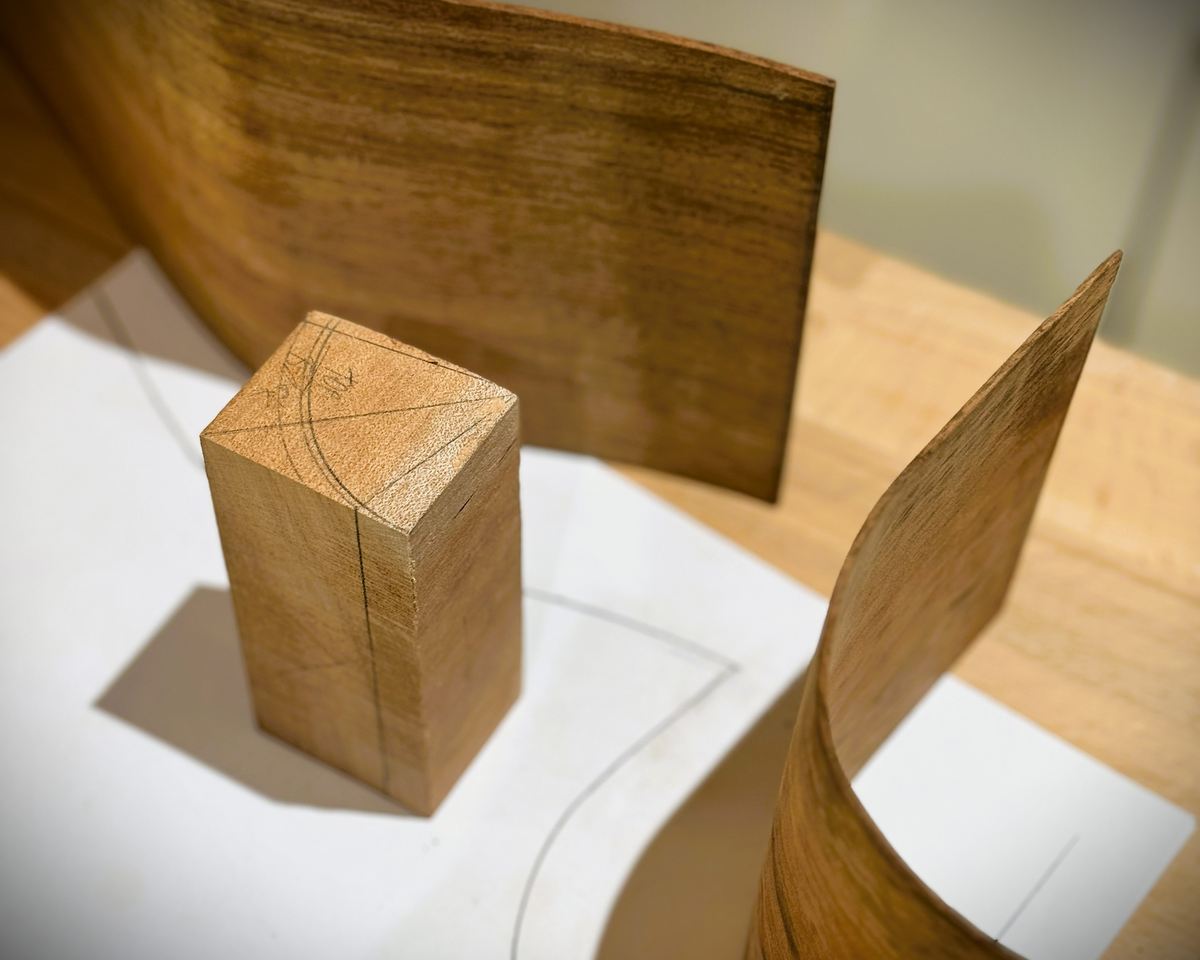
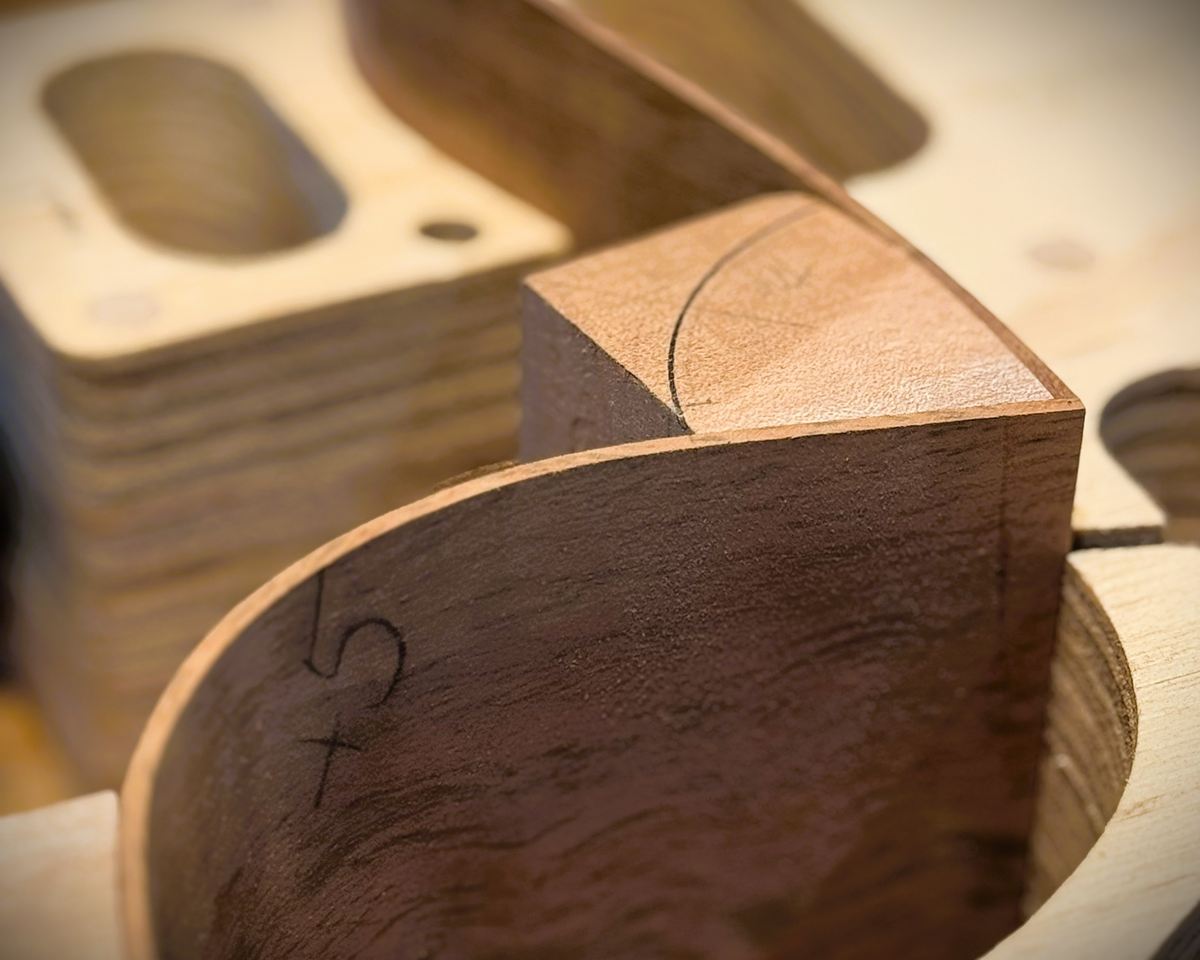
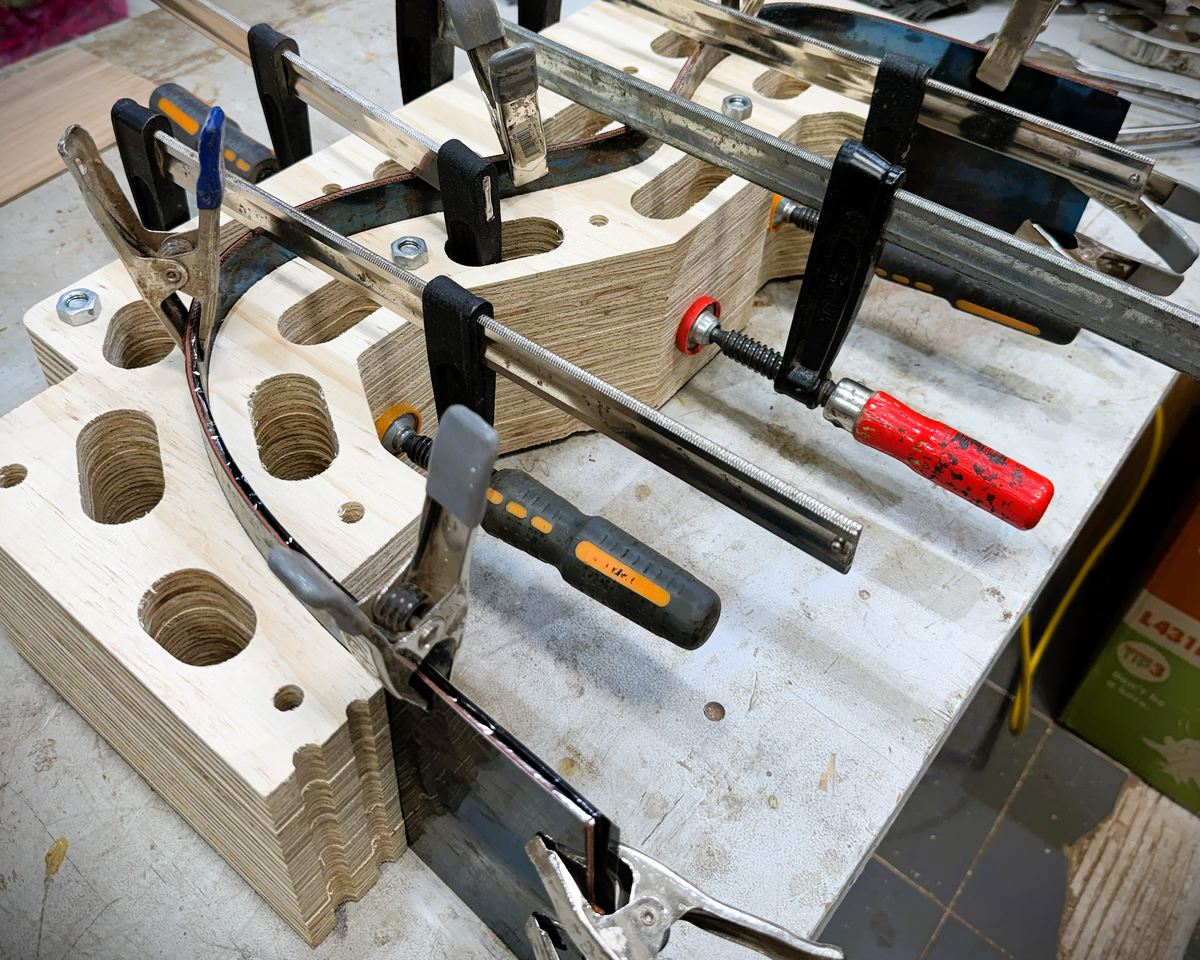
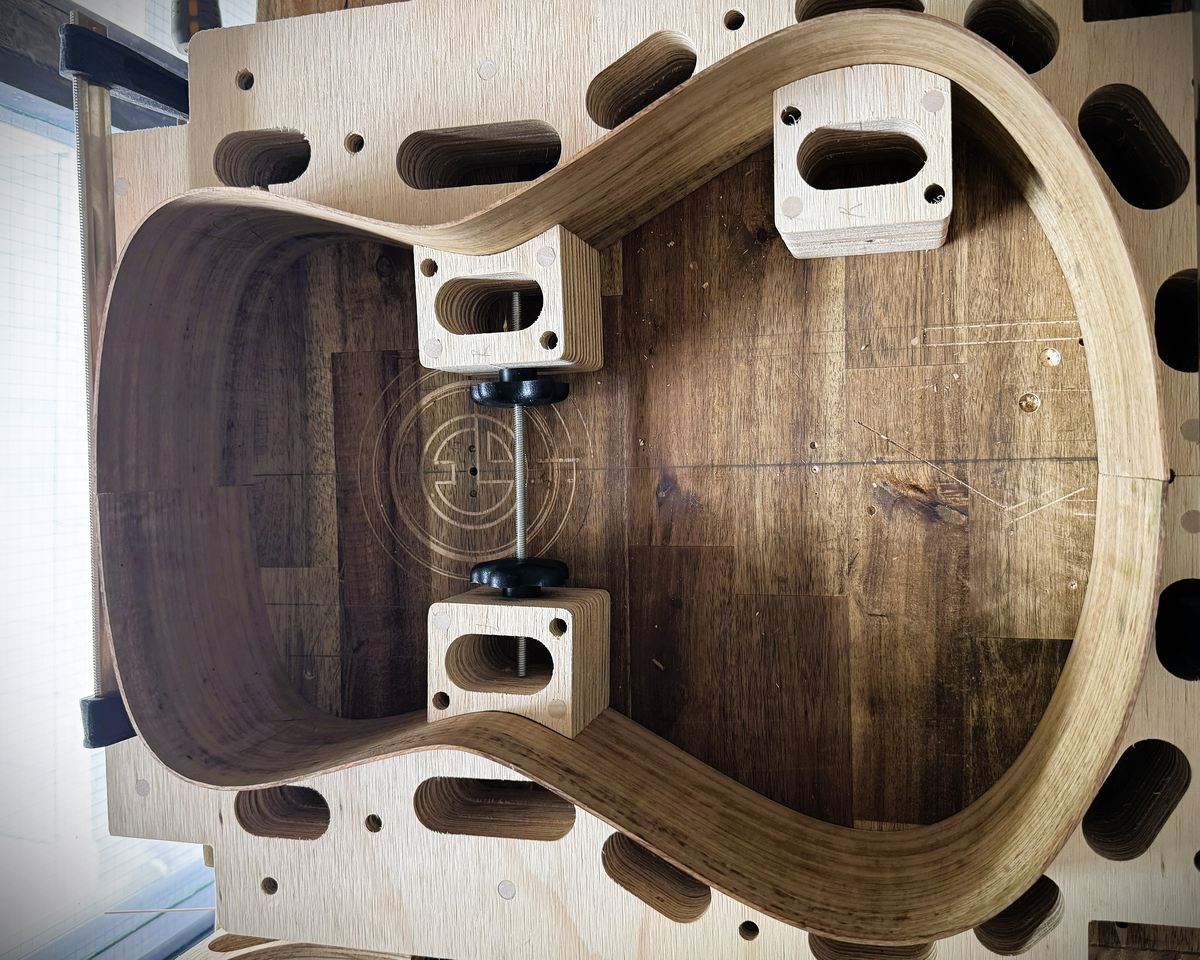
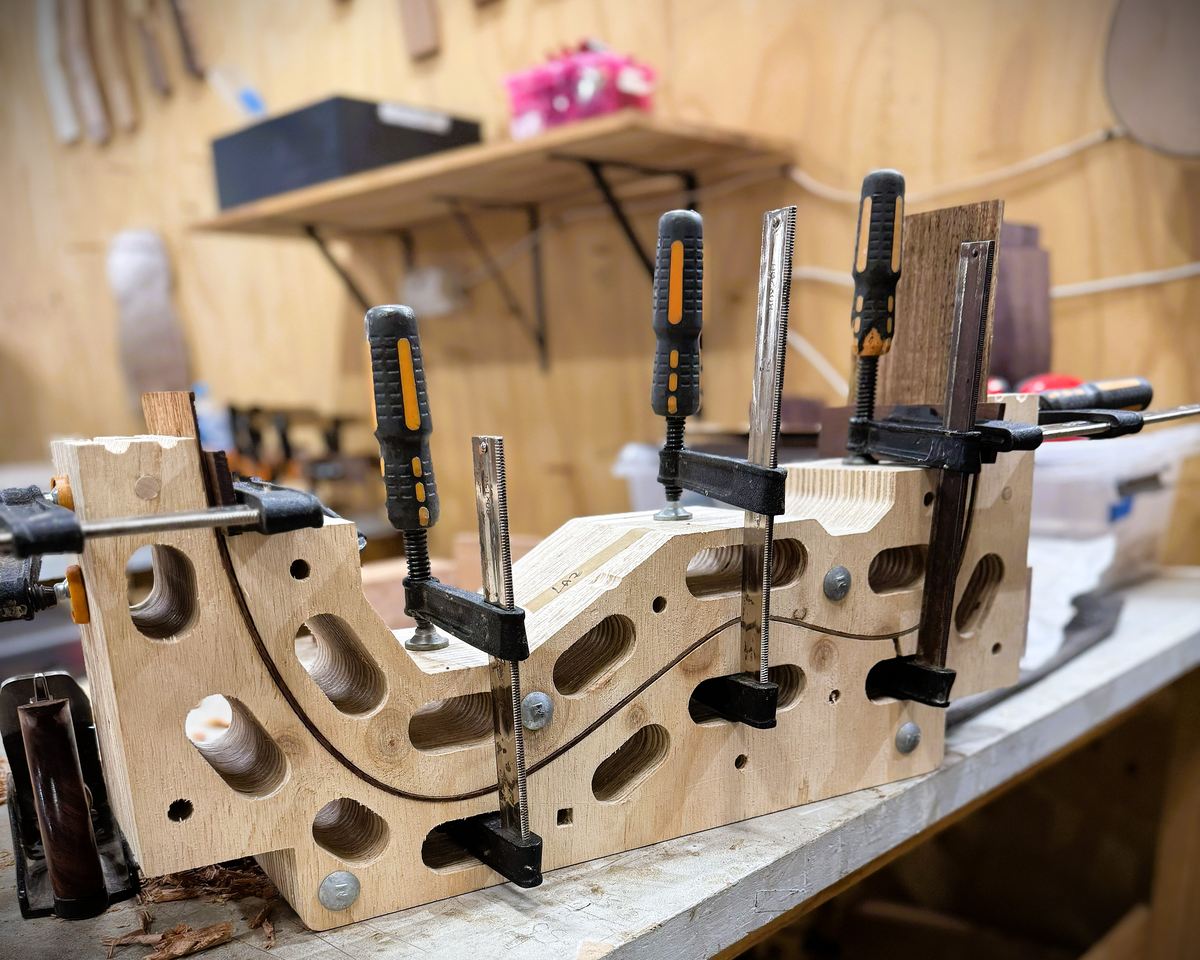
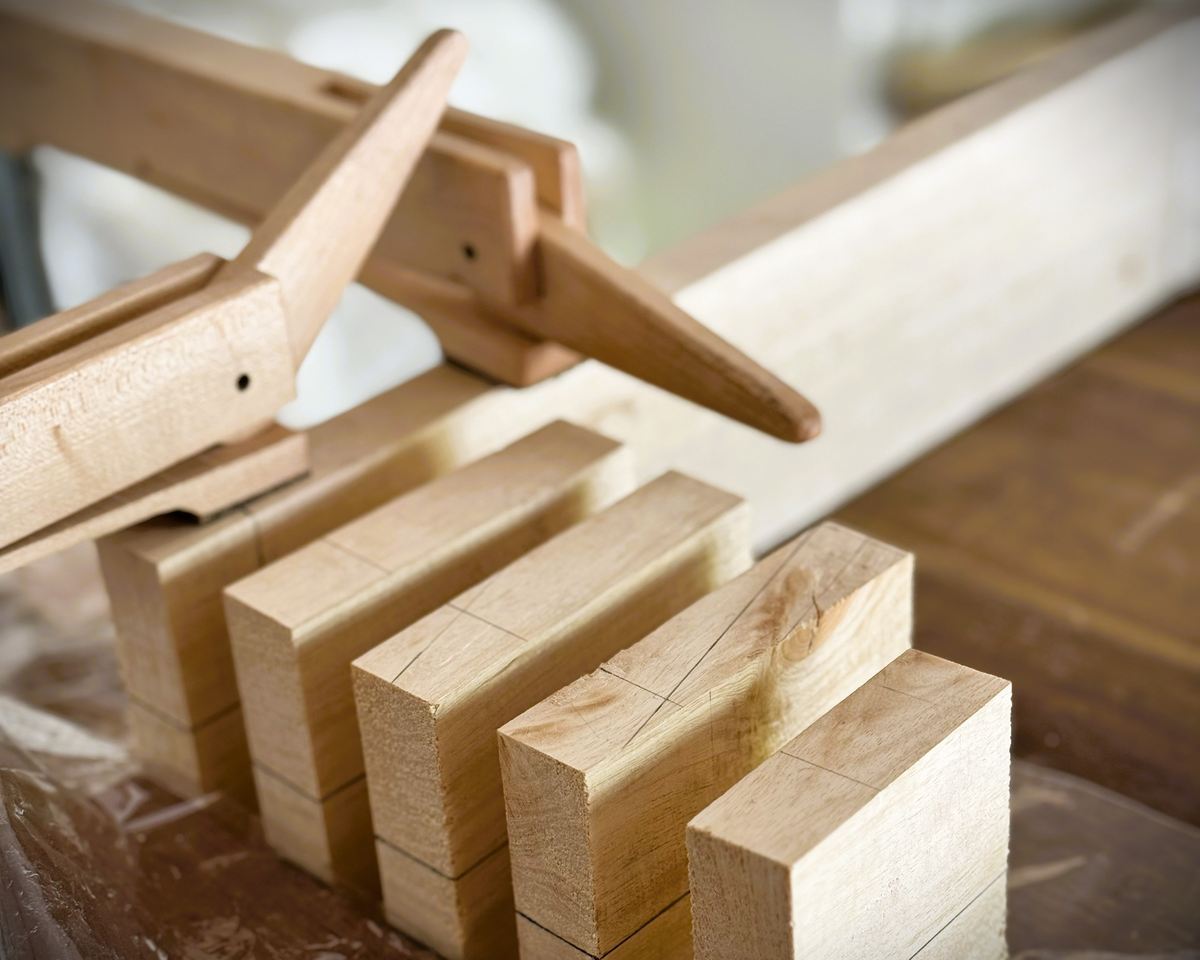
With the boards chosen, the tooling comes before any of them is cut to shape. The outline is modelled in CAD to the phi proportions that govern the instrument, the same ratios that fix the body length, the lower bout, the waist and the placement of the soundhole, so the curve carries the geometry exactly rather than approximately. Out of that model come the moulds and the jigs: the outside mould that holds the rim to shape while the box is assembled, the forms the sides are bent over, the radius dishes the plates are domed on, and the smaller jigs for the braces, the bindings and the neck joint. They are cut on a CNC router from the same file the design lives in, which means the shape in the model and the shape on the bench are the same shape, and that it can be made again. The tooling is built once and outlives the instrument it was made for.
03

Jointing and thicknessing the plates

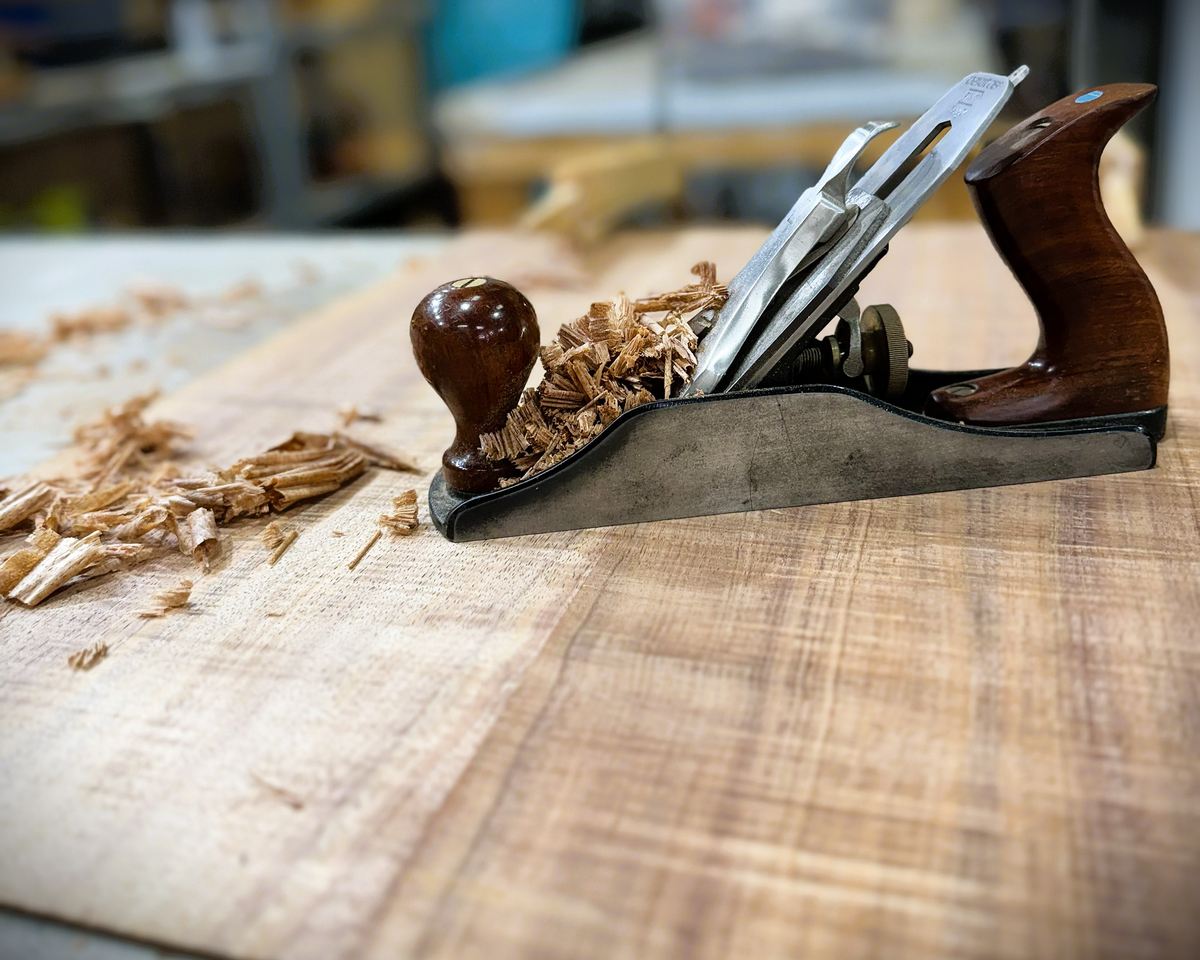
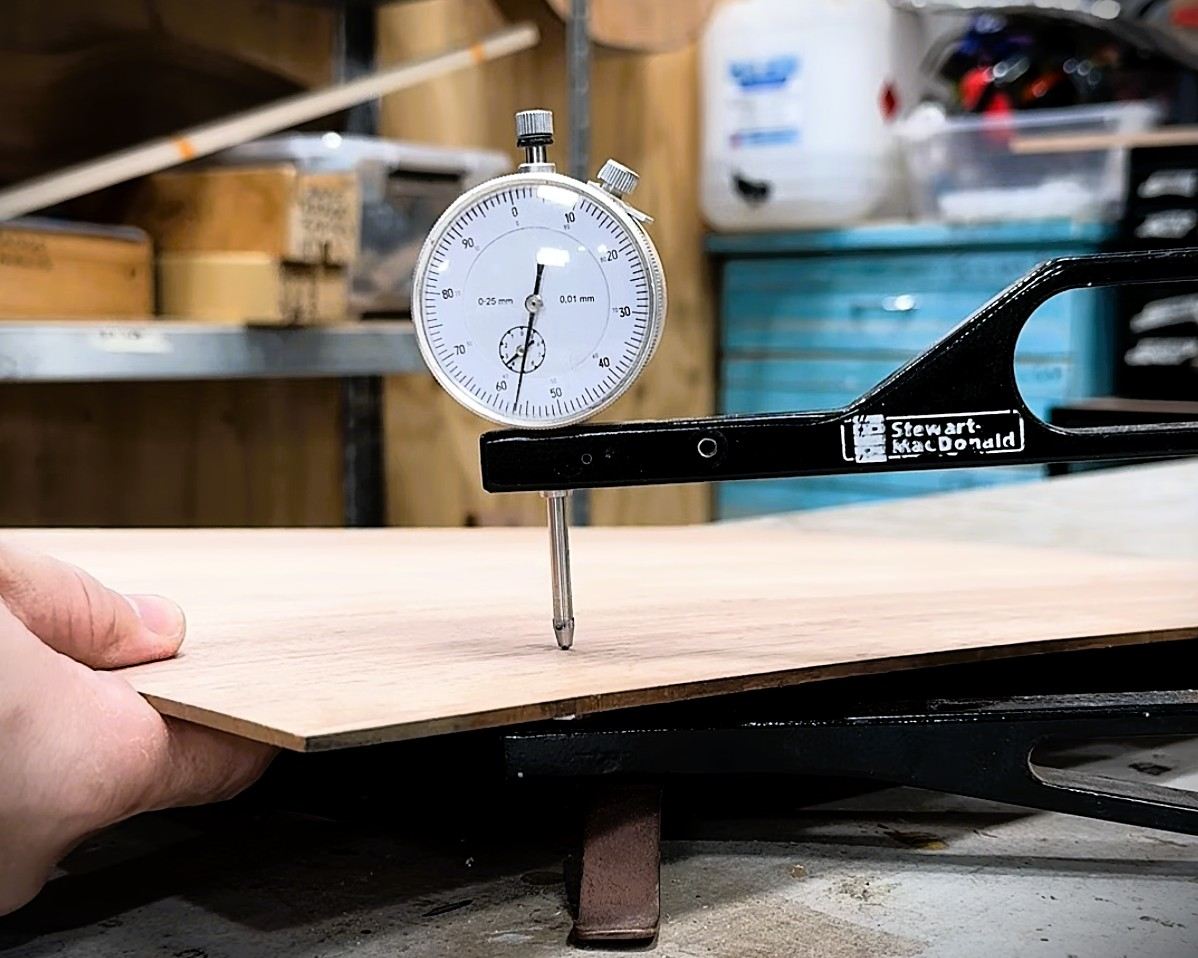
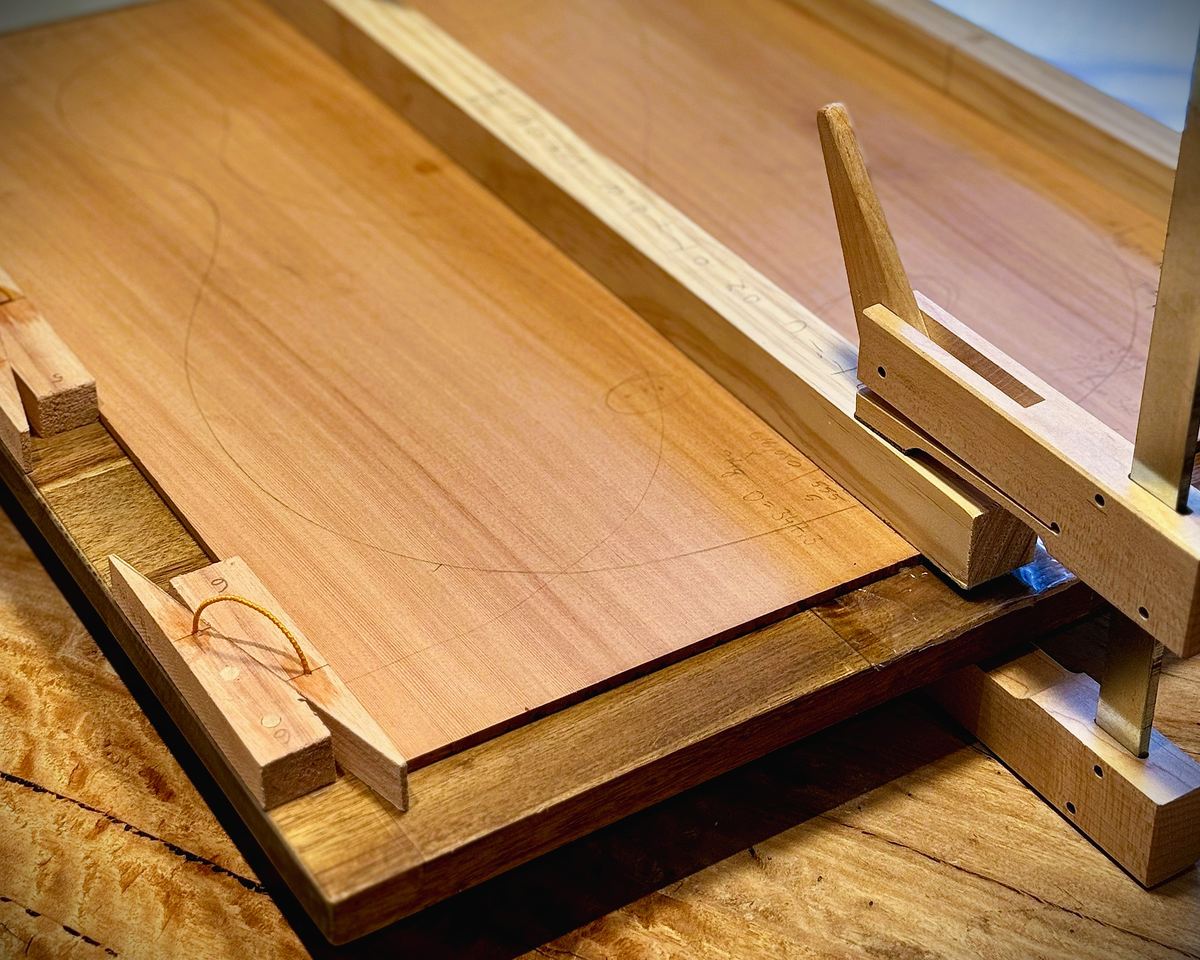
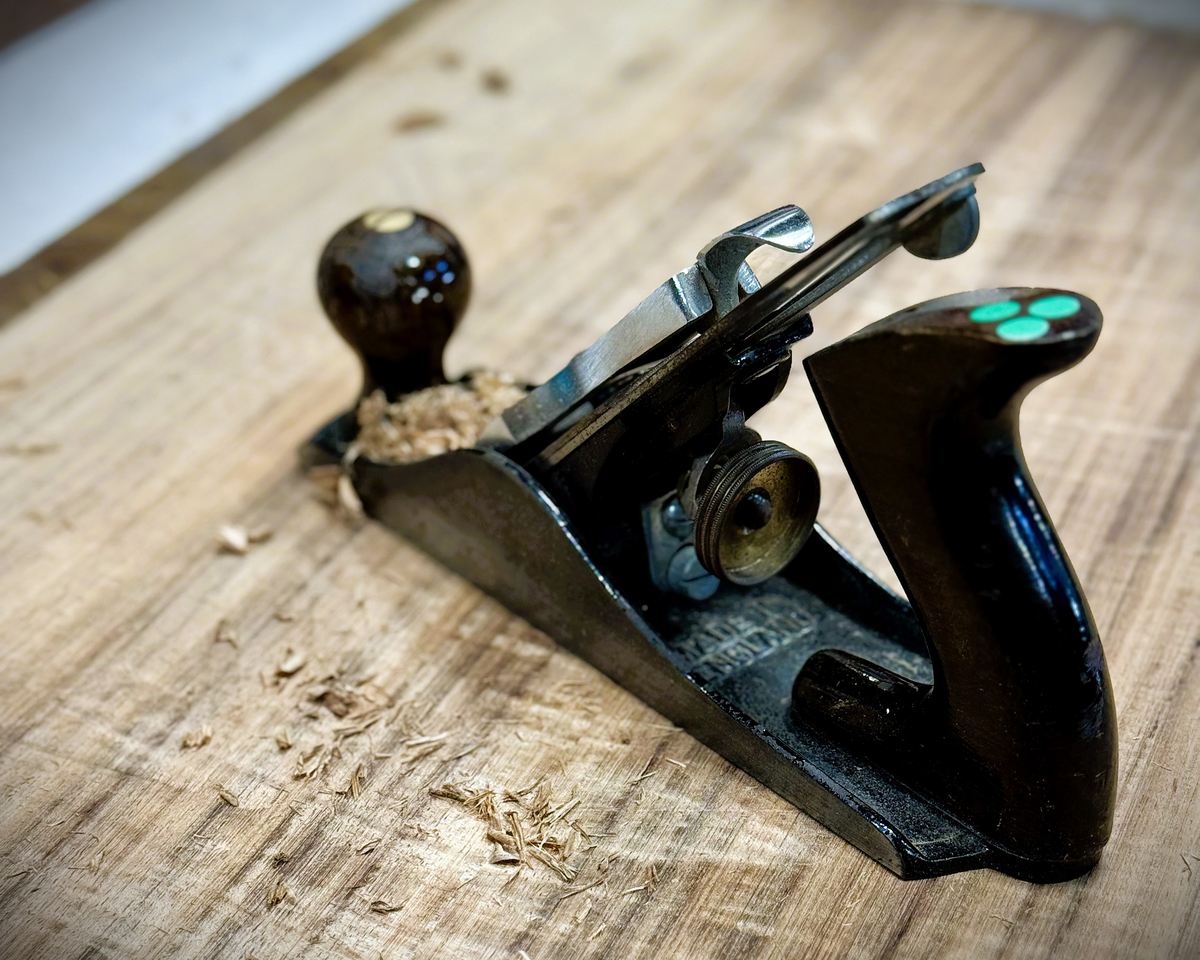
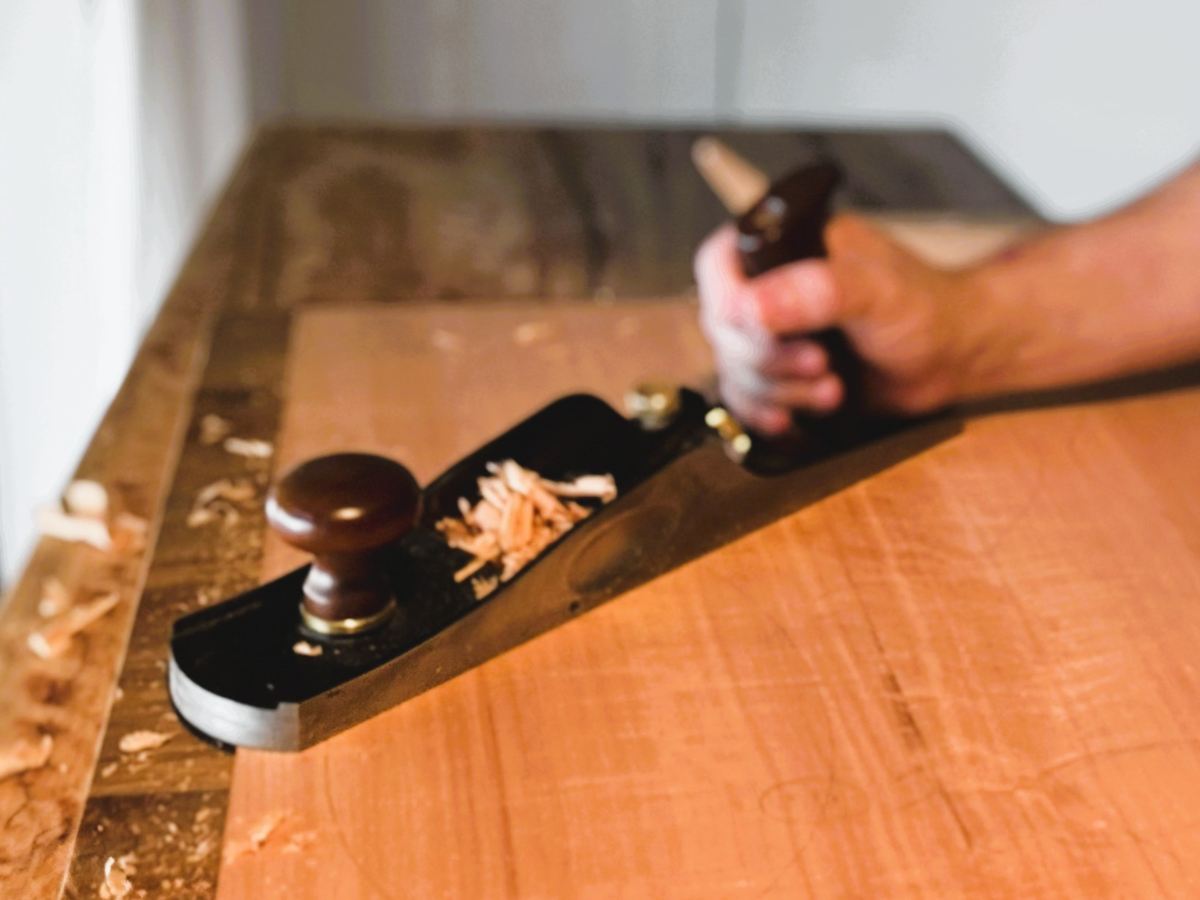
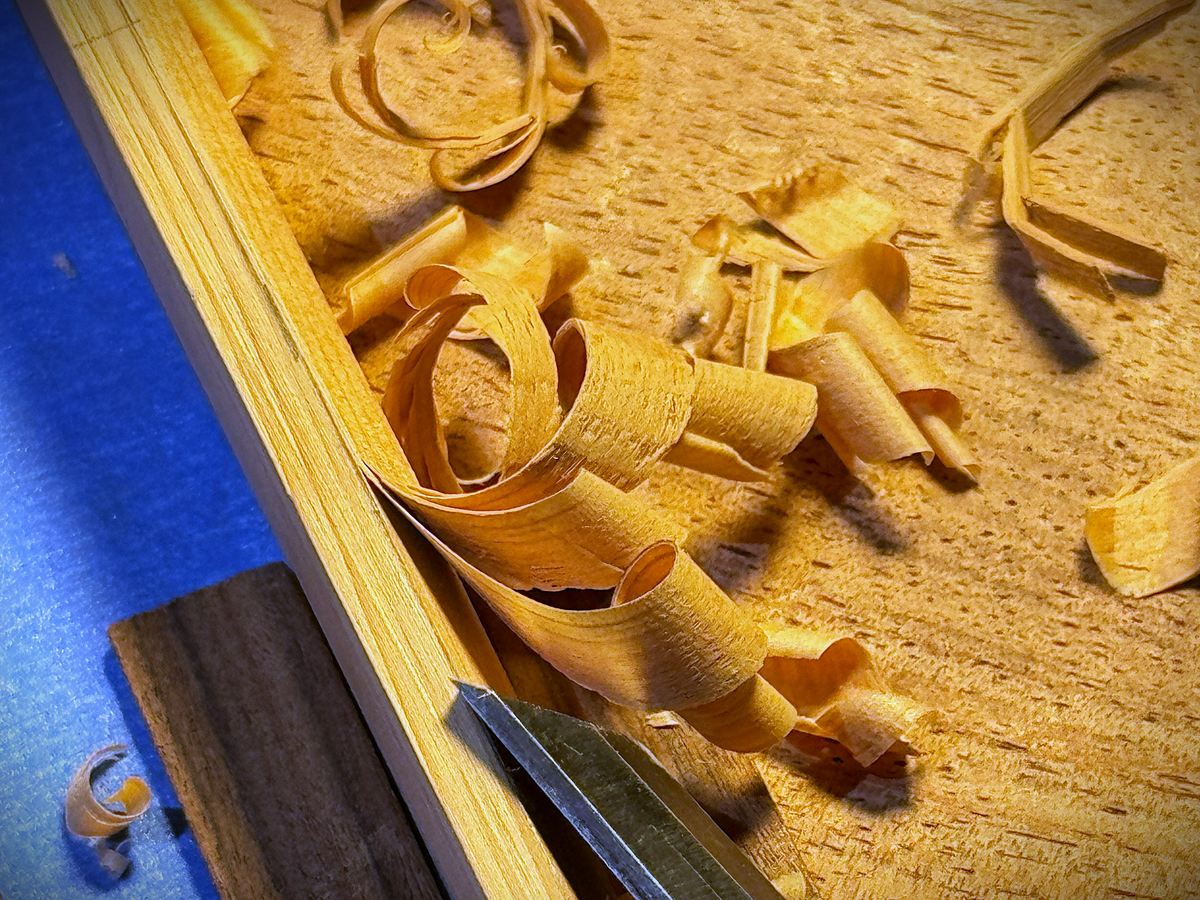
The two halves of the soundboard and the back are shot on a jointer plane until the seam disappears under a straightedge, then glued. Plates are brought down to thickness gradually, testing deflection and tap tone as material comes off. This is the step that decides how the finished guitar will respond.

04

Setting the rosette and cutting the soundhole

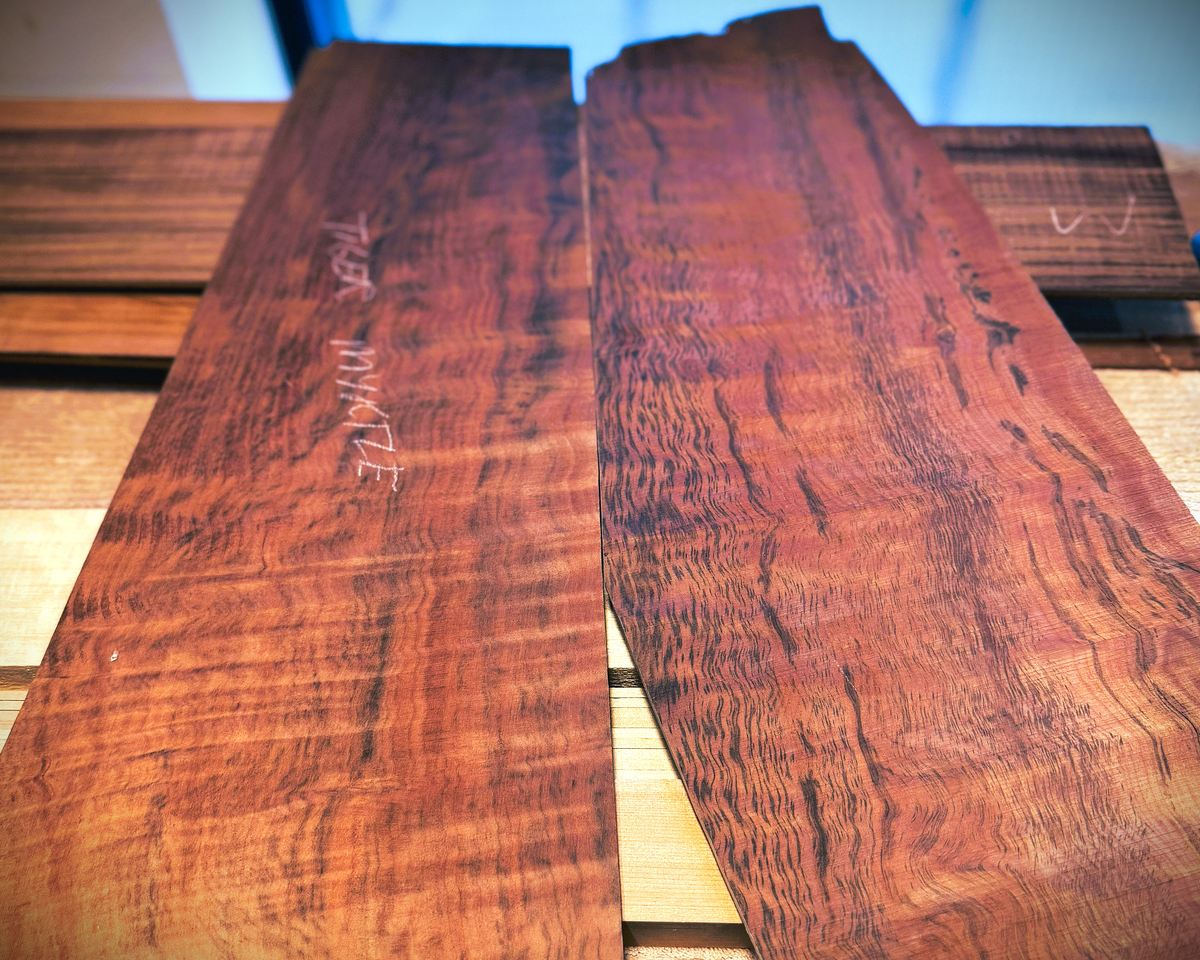
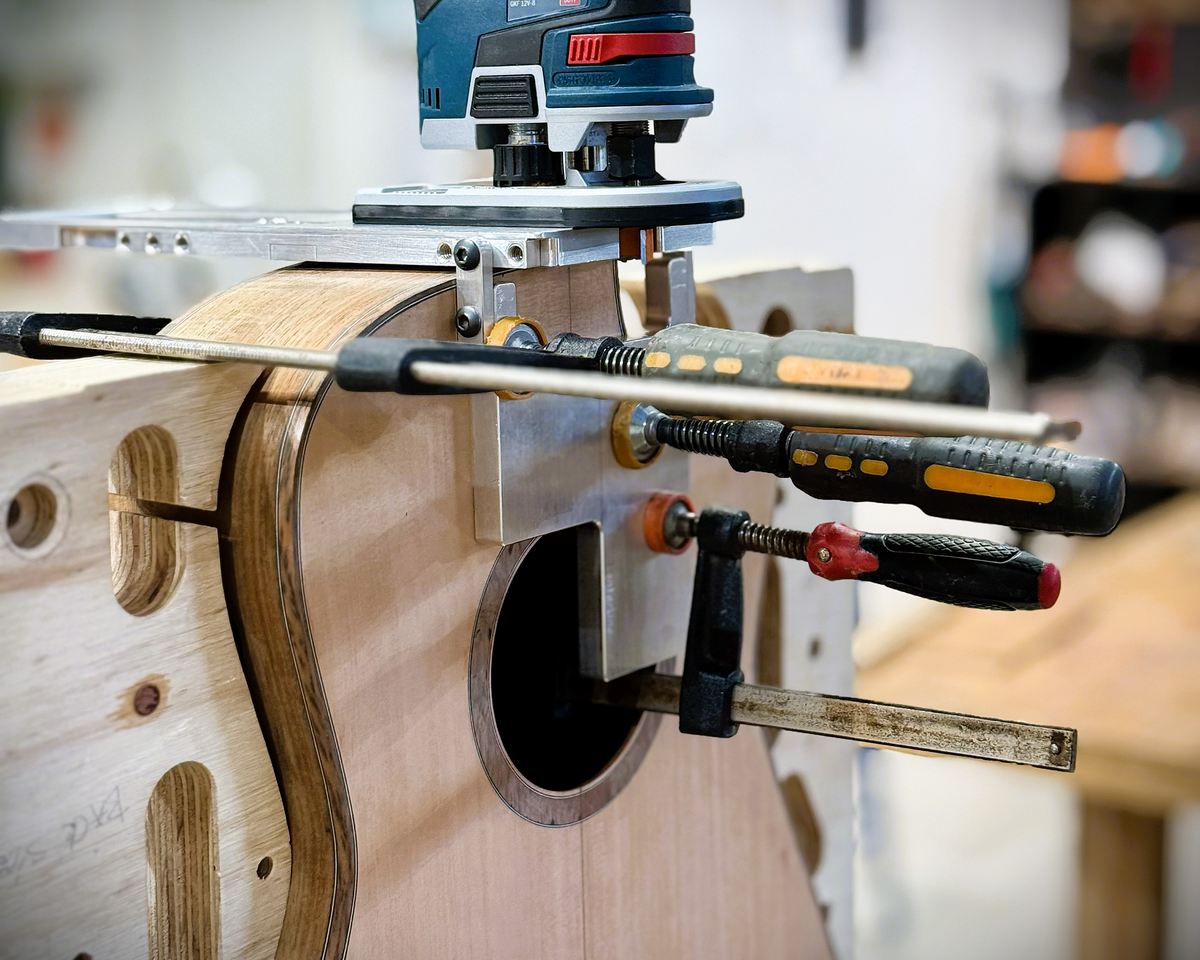
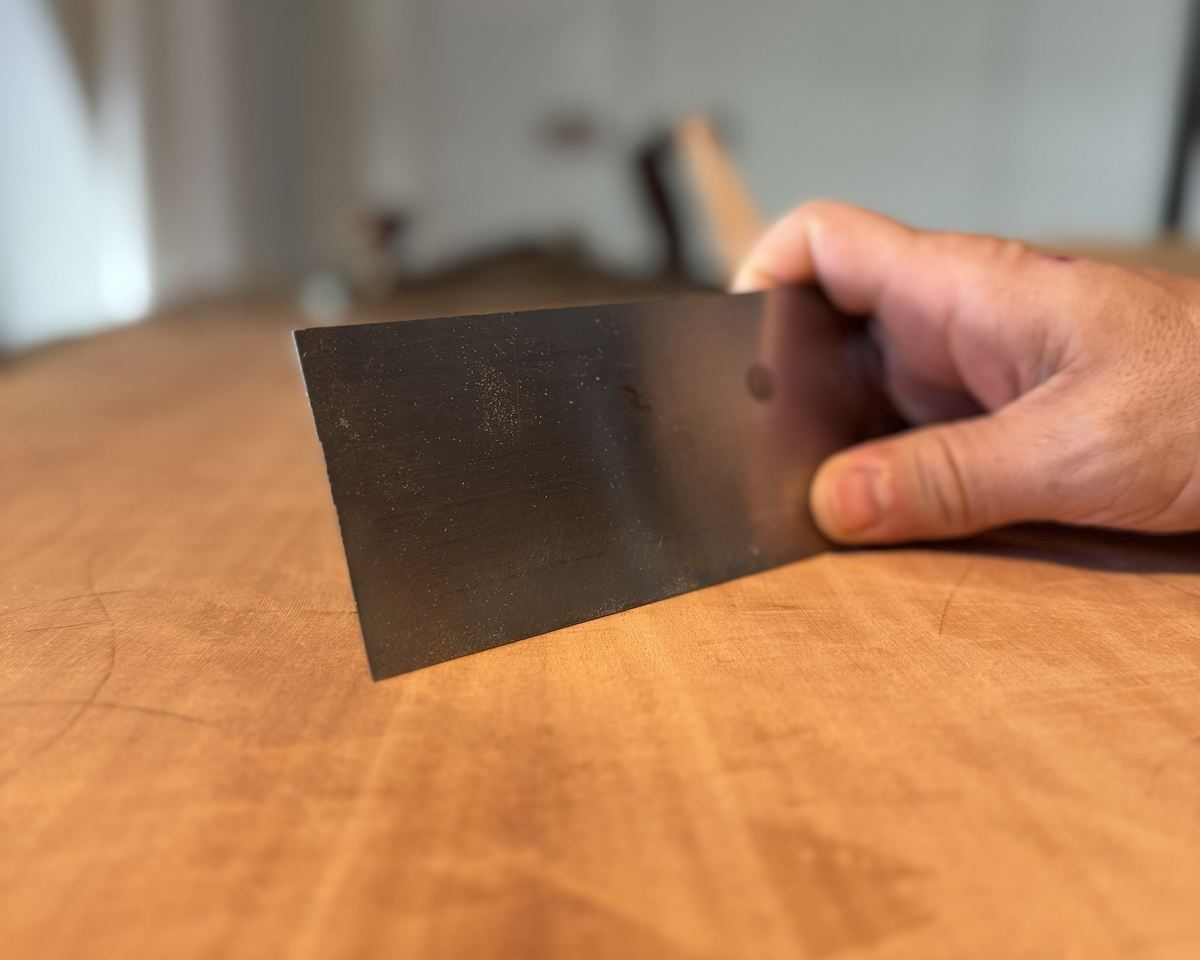
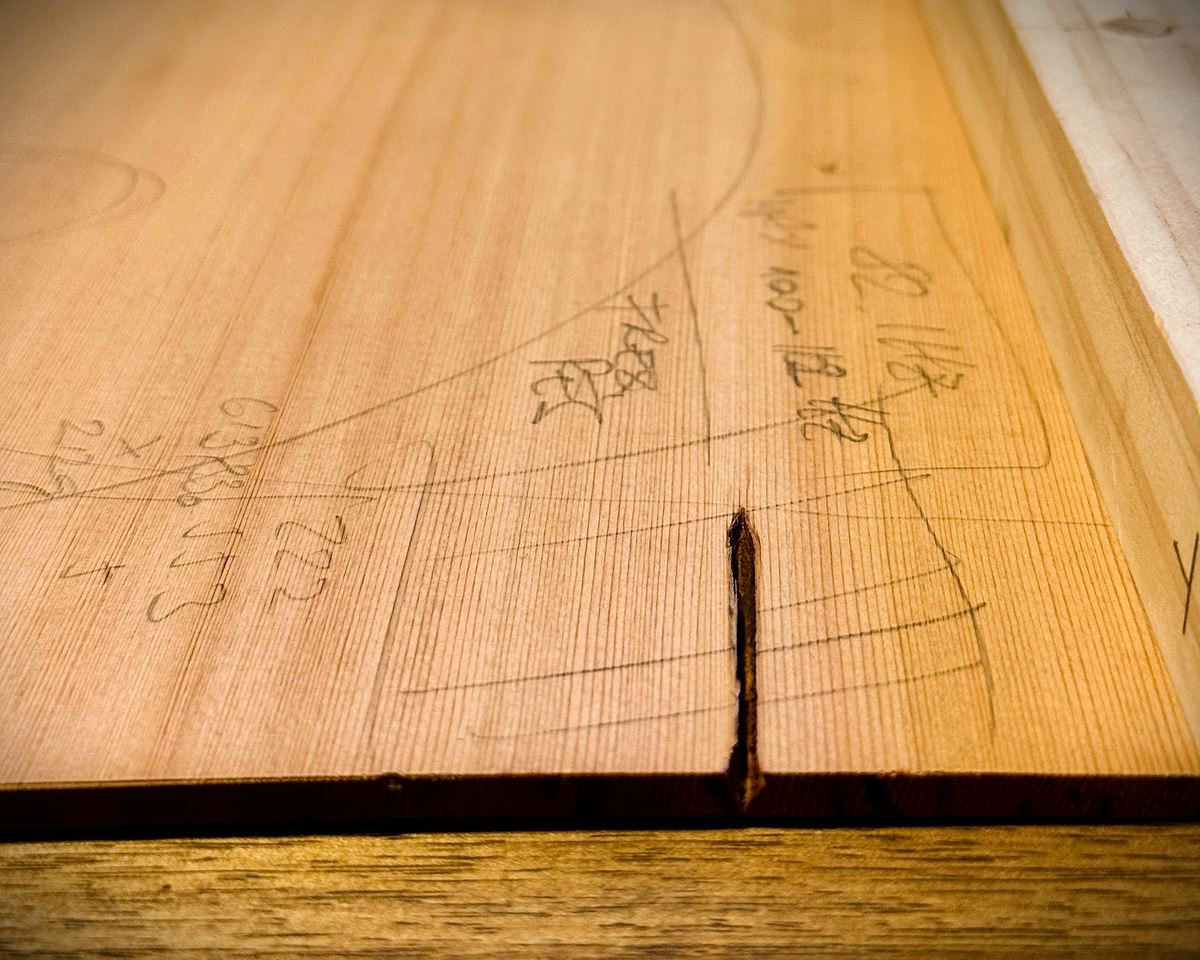
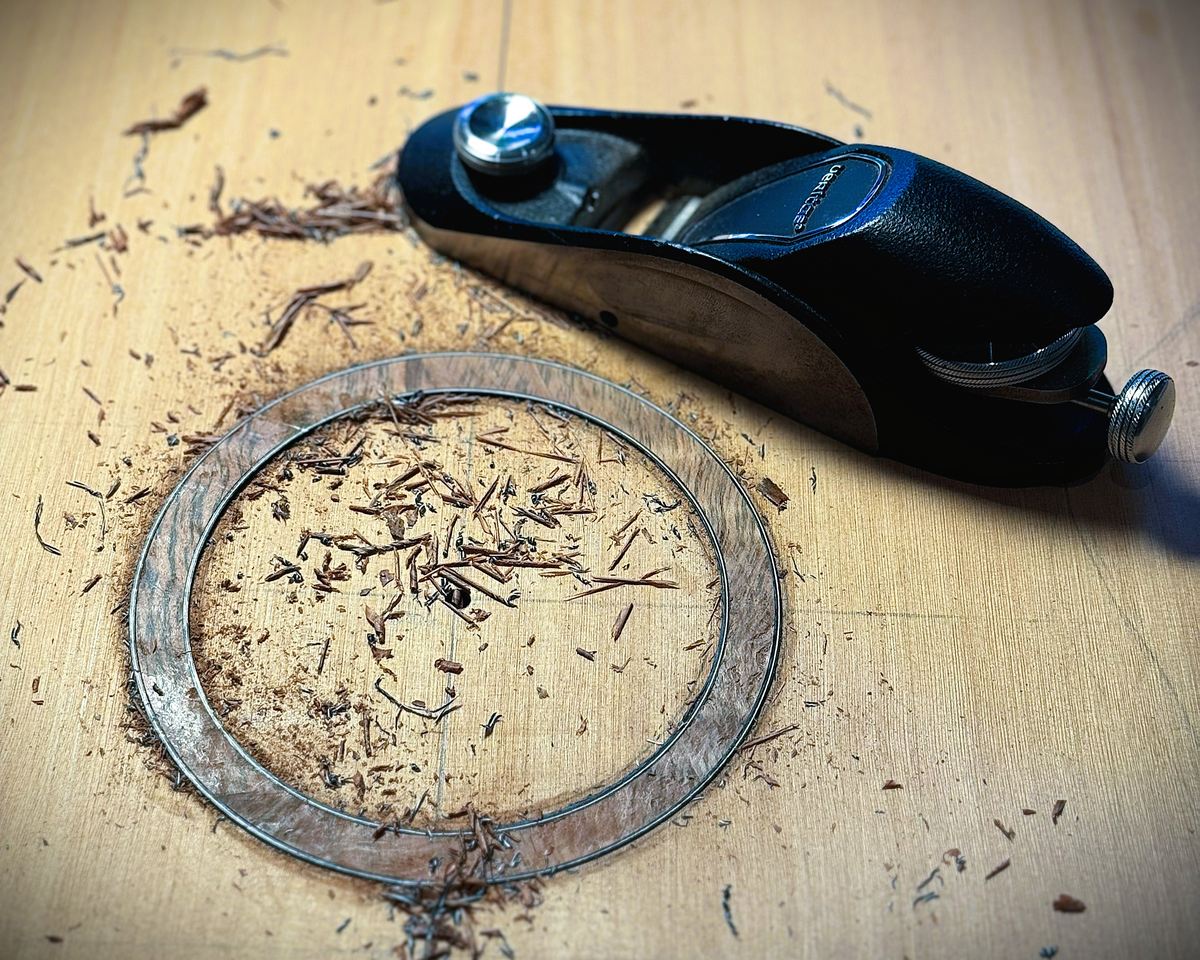
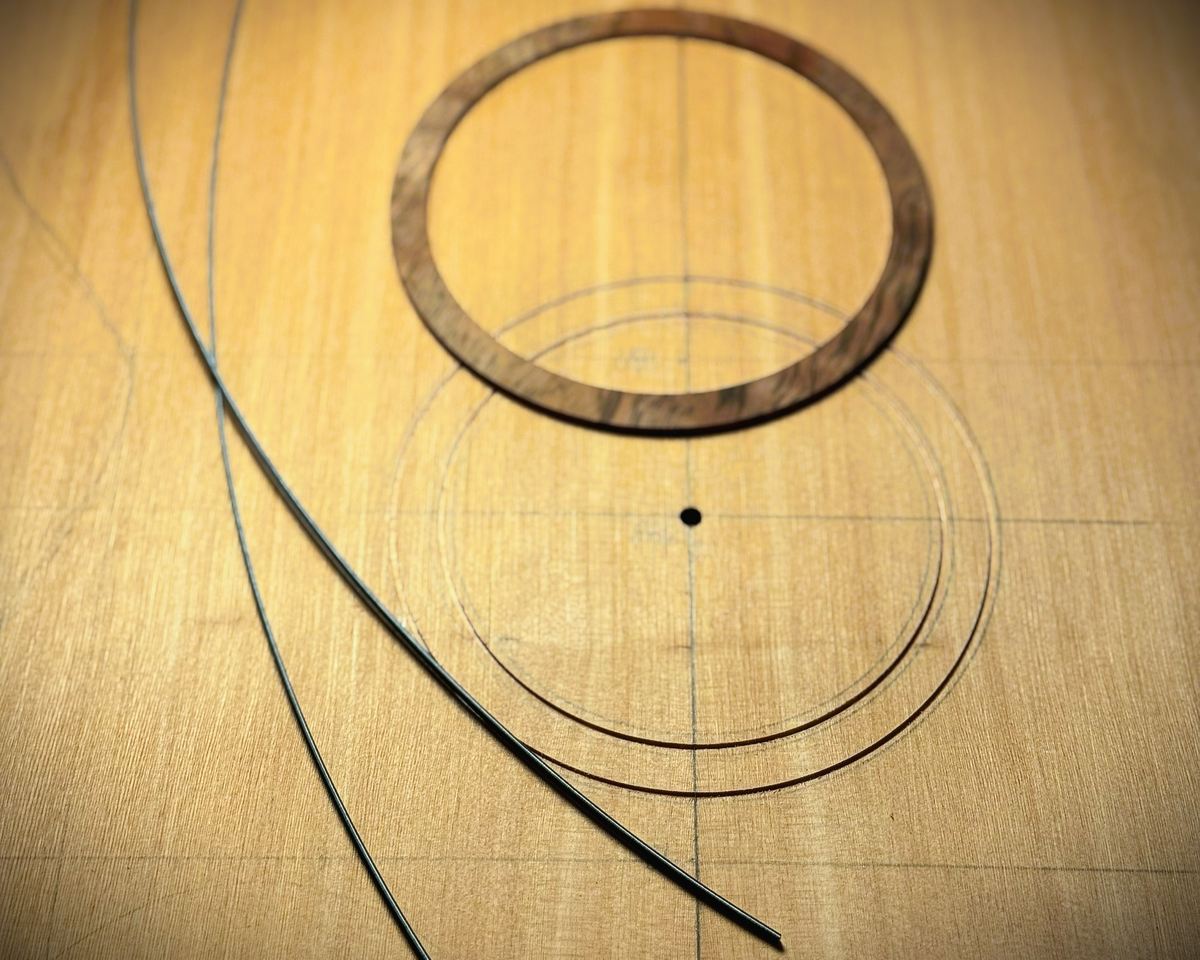
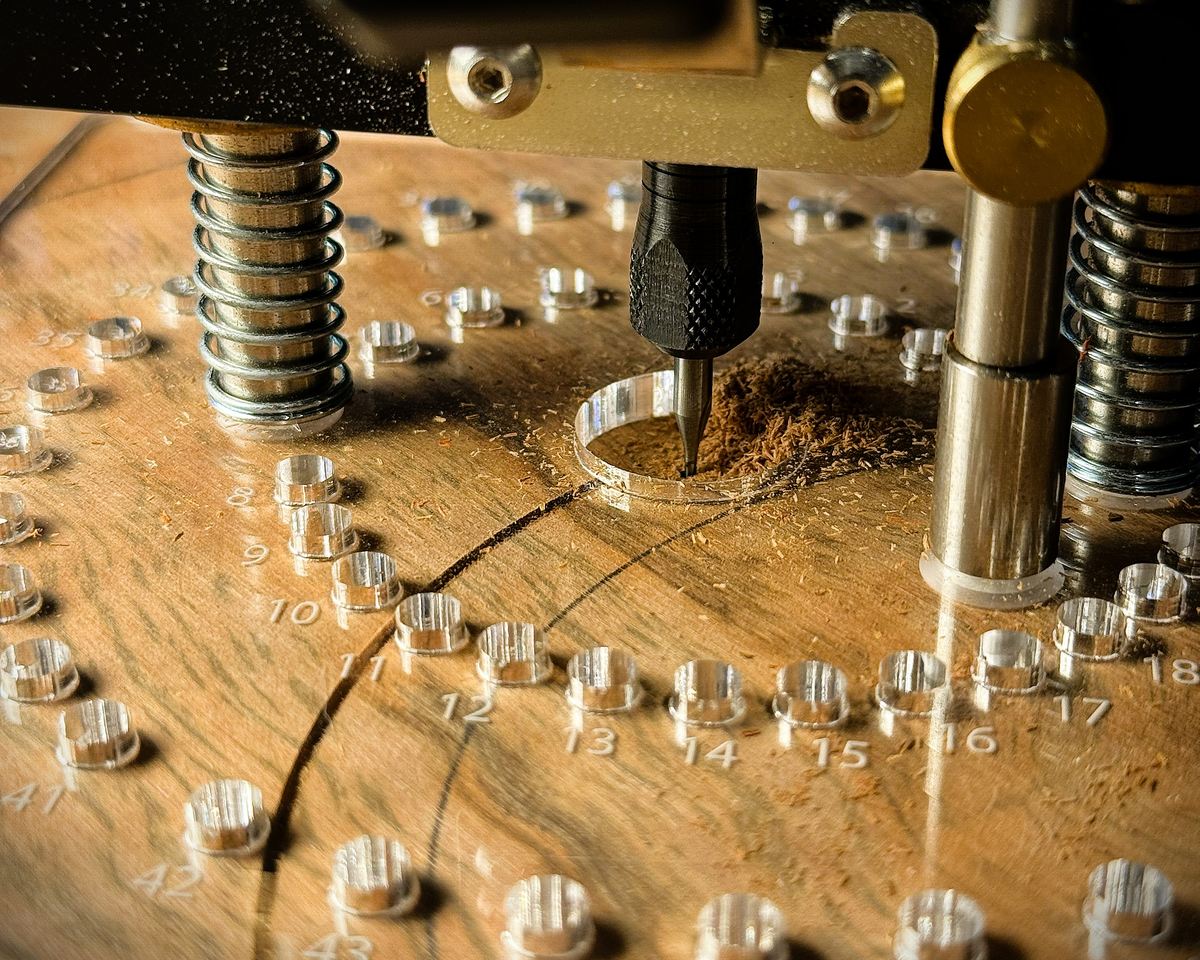
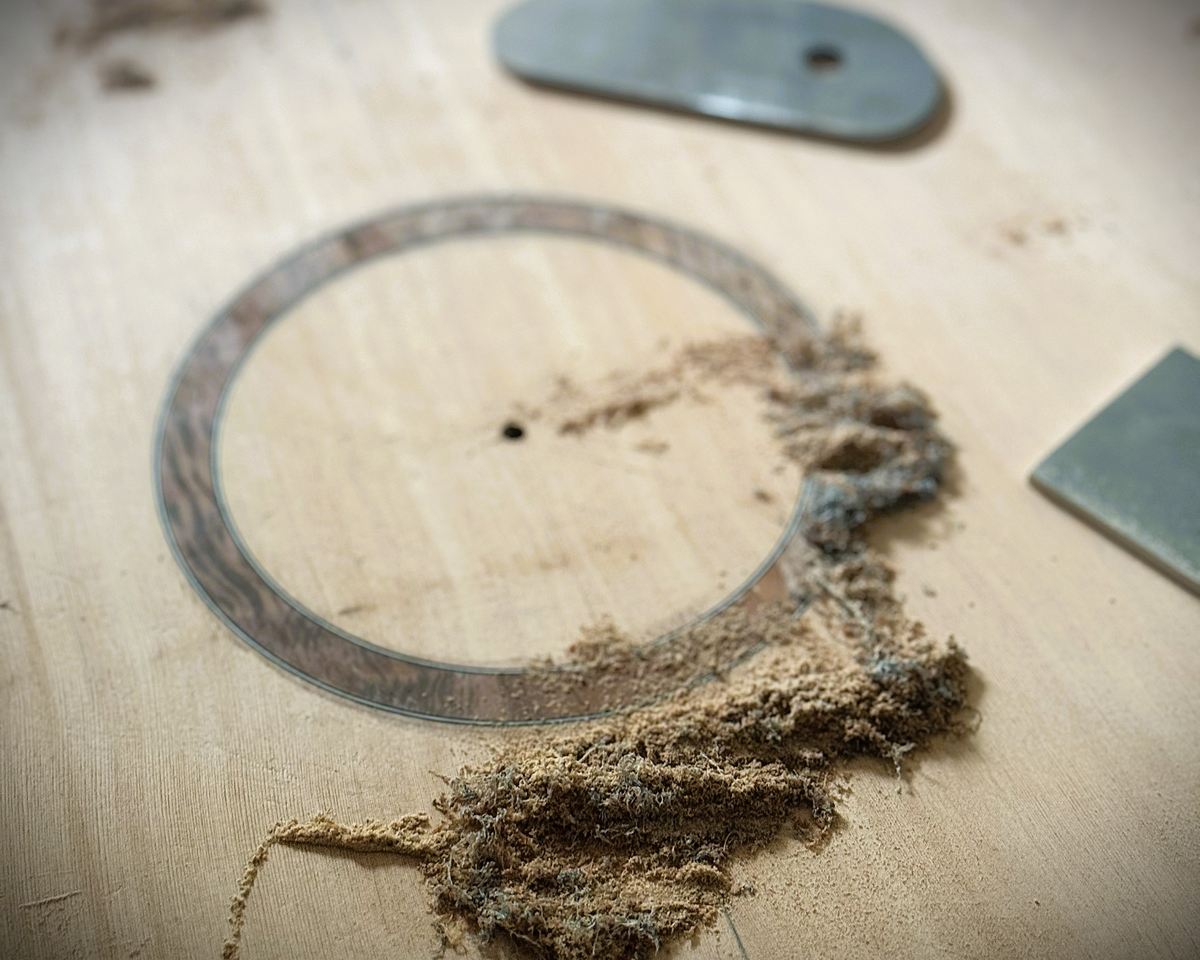
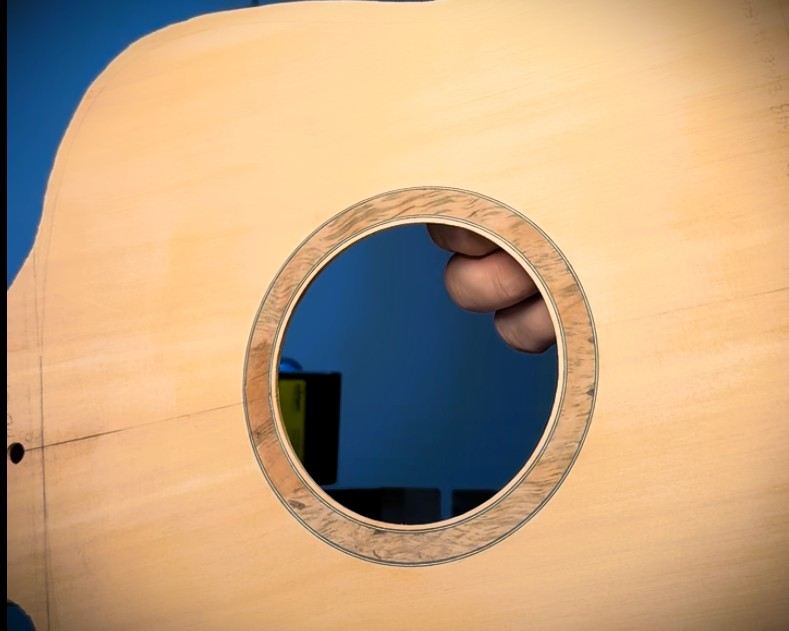
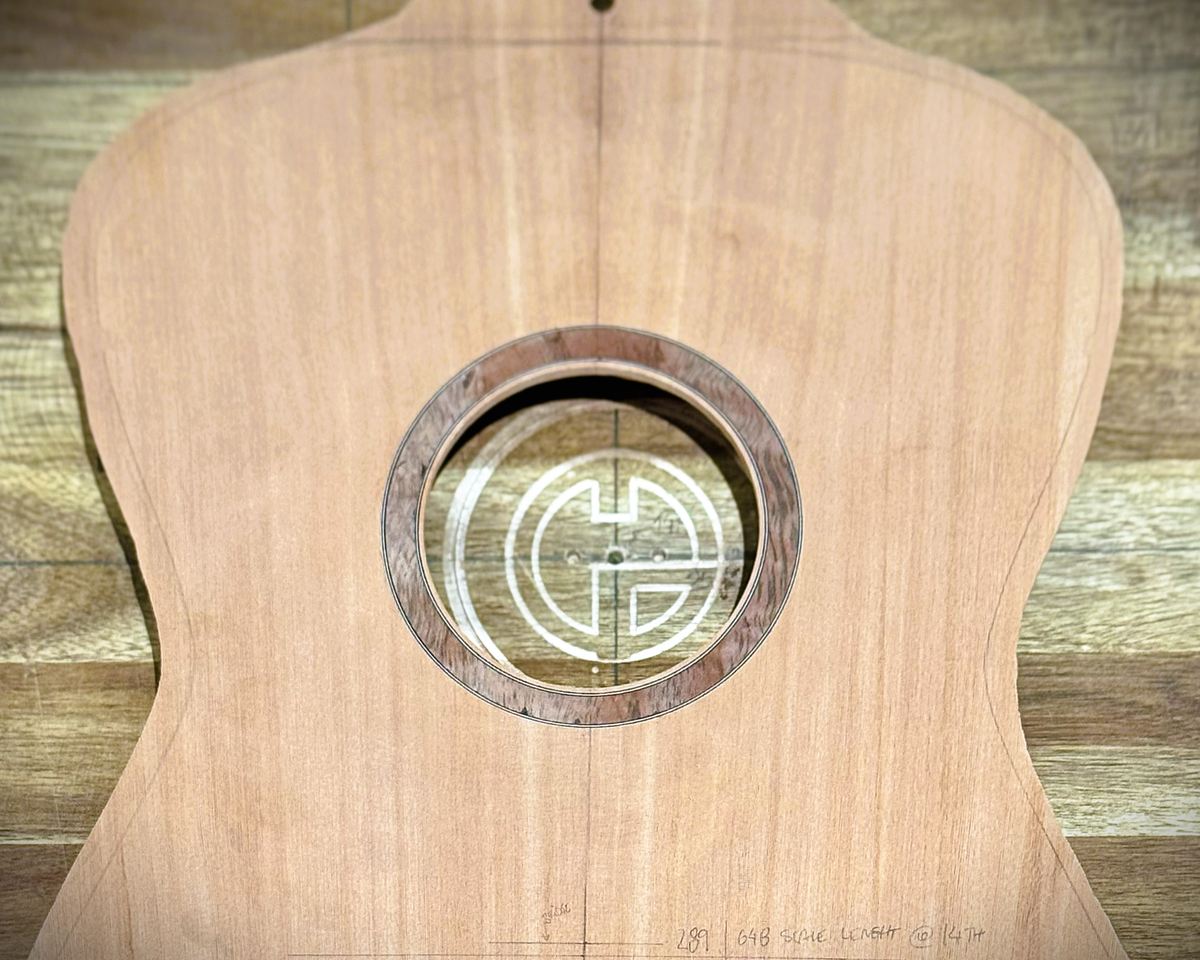
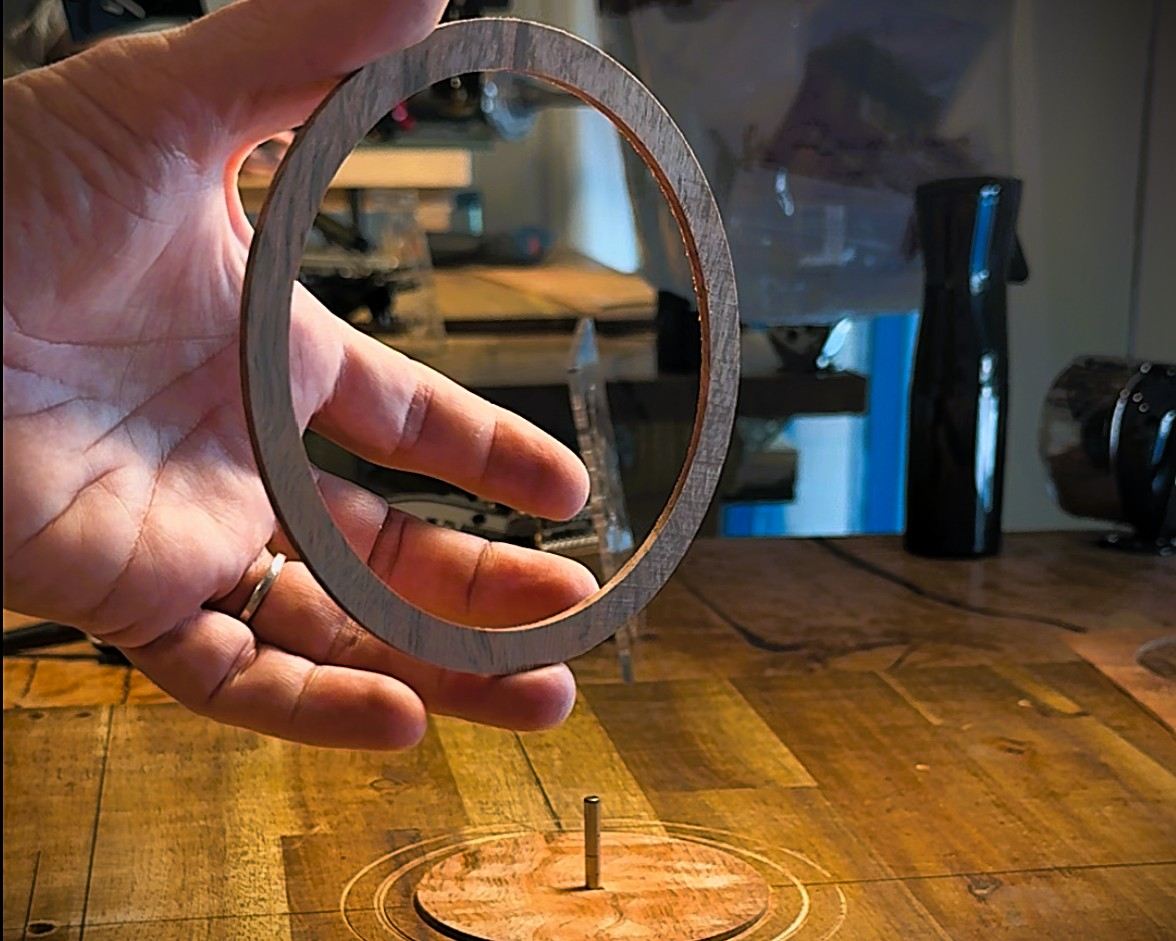
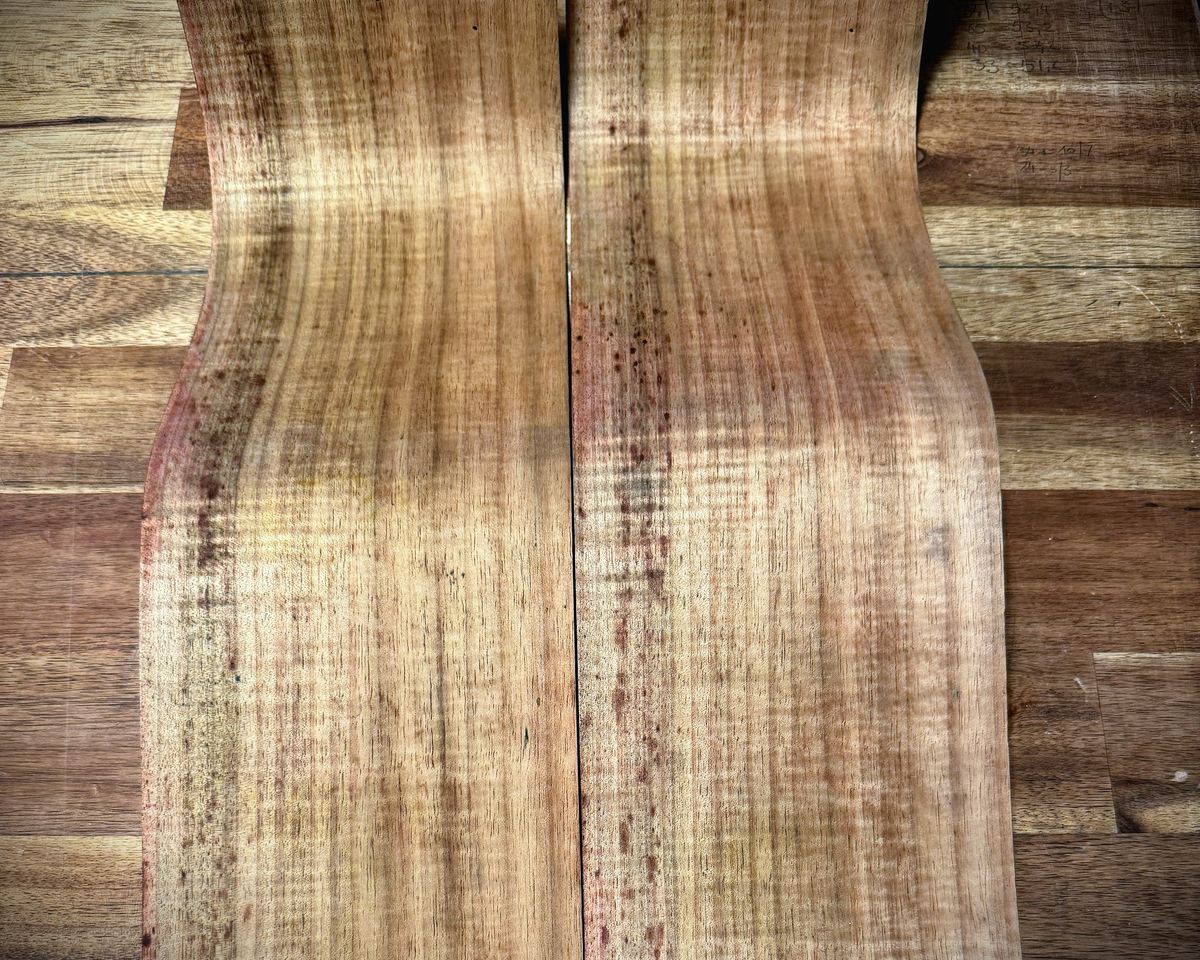
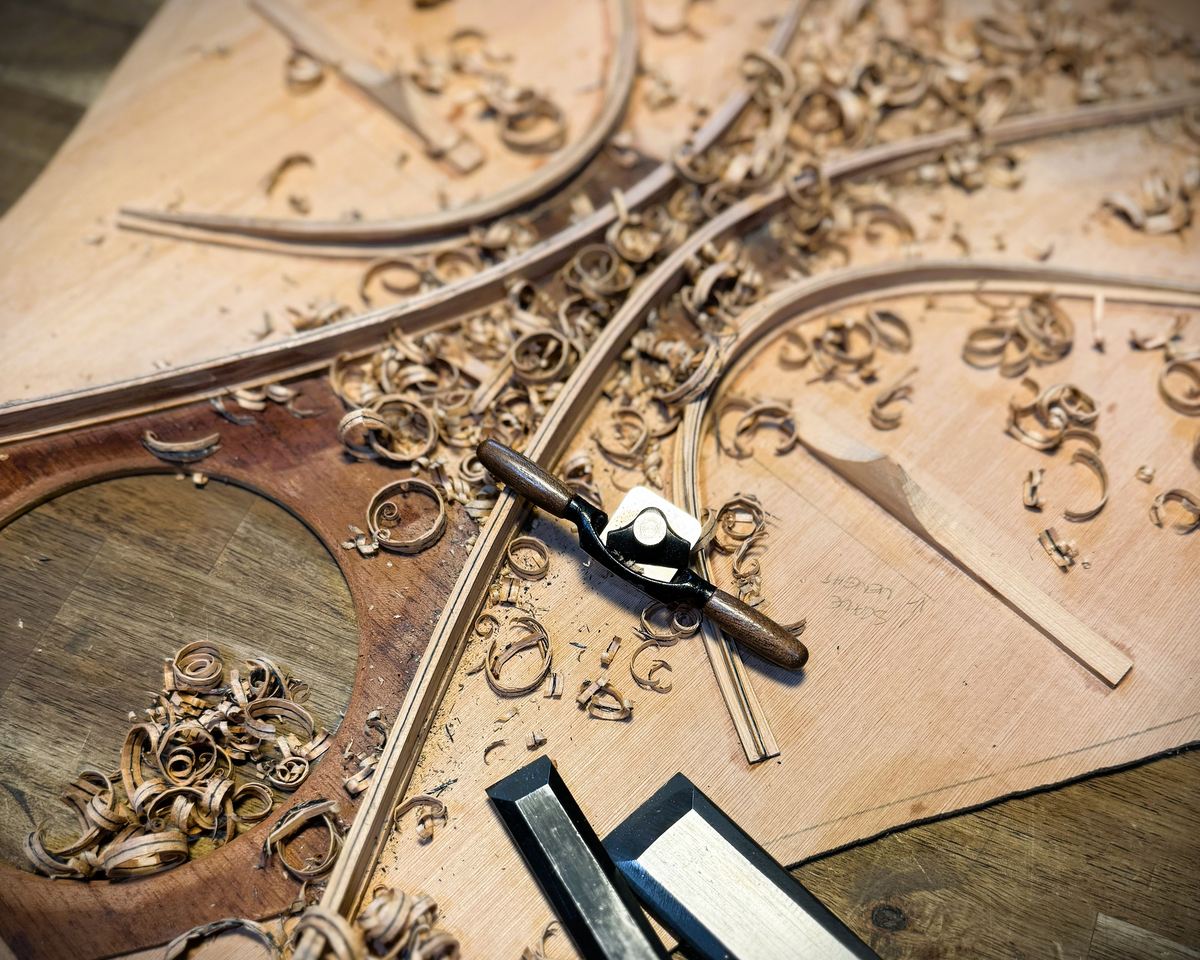
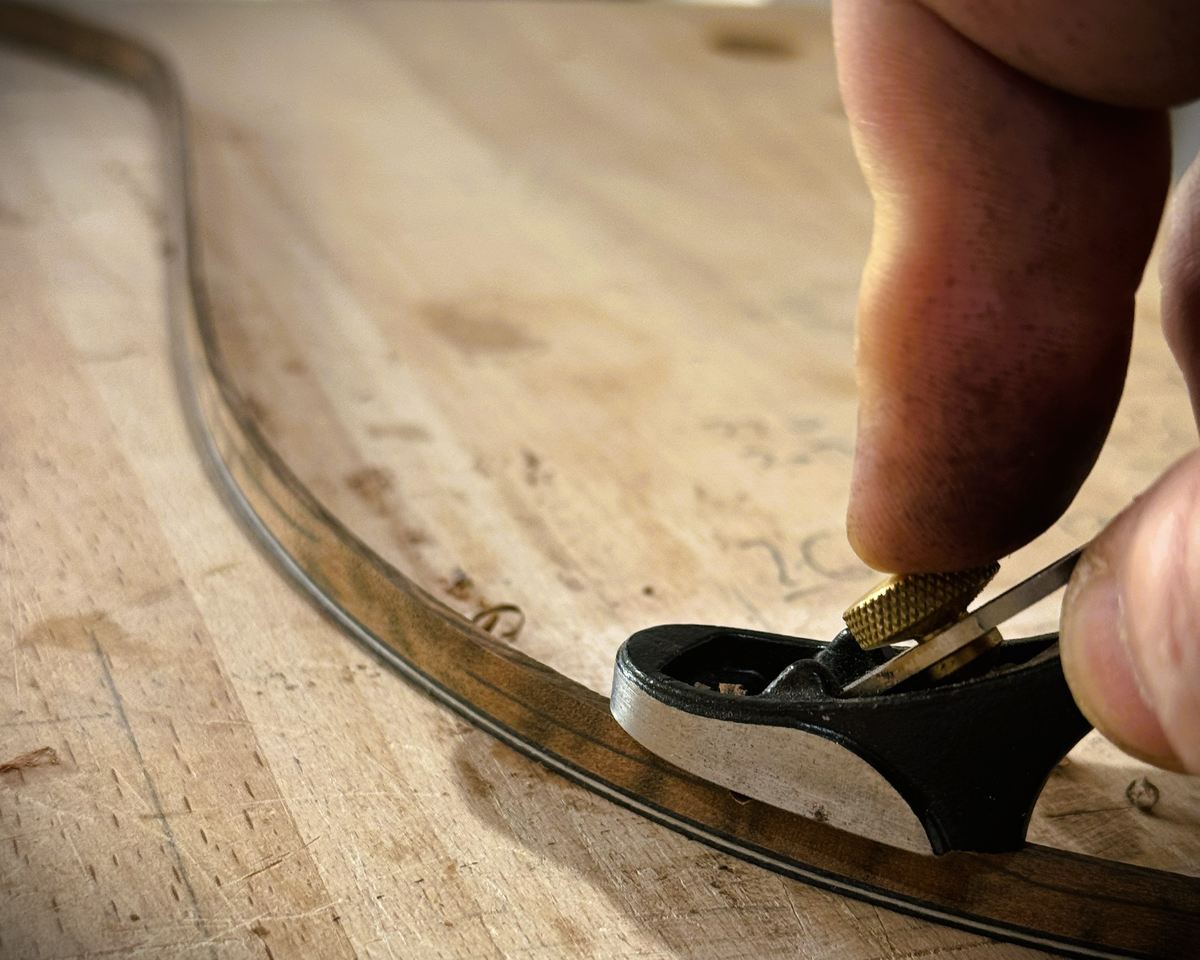
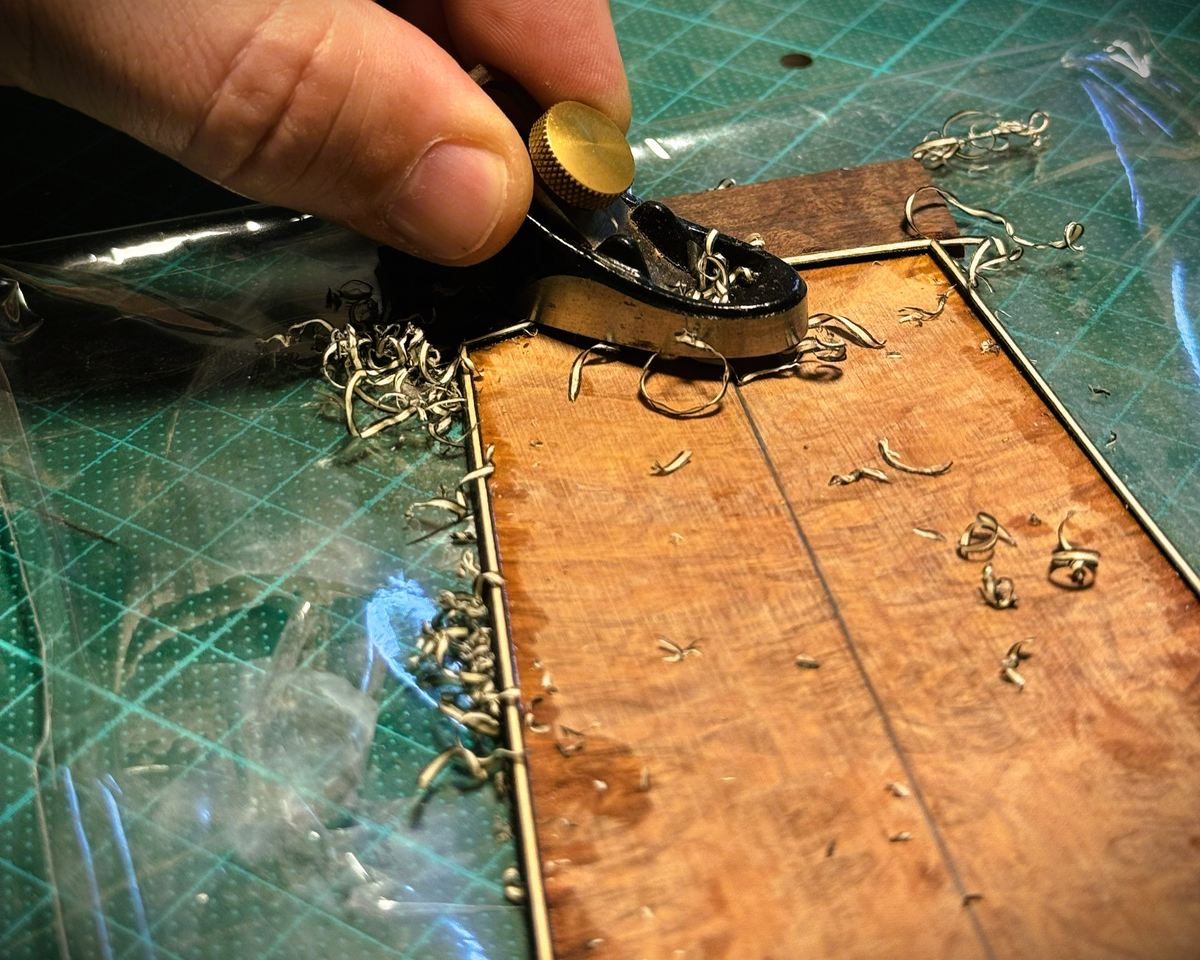
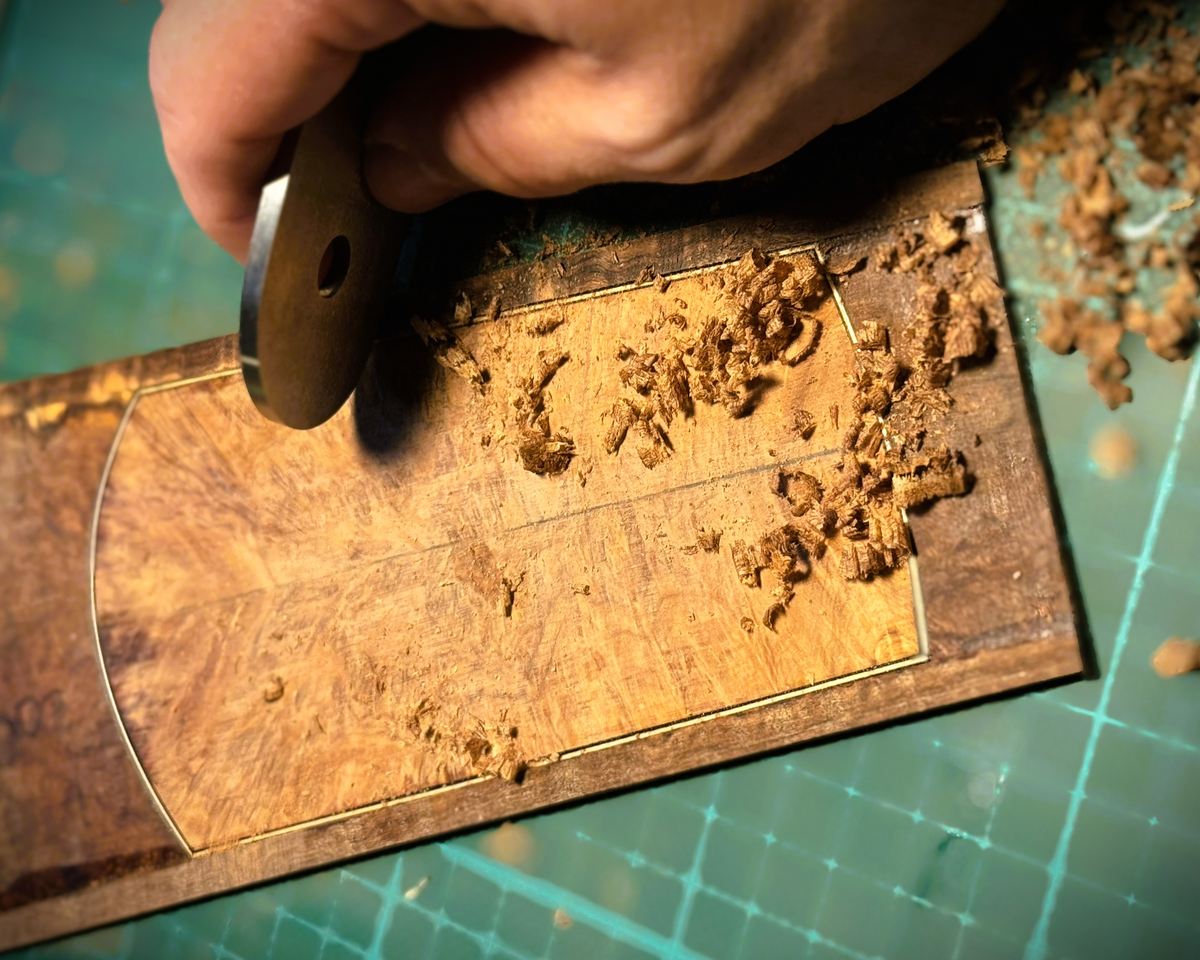
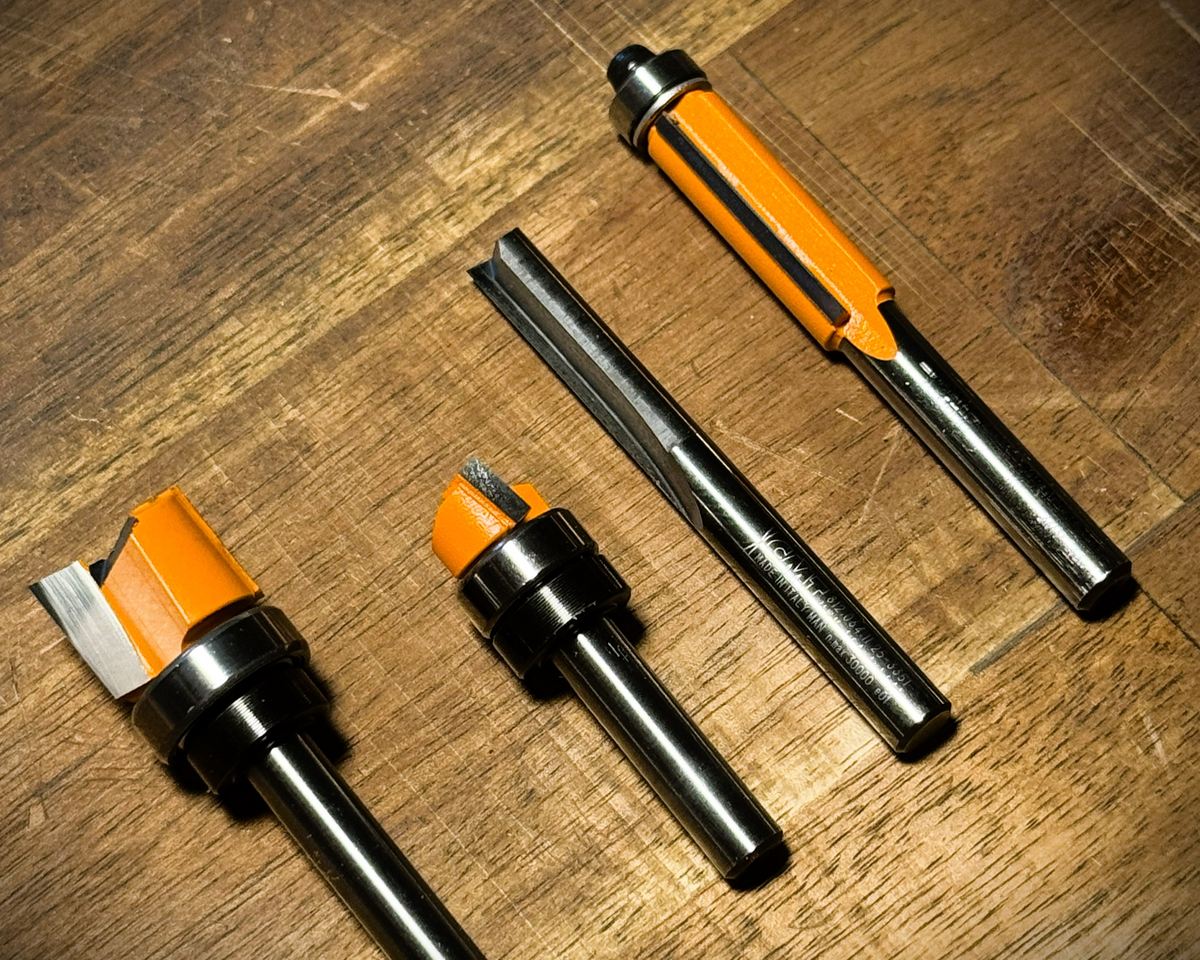
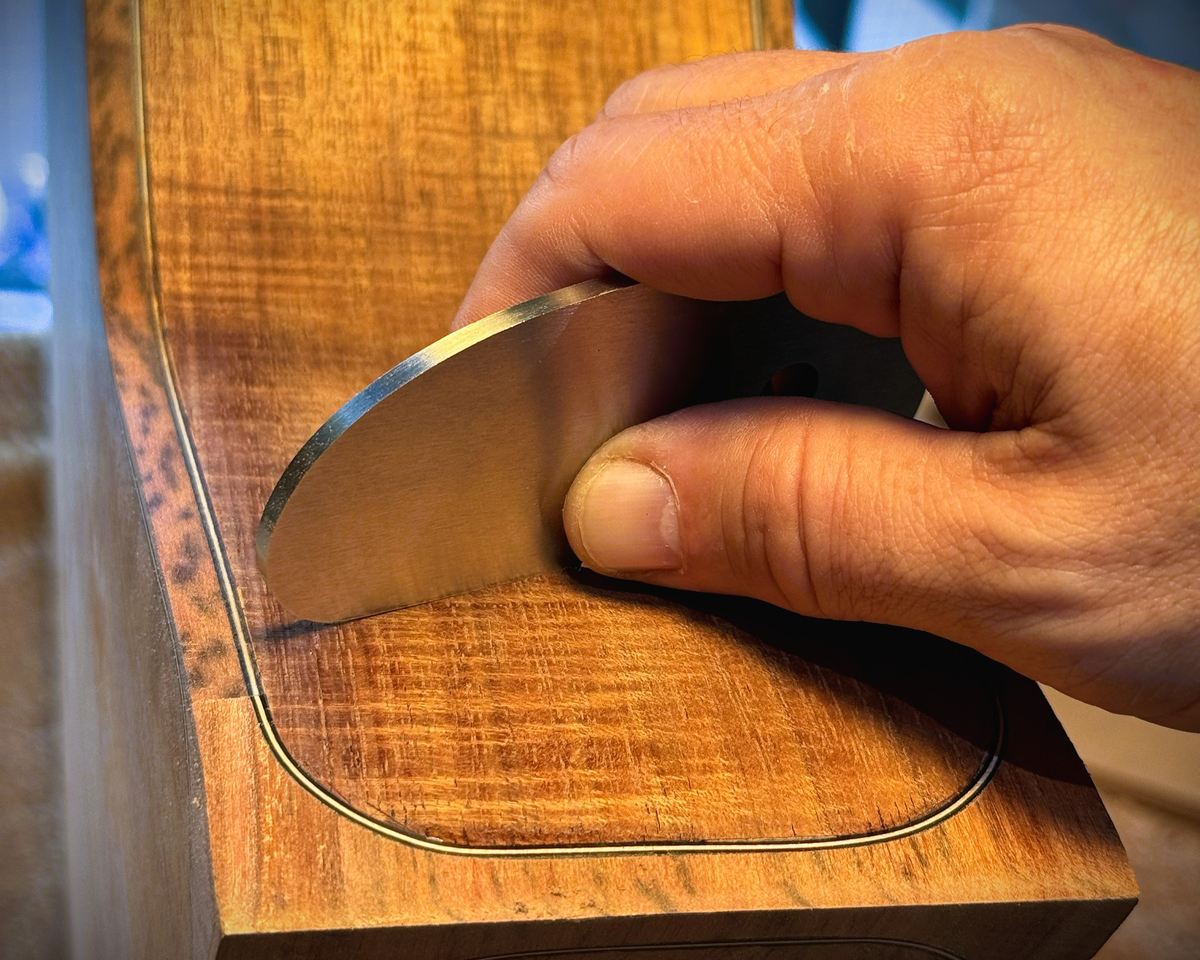
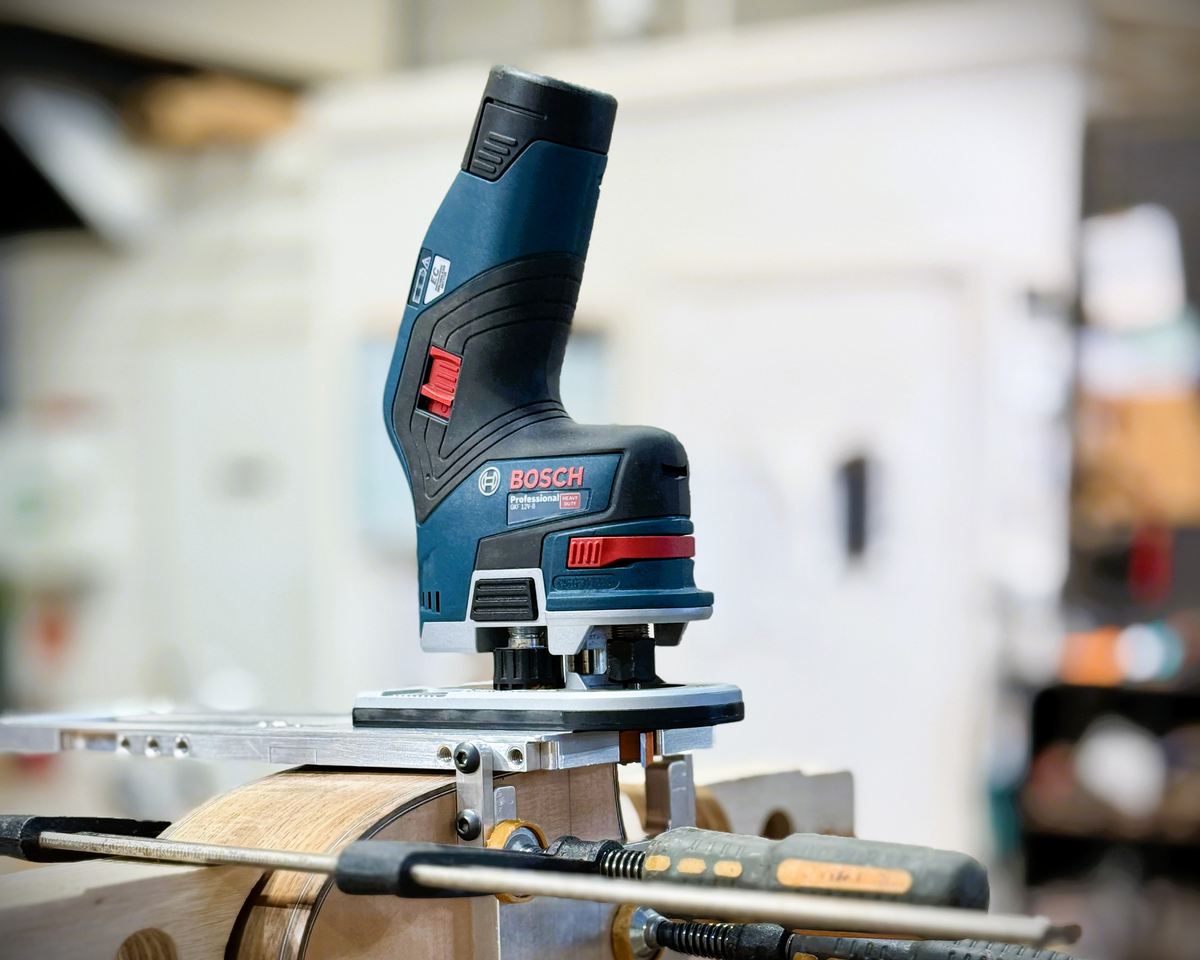
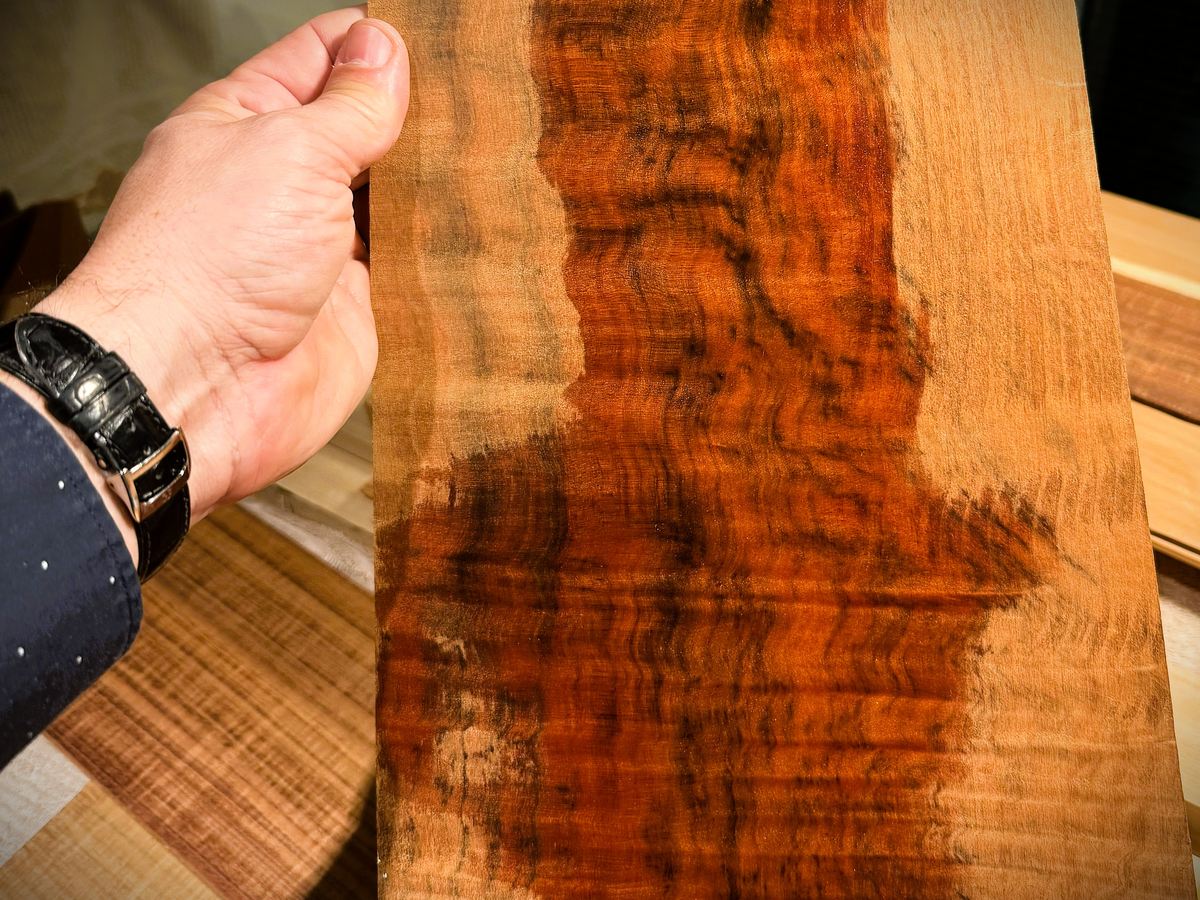
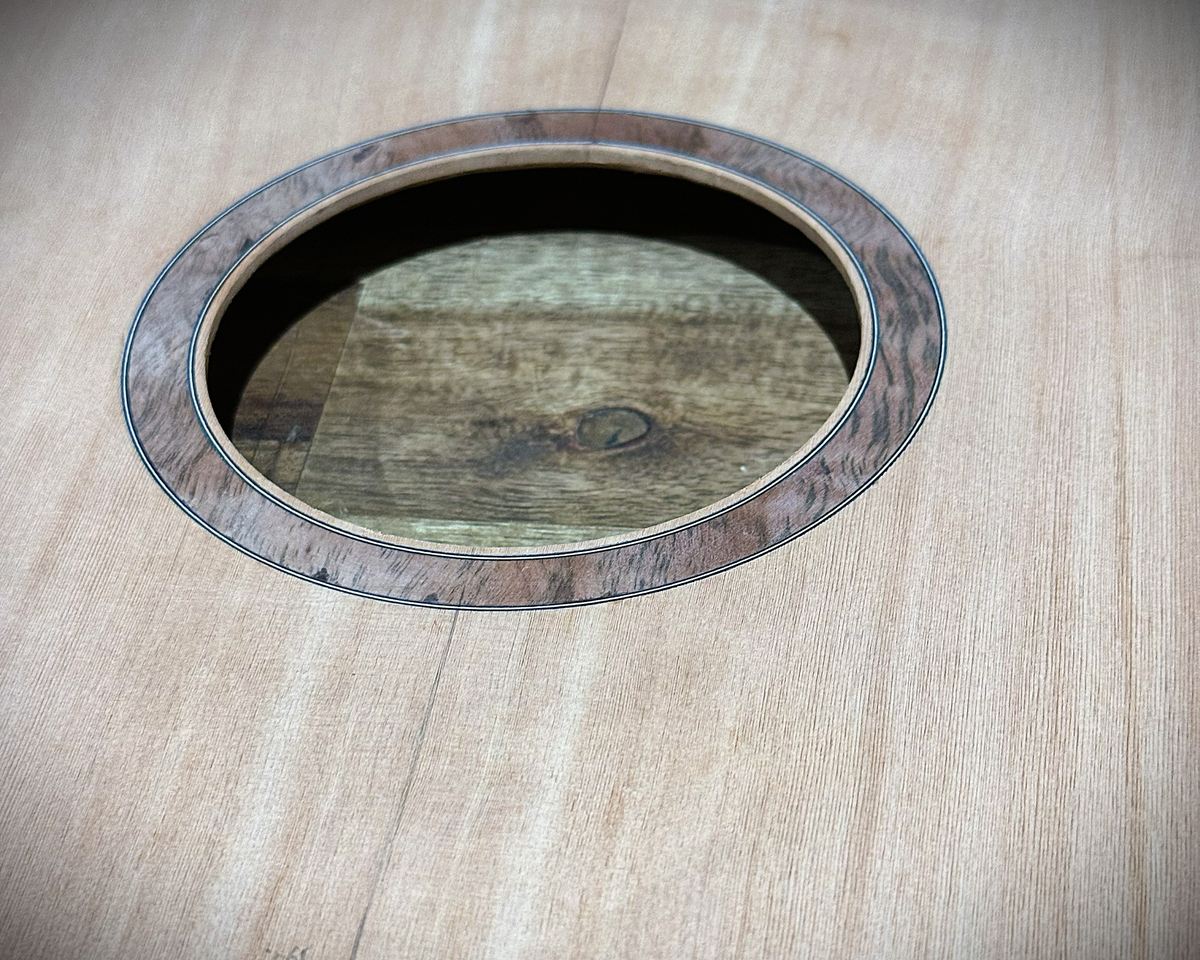
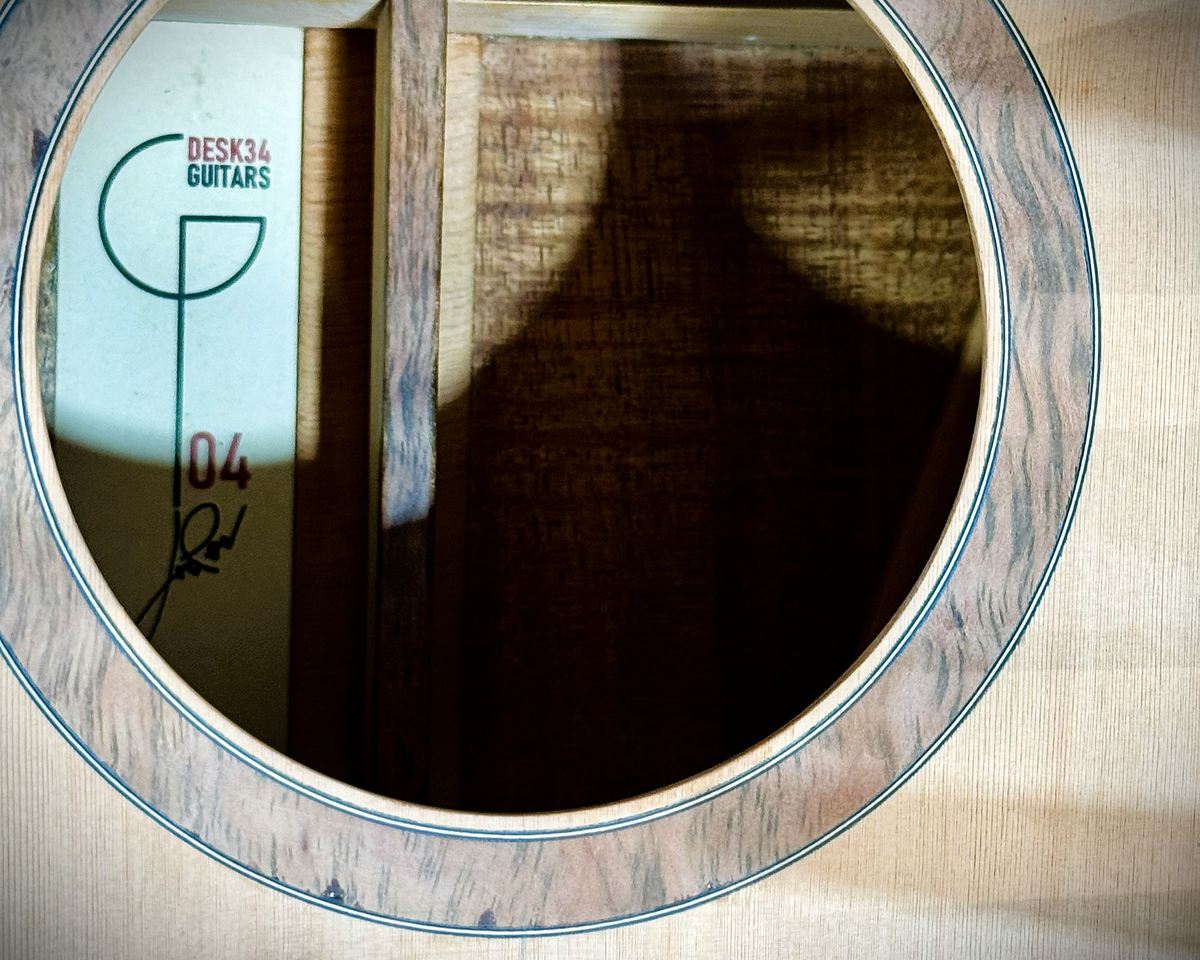
A channel is routed around the soundhole and the Tiger Myrtle rosette ring is set into it, cut from the same material as the binding and the end graft, then levelled flush with a scraper. The soundhole is cut last. It is the first thing anyone looks at, and the only inlay on the instrument that is seen every time it is played.
05

Bracing the back

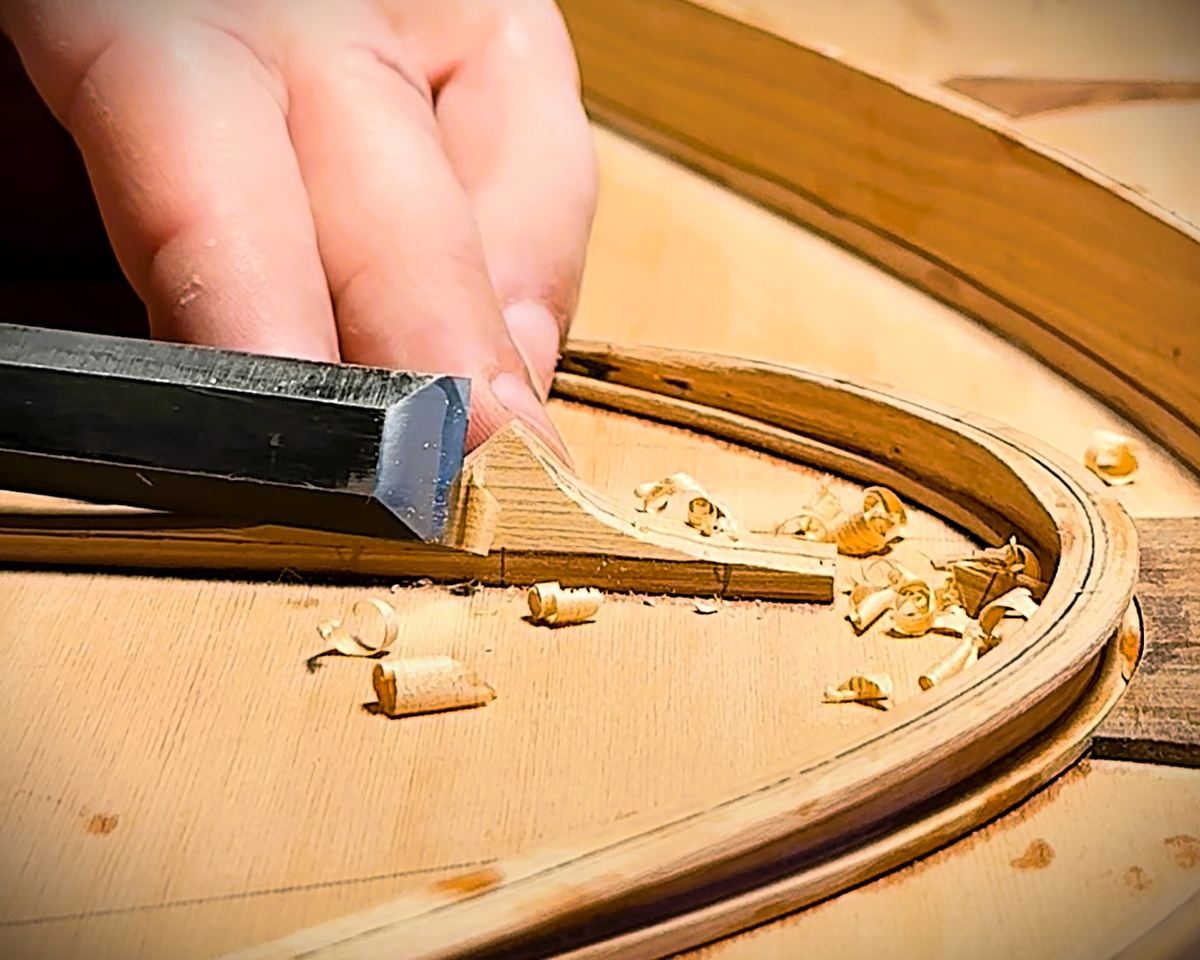
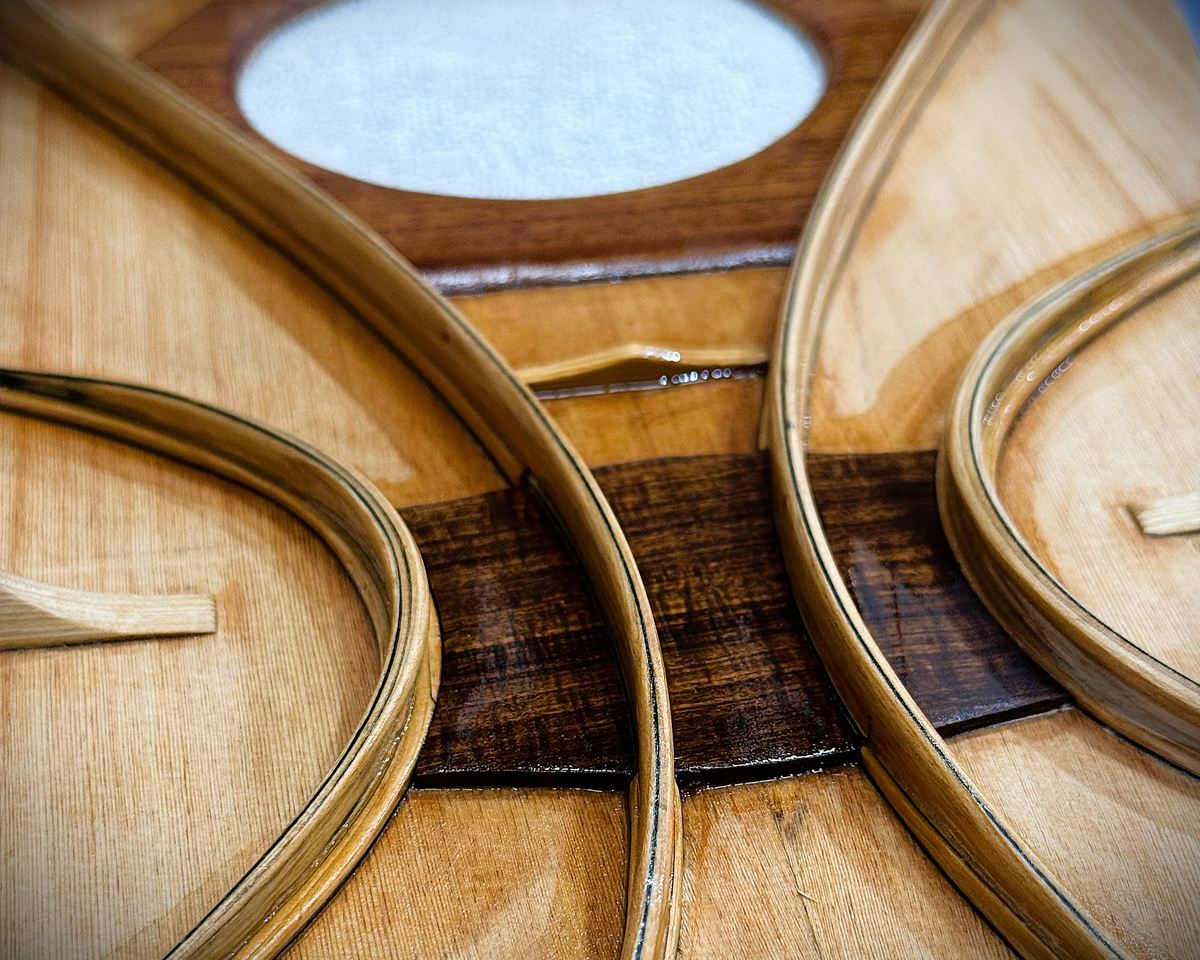
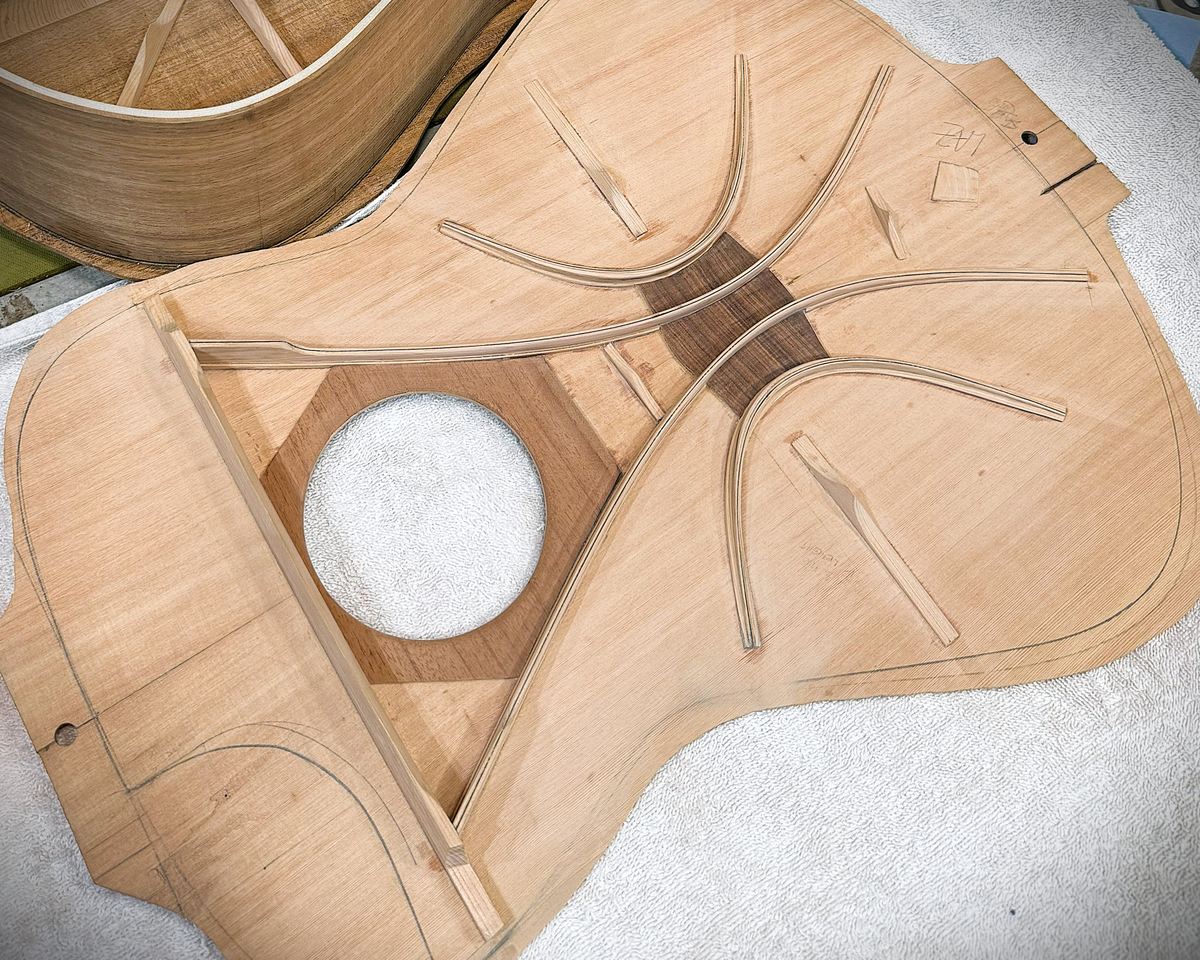
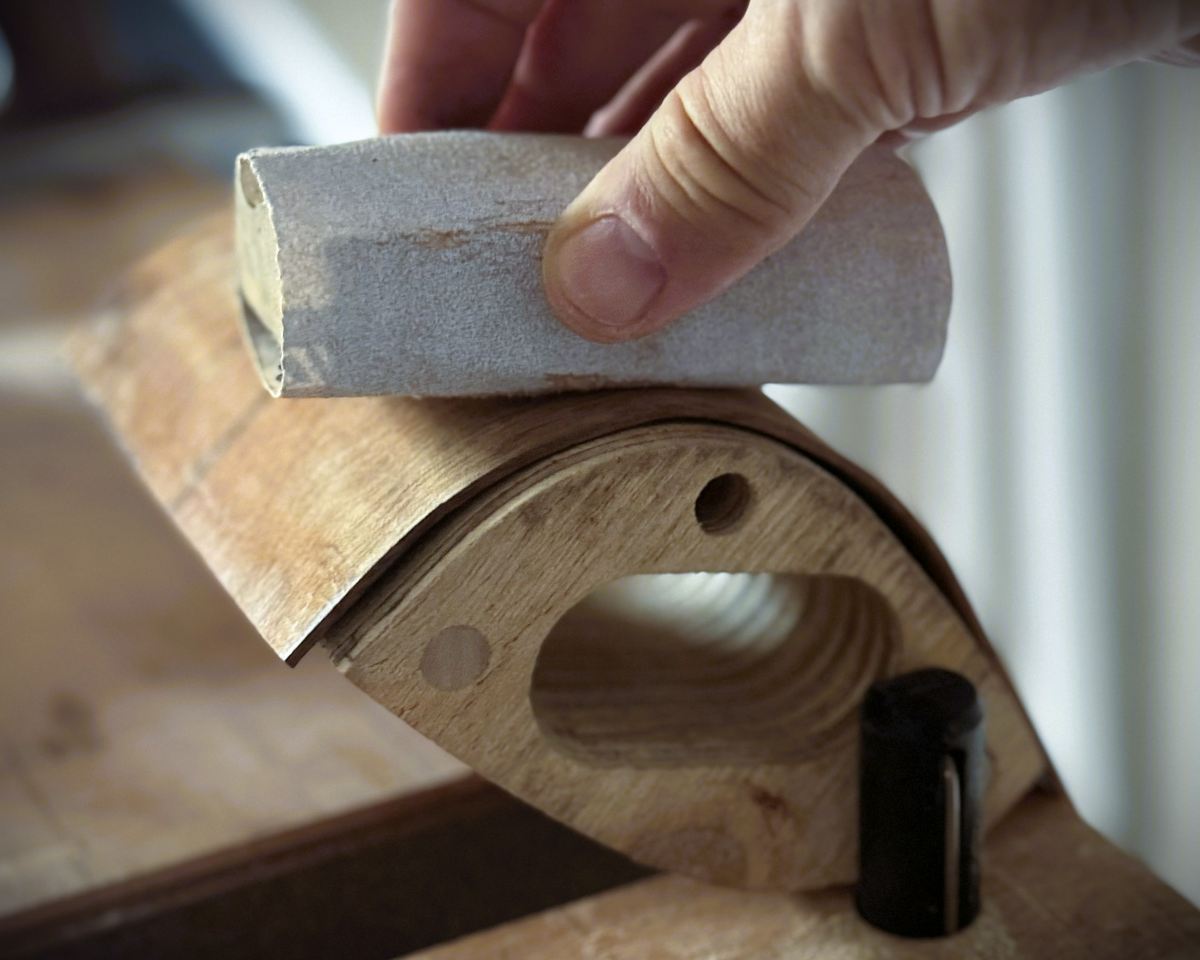
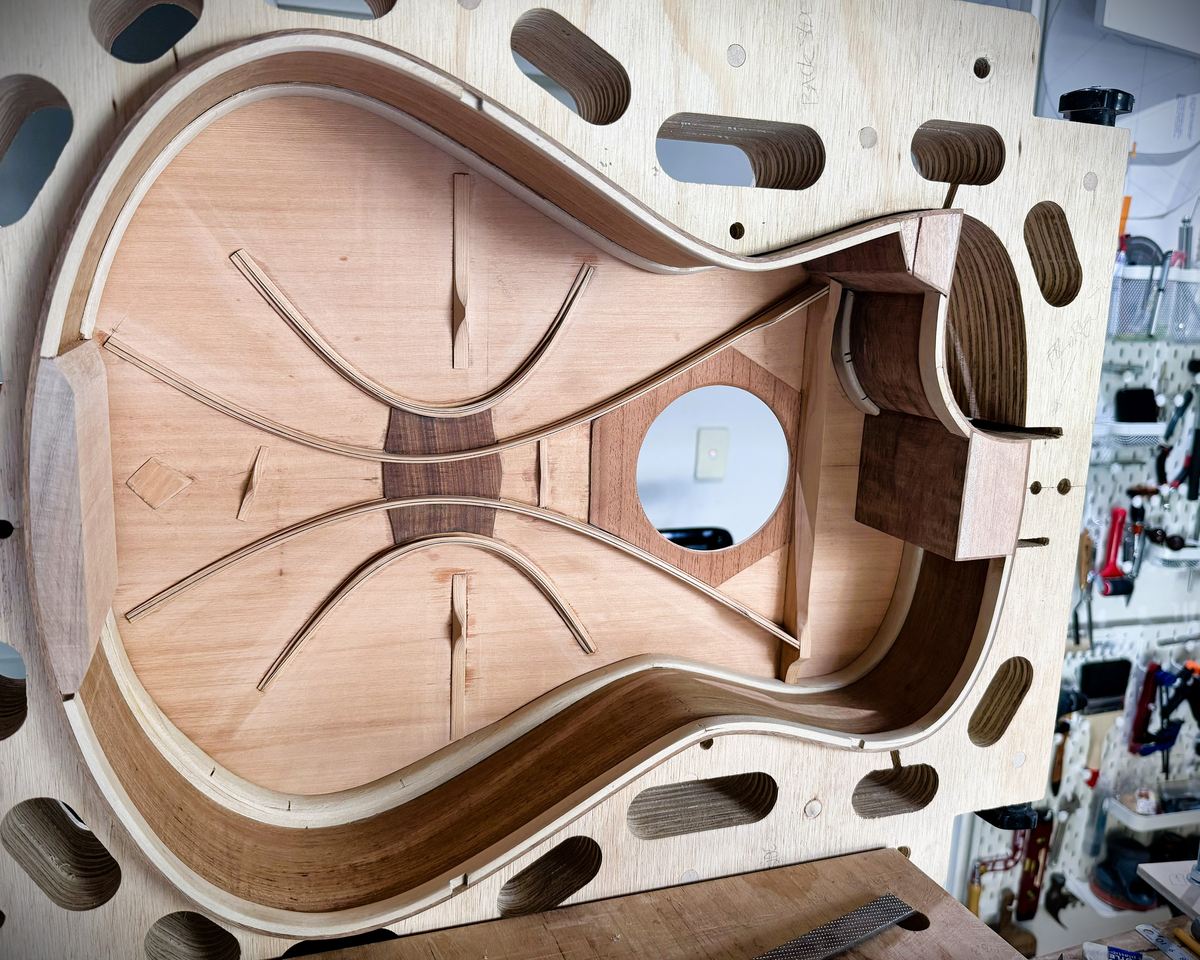
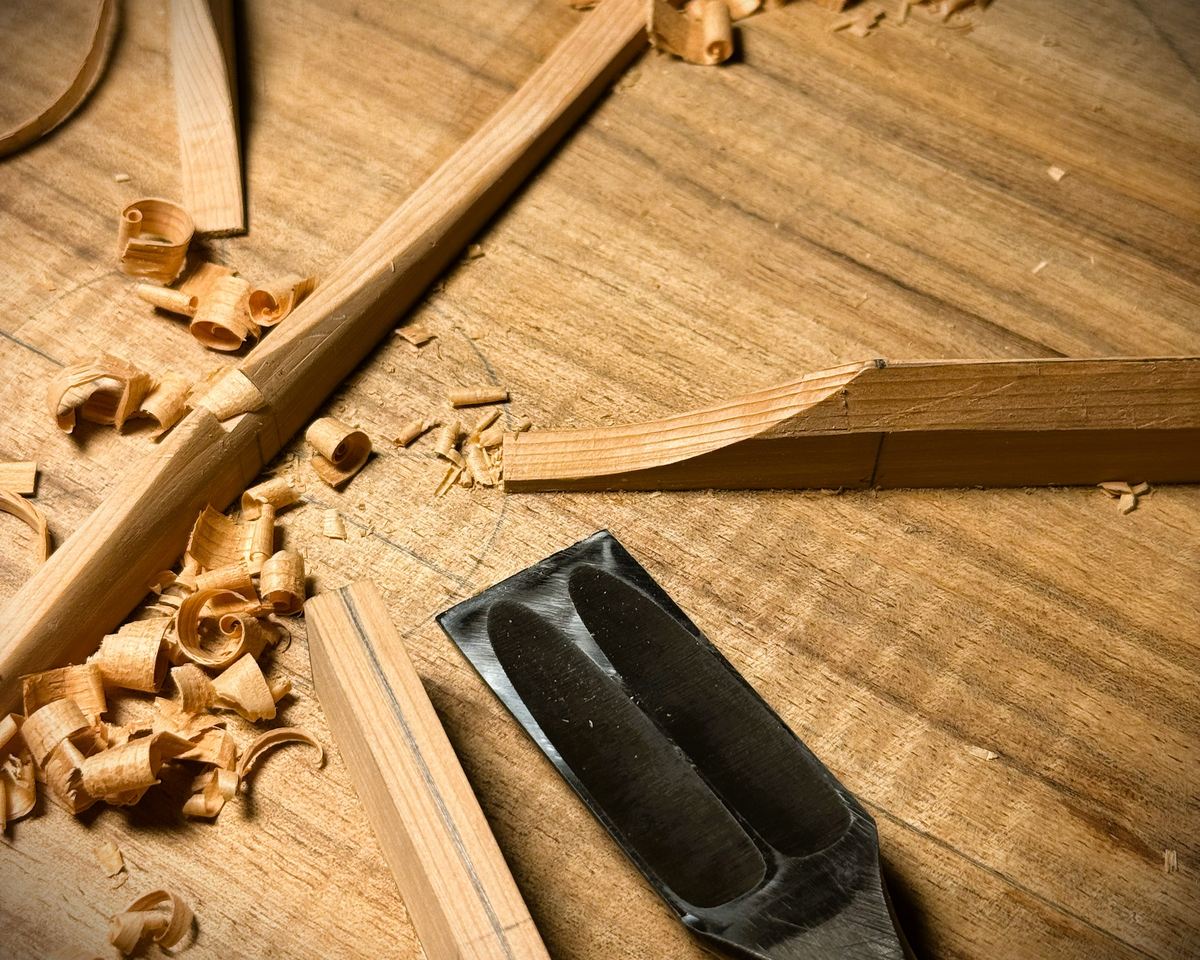
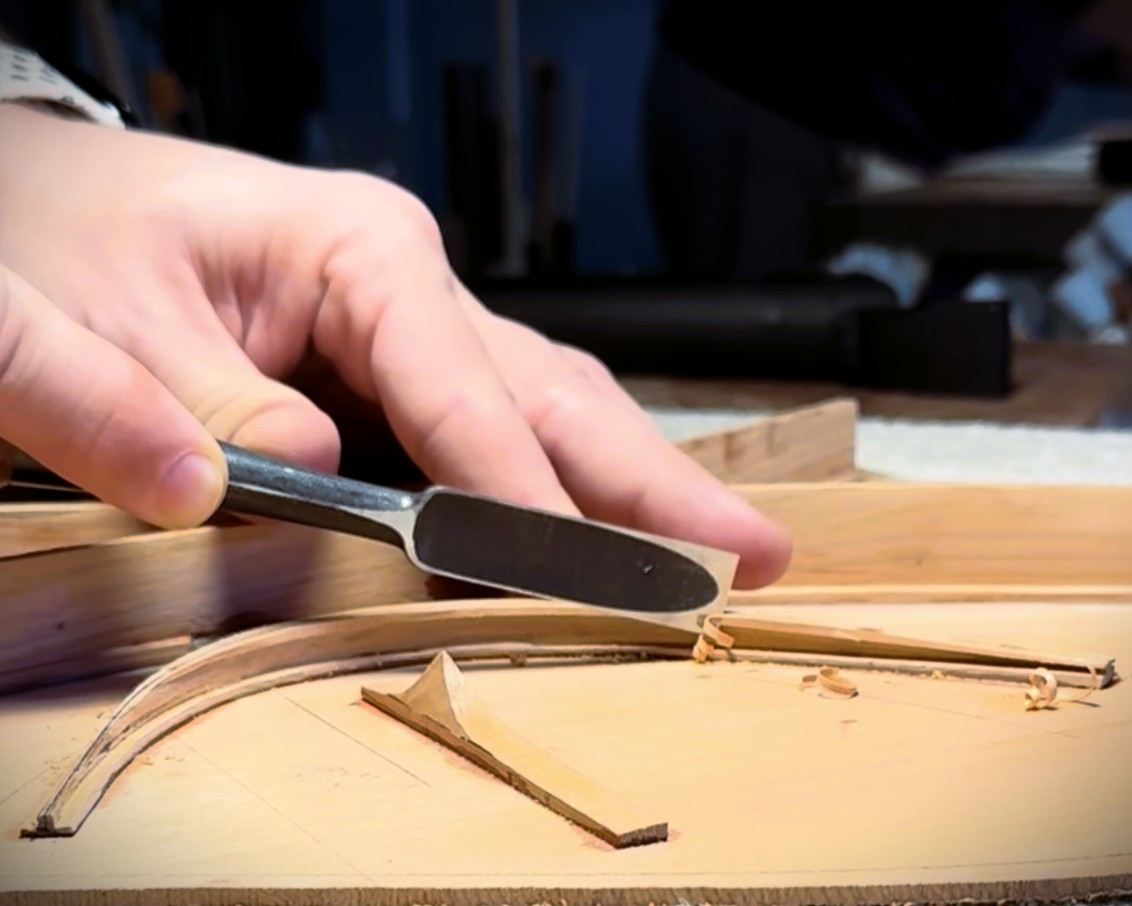
The back is built to work rather than to reflect. In most guitars the back is stiff enough to act as a wall behind the soundboard; here it is thicknessed and braced so that it moves with the air in the box and radiates in its own right, which is what an active back means. The Blackwood is domed over a dished form, the centre joint is reinforced with a strip along its length, and the braces are carved back in small passes while the plate is tapped. The target is not a pitch the timber happens to land on but a placement: the main resonance of the back set a measured interval above that of the soundboard. Too close and the two plates work against each other and the guitar loses its bottom end; set correctly they couple, and the back adds to the note instead of merely containing it.

06

Bracing the soundboard

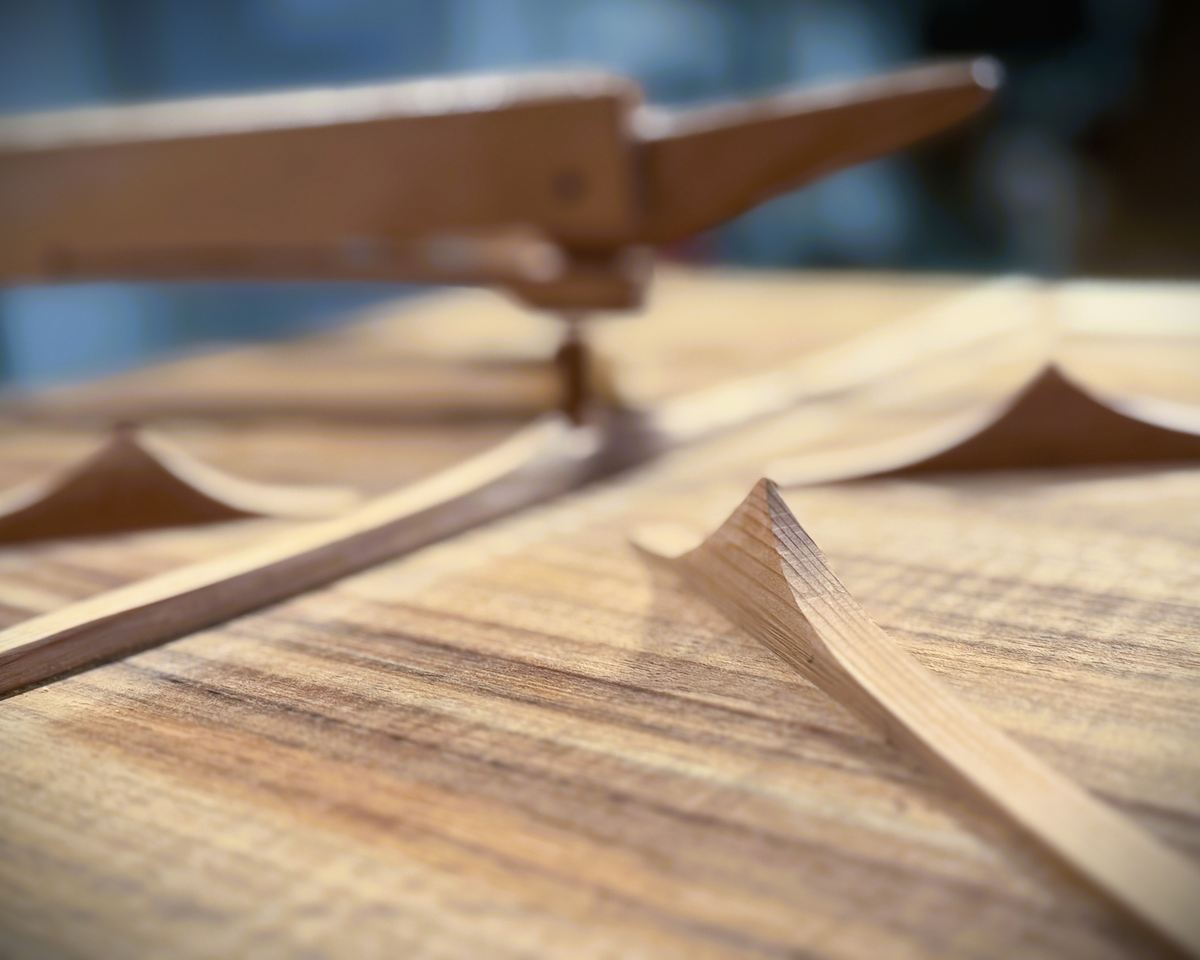
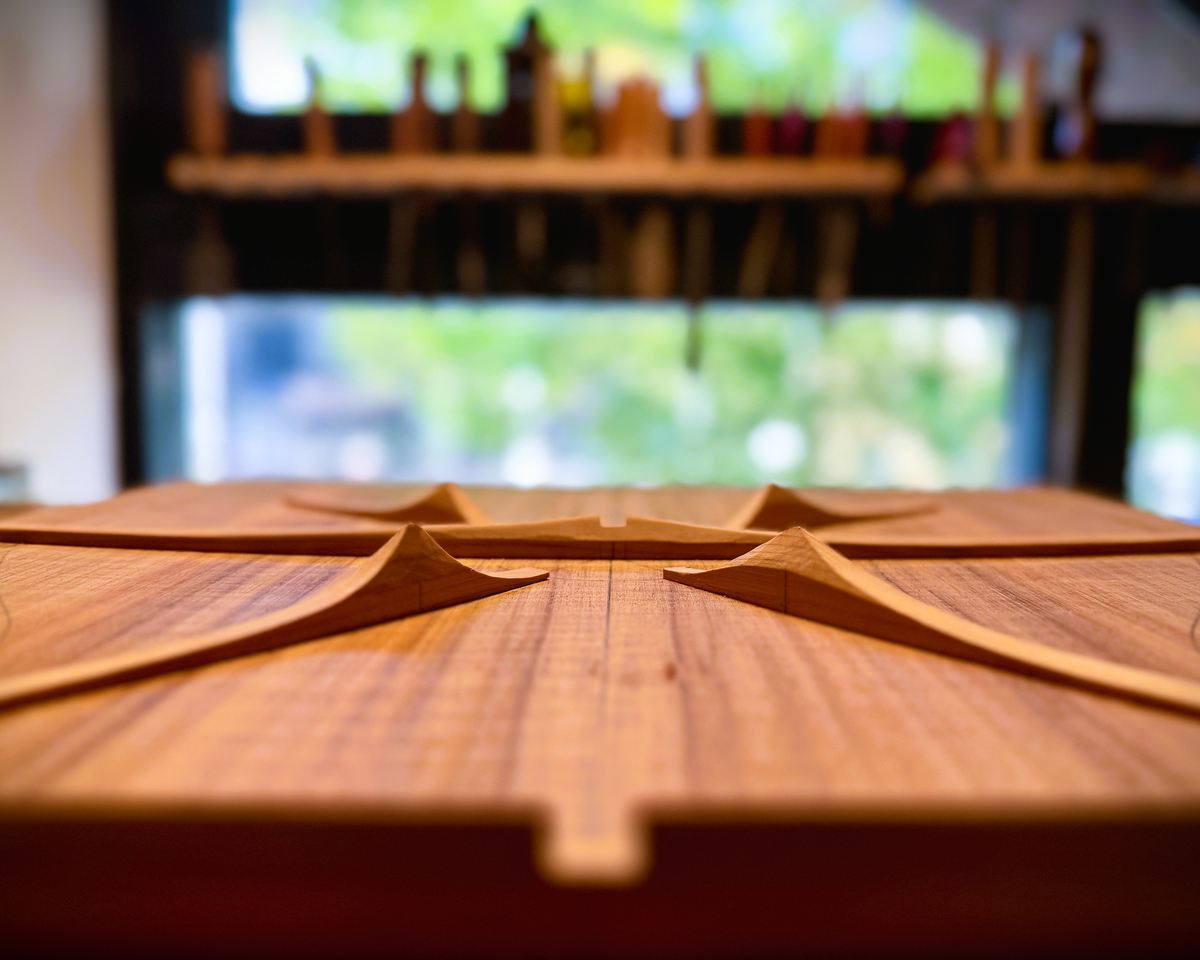
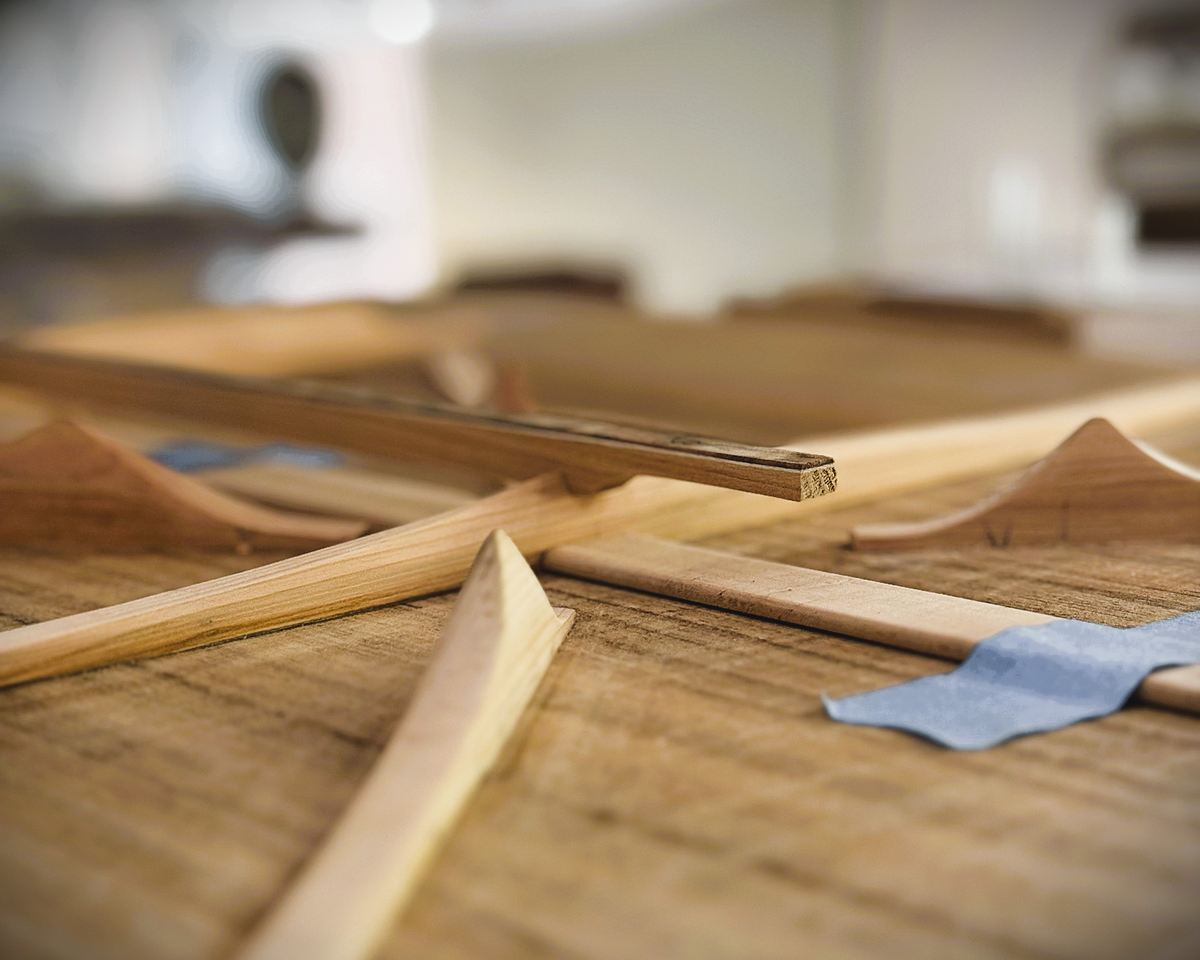
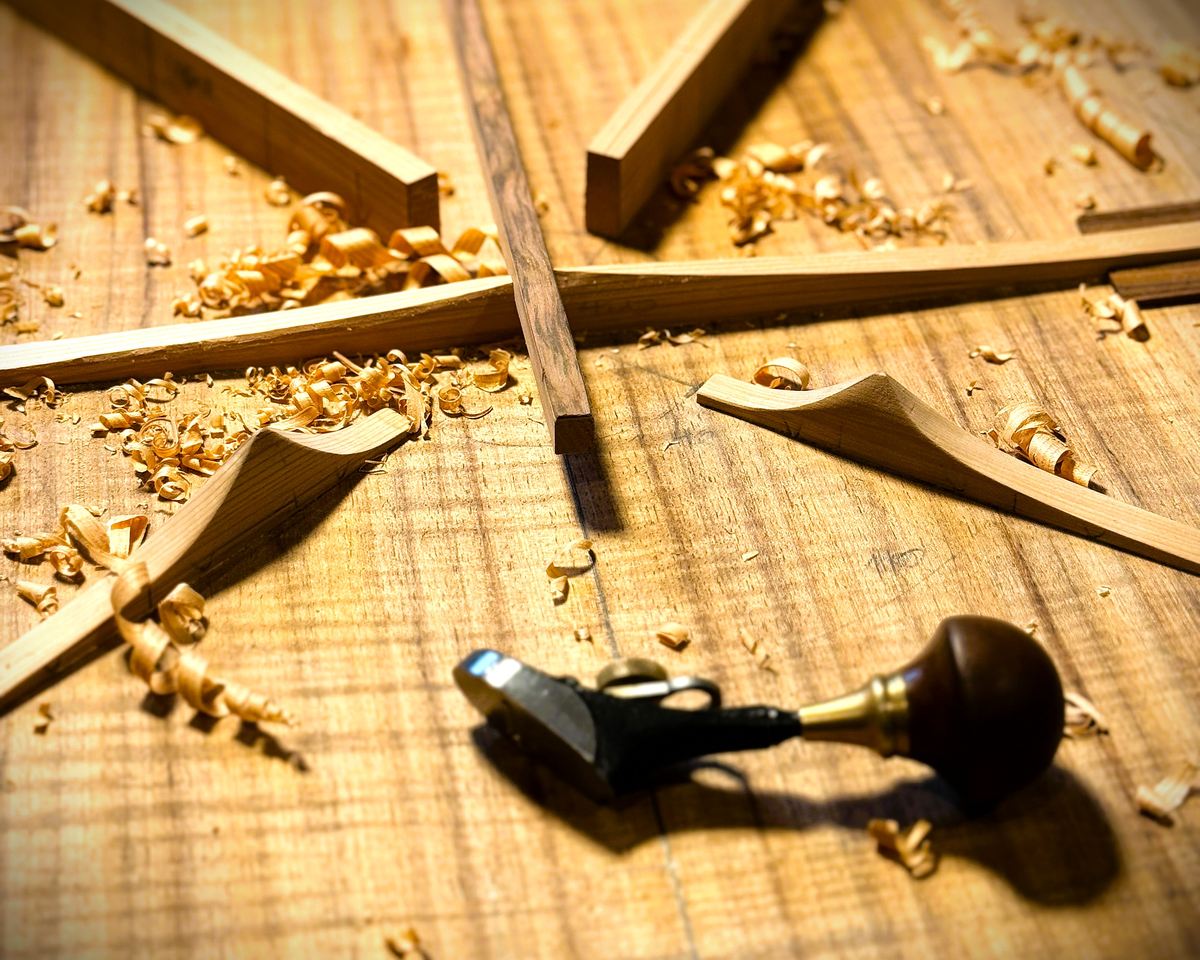
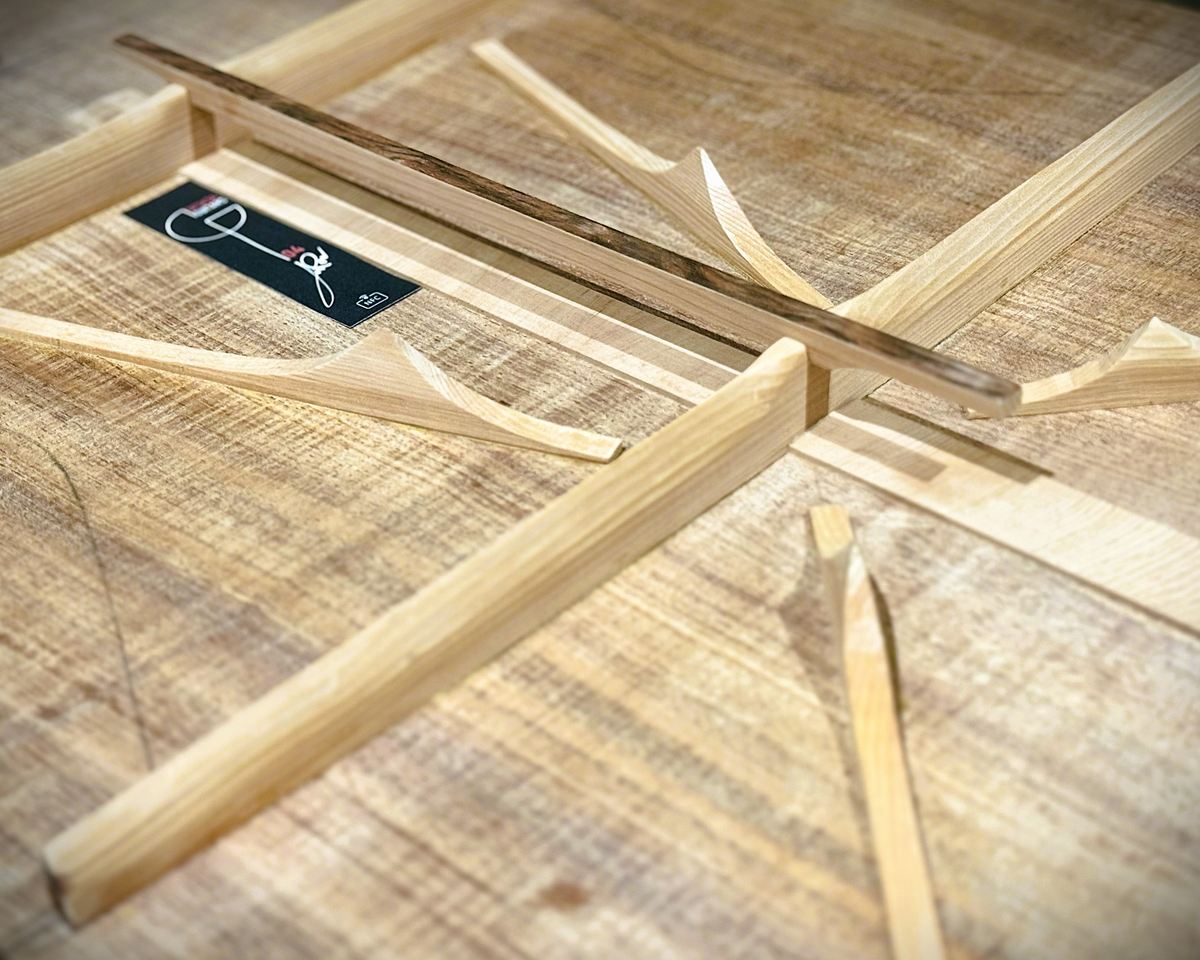
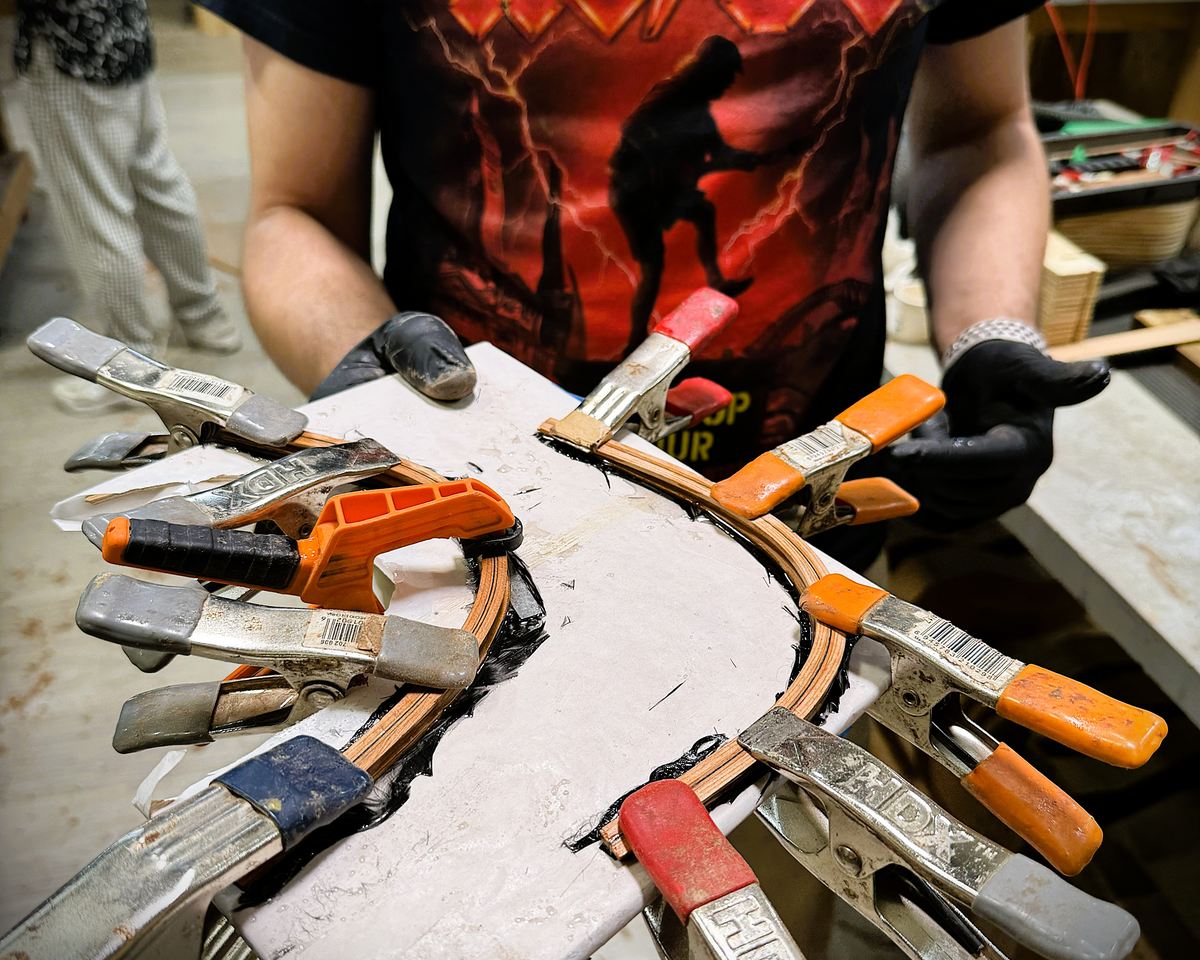
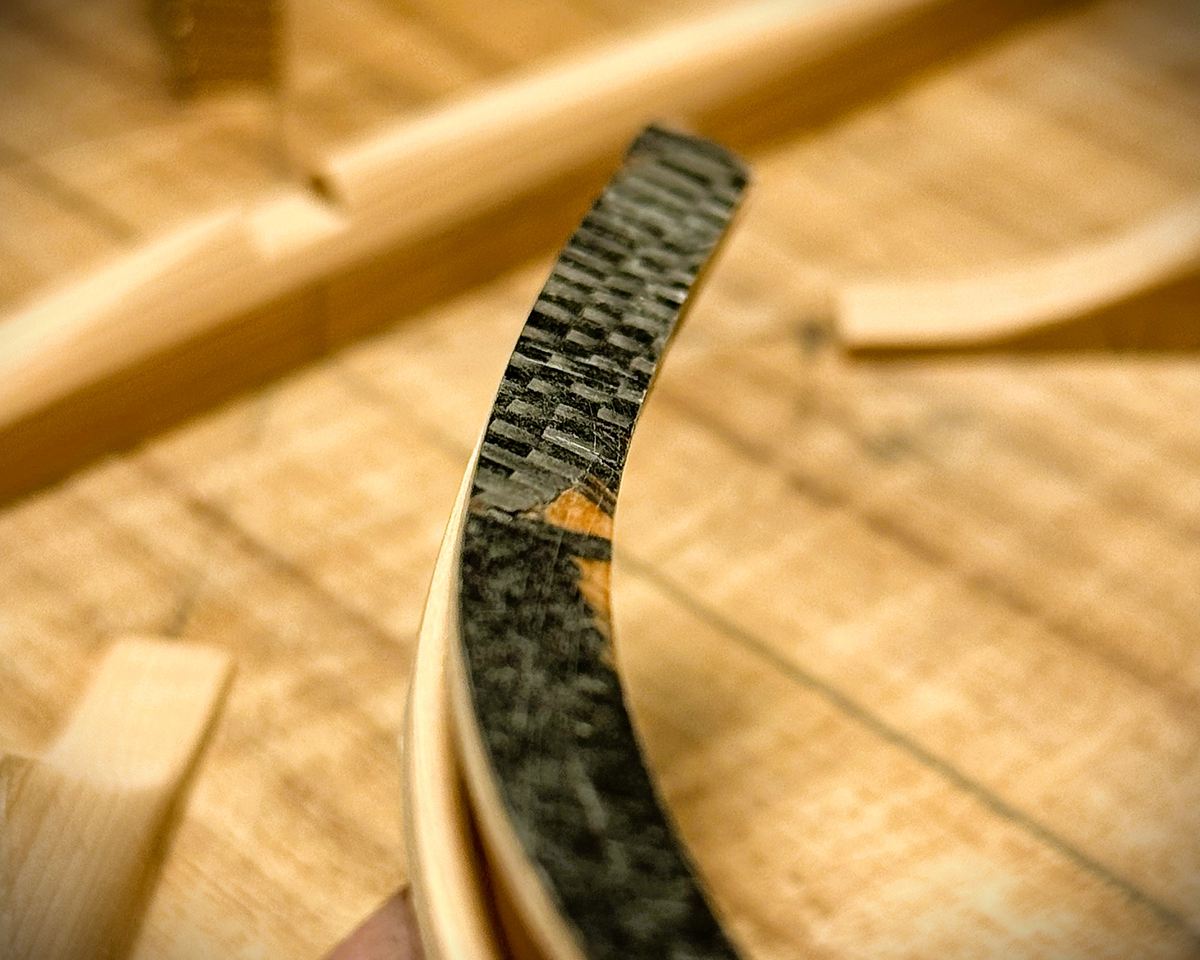
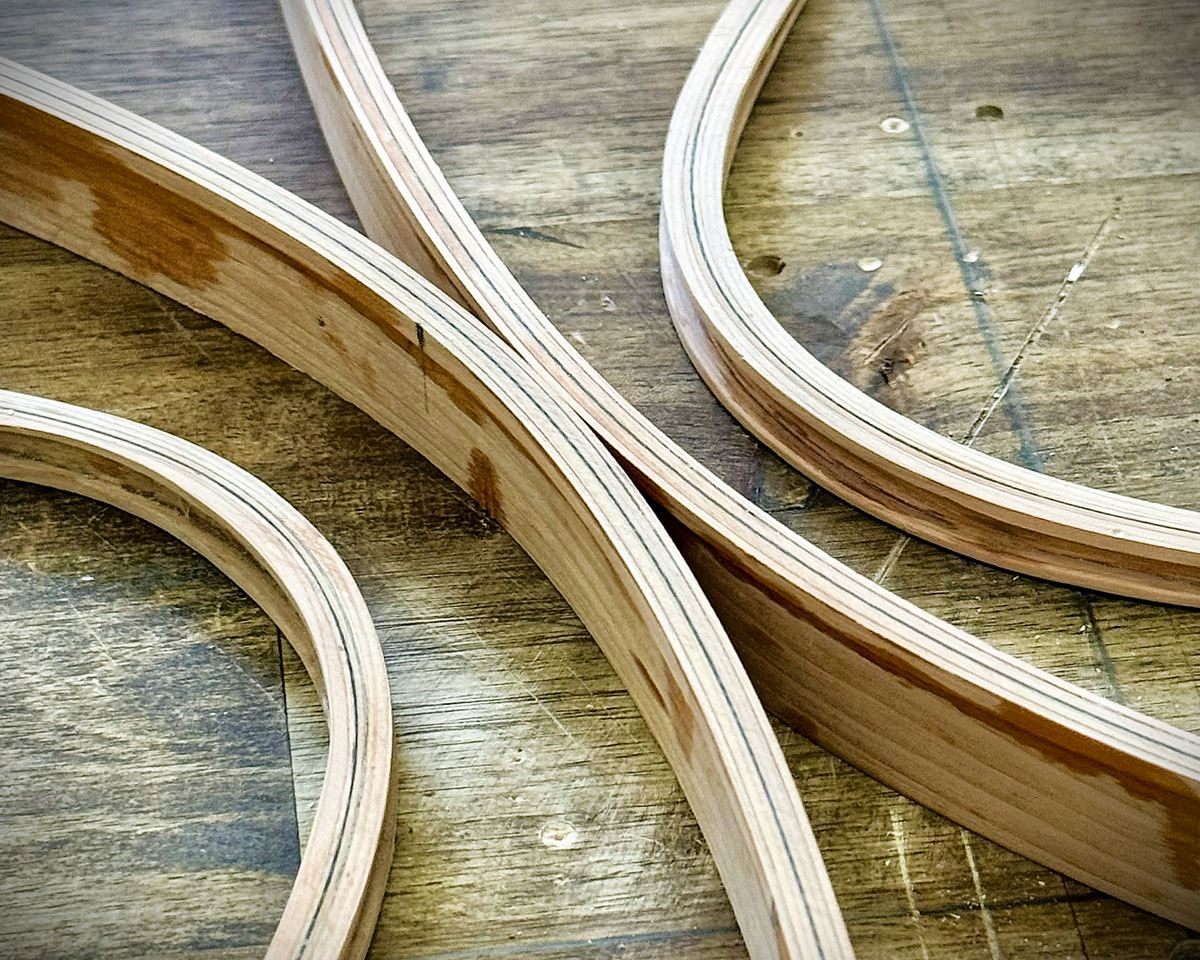
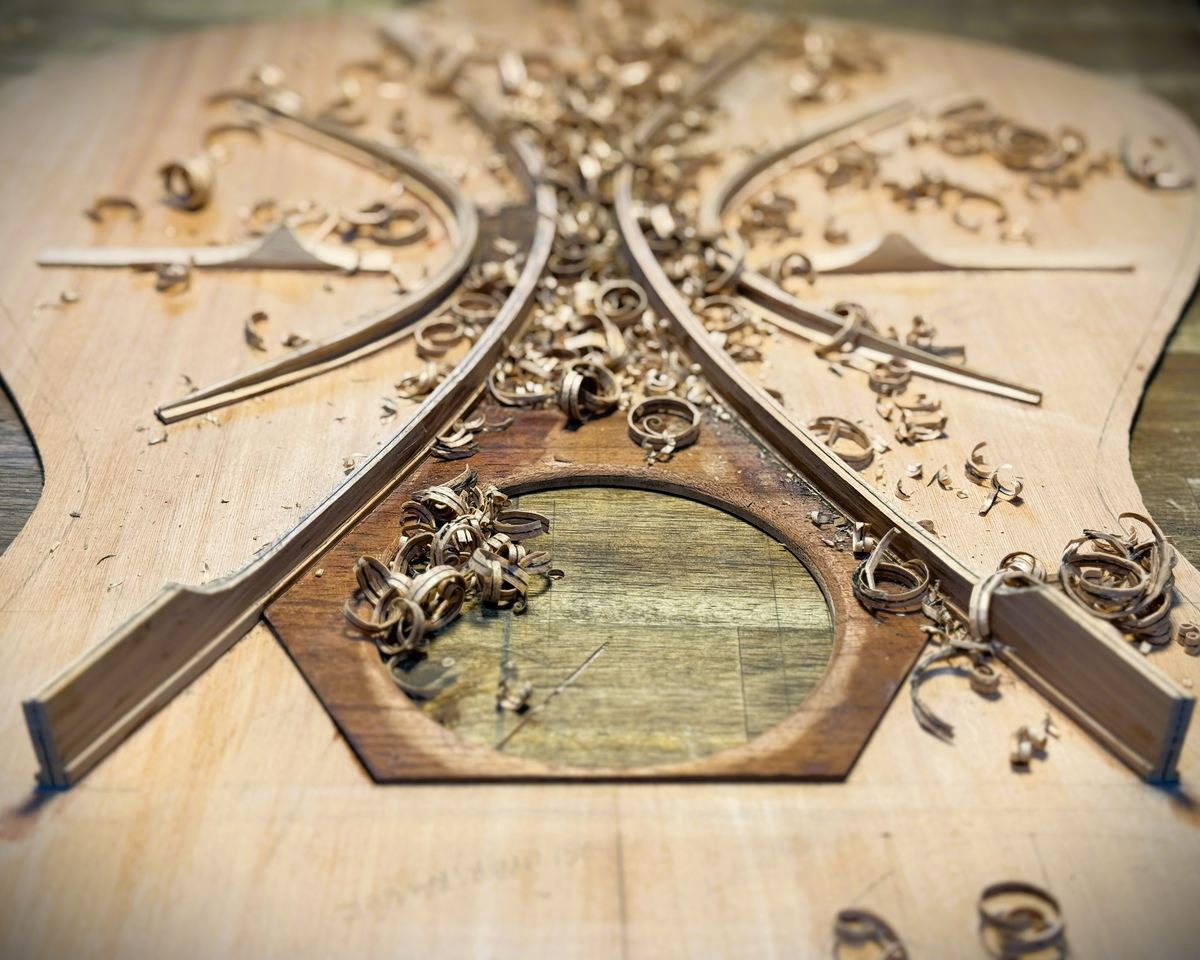
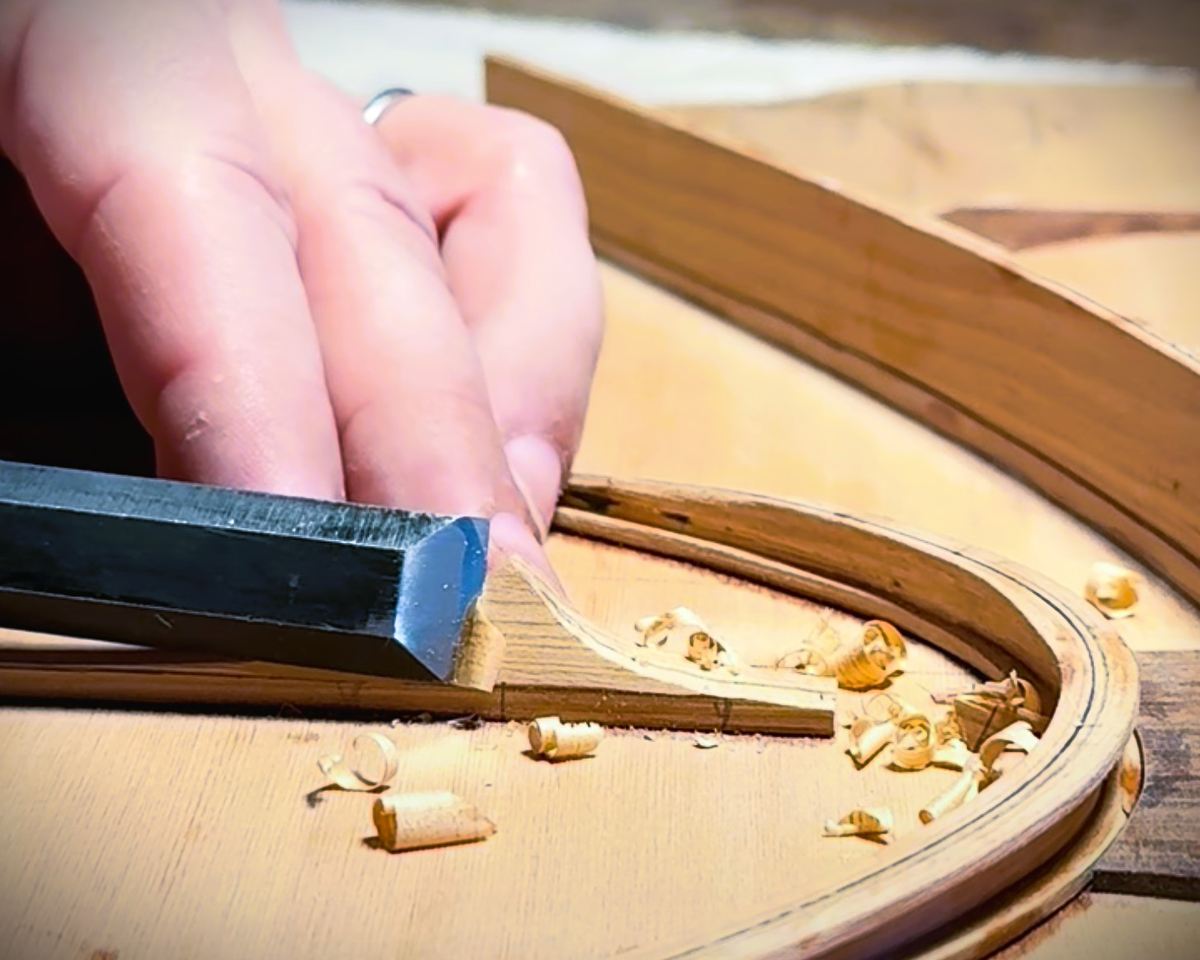
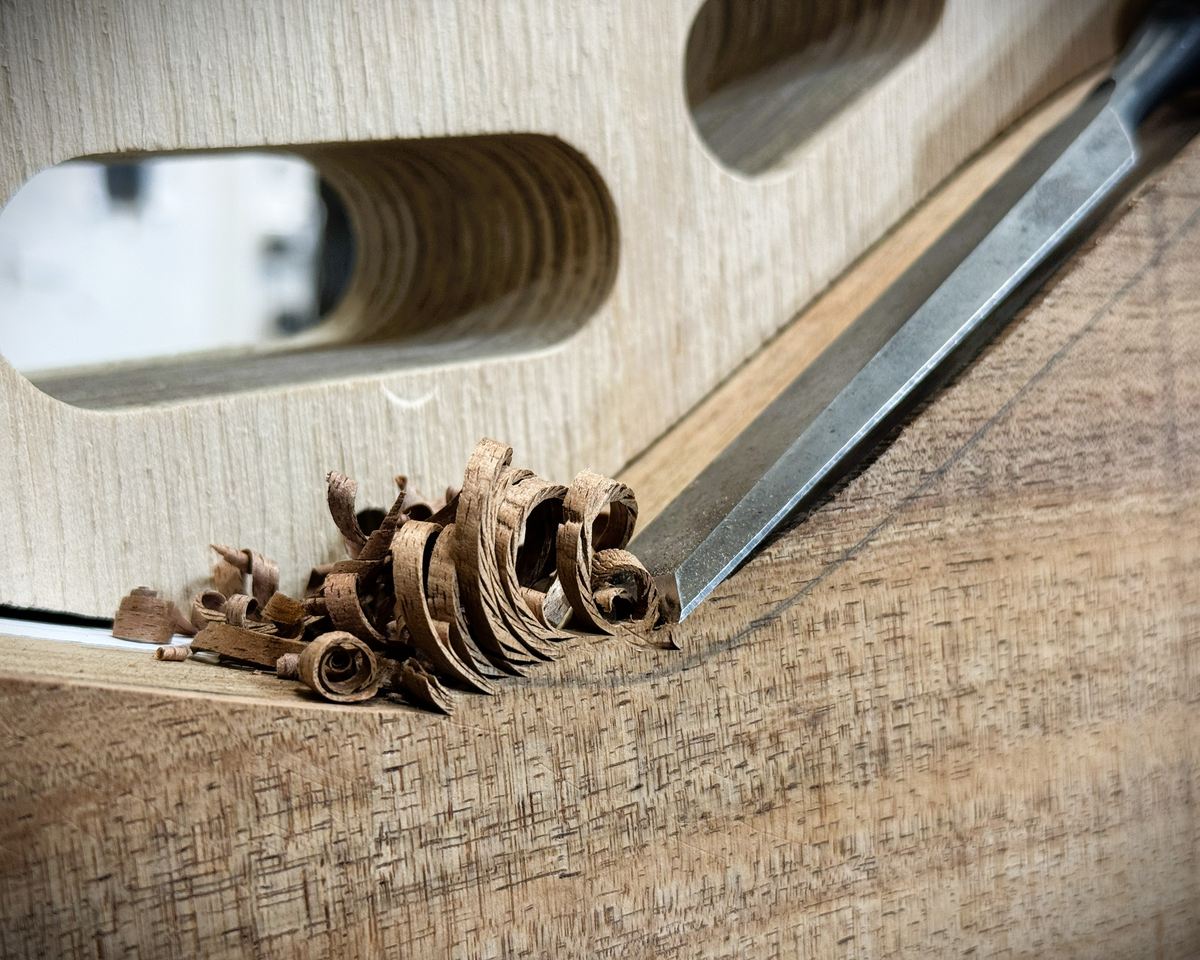
The soundboard is falcate braced, the system set out by Trevor Gore with Gerard Gilet in Contemporary Acoustic Guitar Design and Build. Falcate means sickle shaped: rather than a straight X, the braces are long curves that sweep out of the upper bout and around the bridge in crossing pairs. Each brace is laminated over a curved form with carbon fibre bonded to its upper and lower faces, which puts the stiffness at the extremes of the section where a beam actually carries it and lets the timber between them be very light. The top therefore holds the twisting load the strings apply over the saddle at a fraction of the weight a conventional X braced top needs for the same stiffness, and more of the string’s energy leaves the instrument as sound. The braces are carved to a parabolic section and taken down in passes against measured targets rather than by feel alone. The Mulga bridge plate is fitted under the soundboard behind the bridge position. It provides support against the forces exerted by the strings and minimise energy transfer loss.

07

Making the bridge

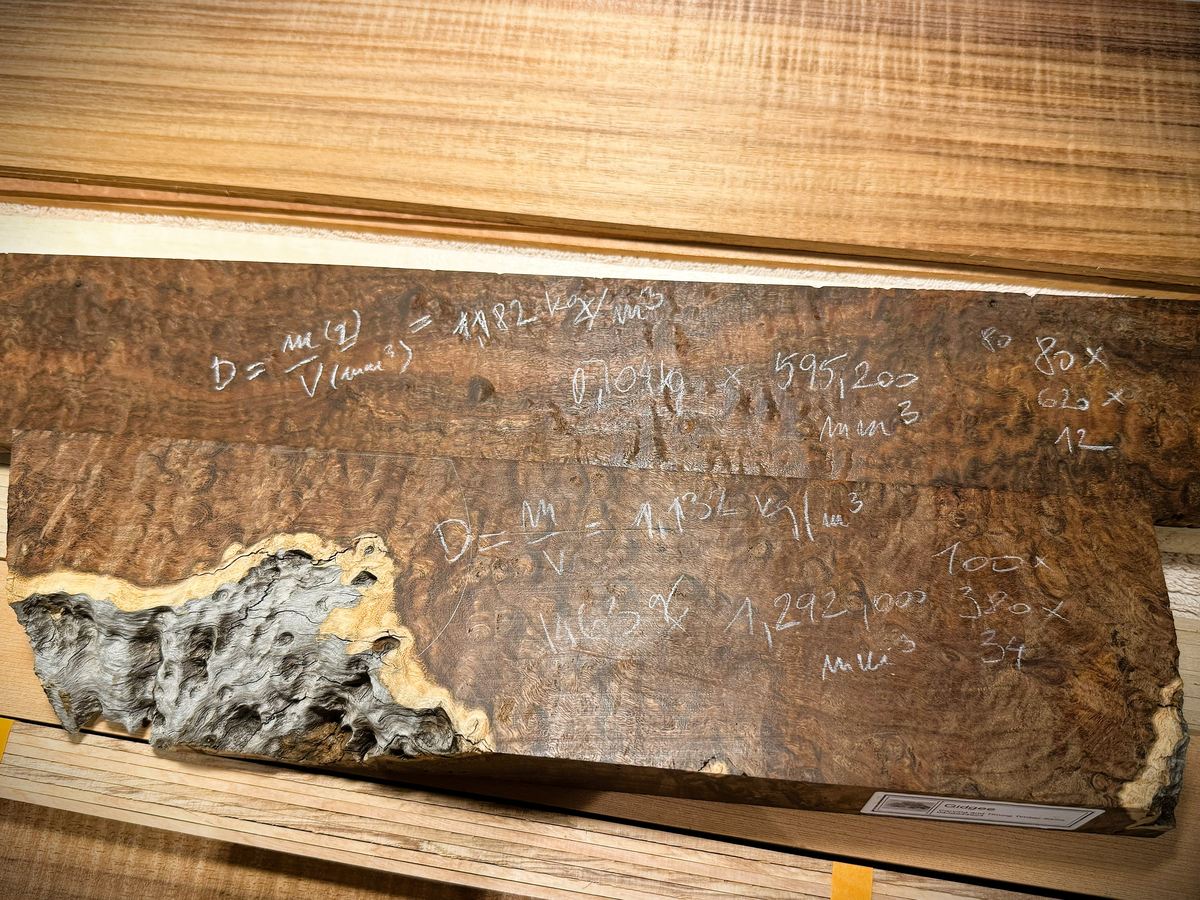
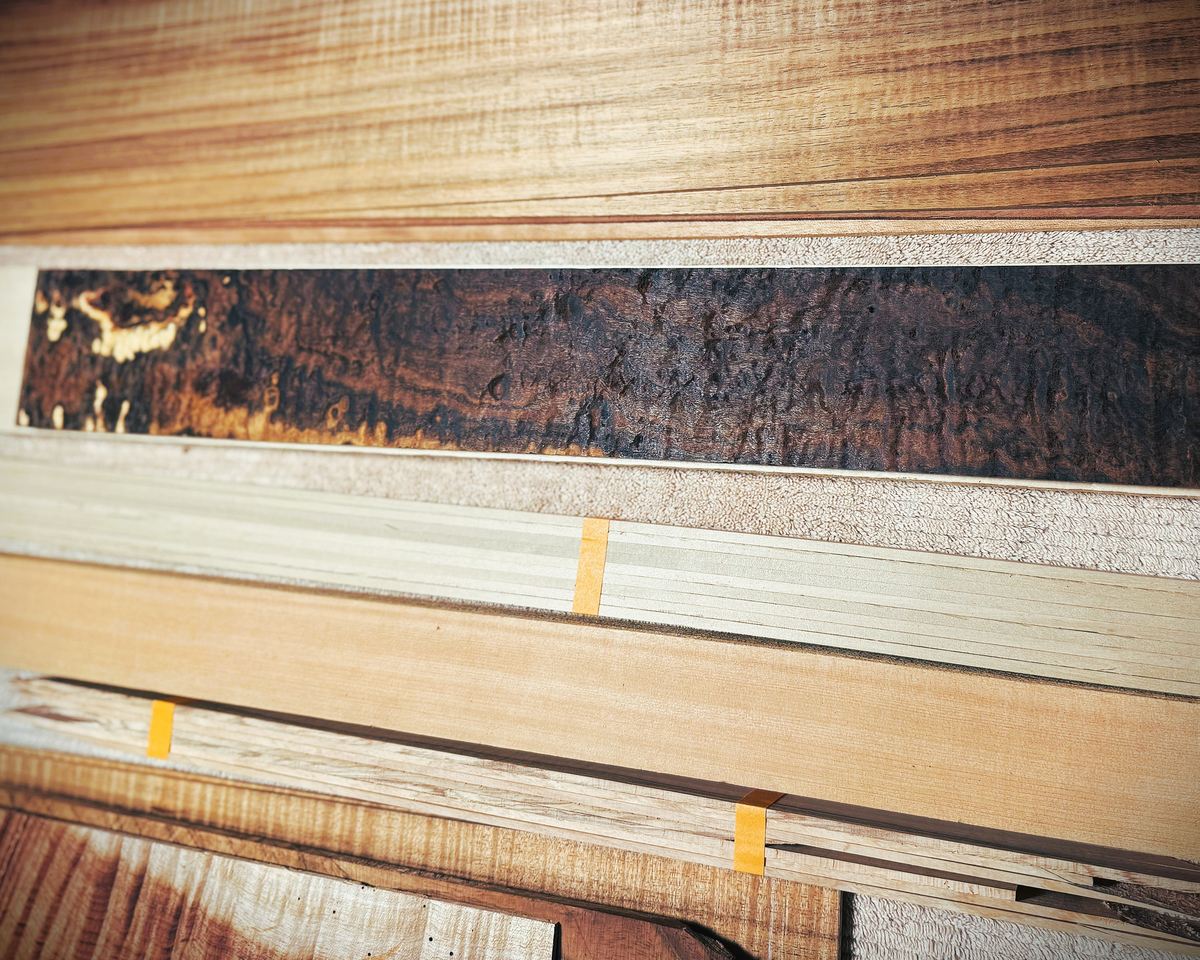
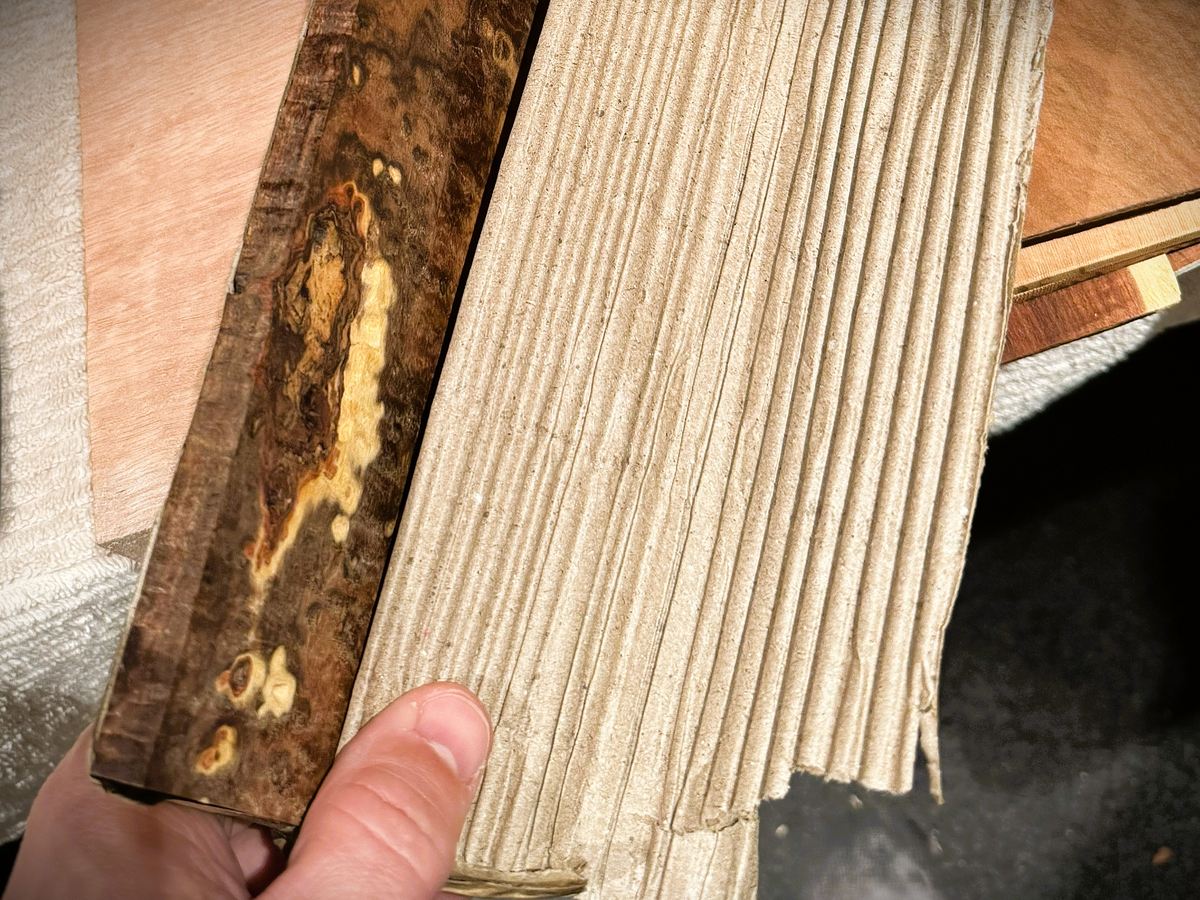
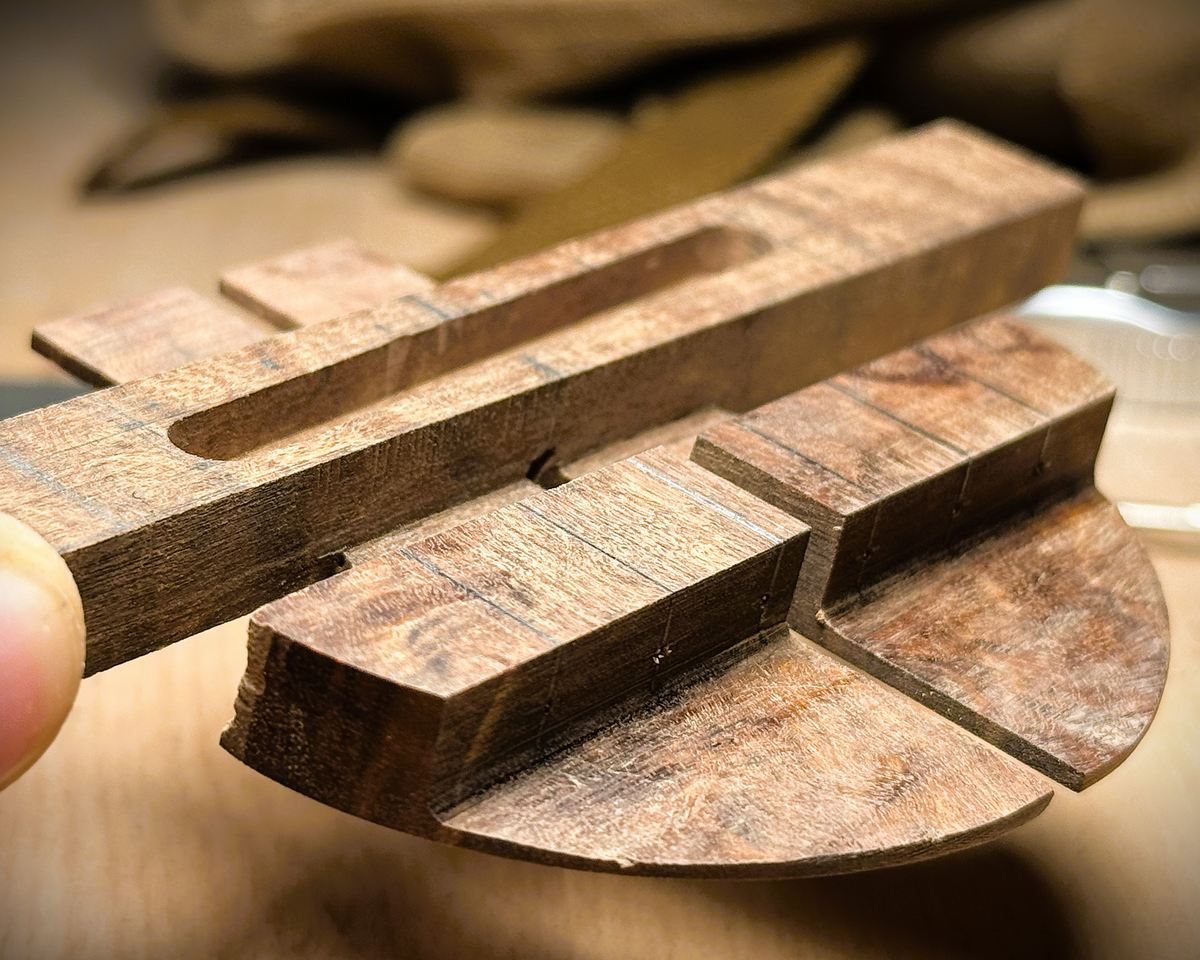
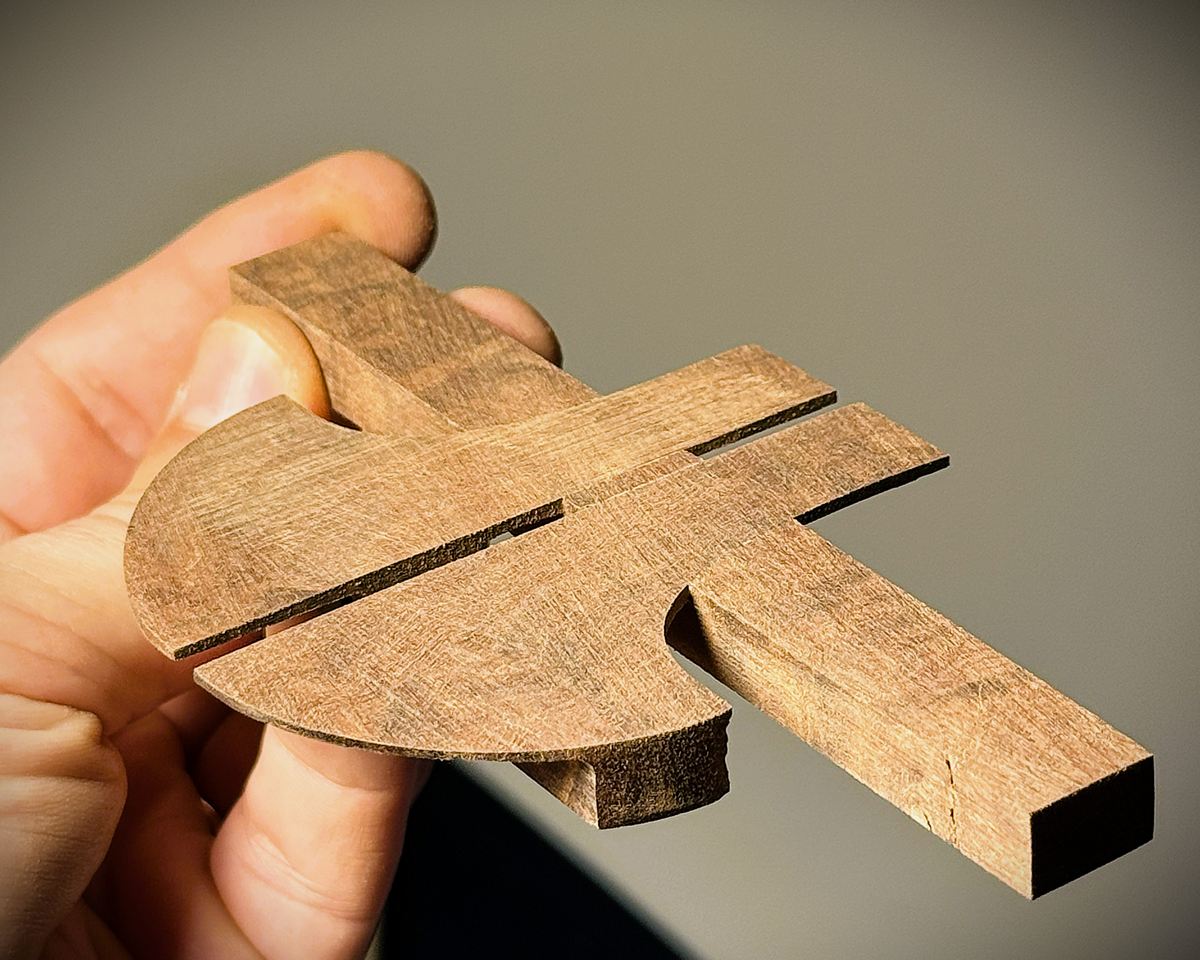
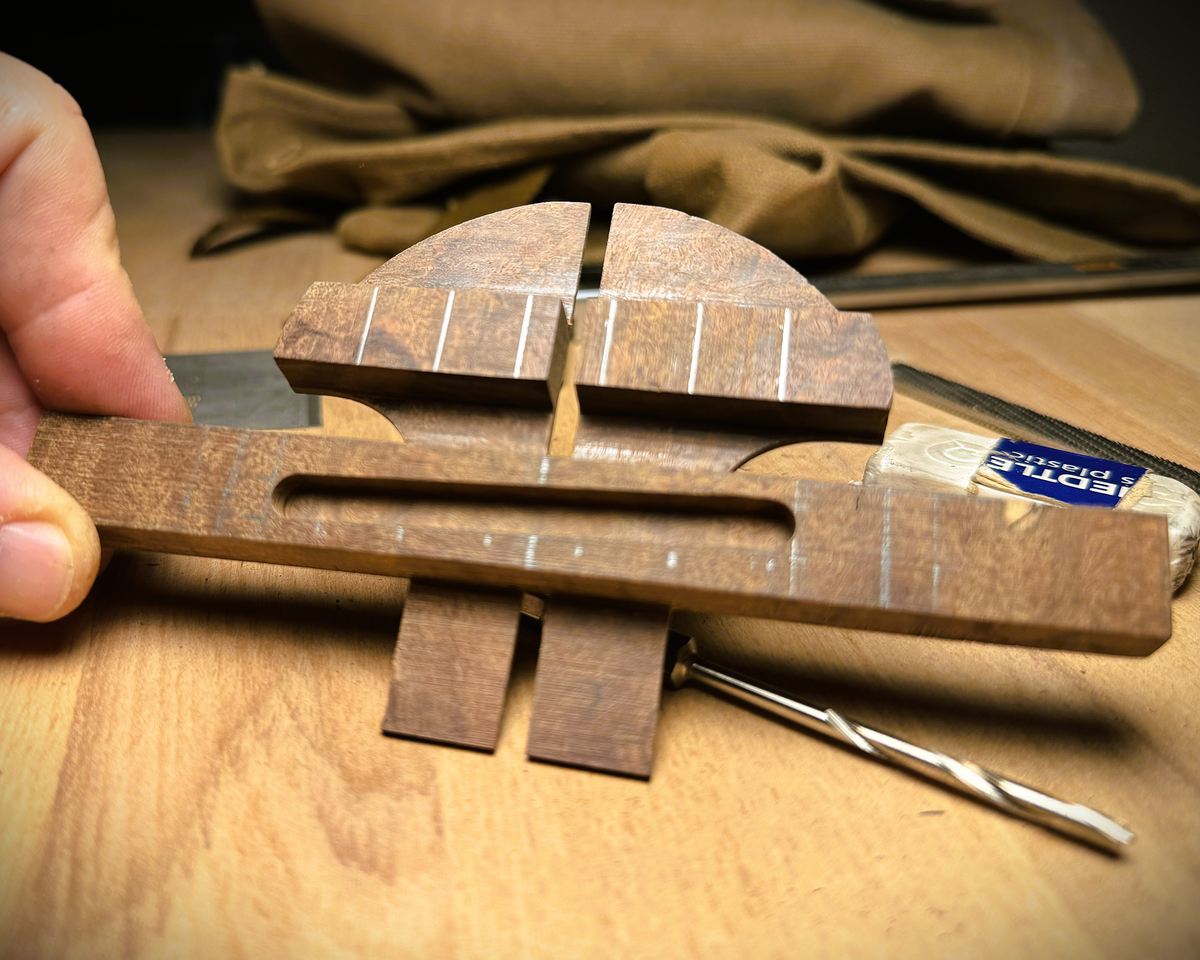
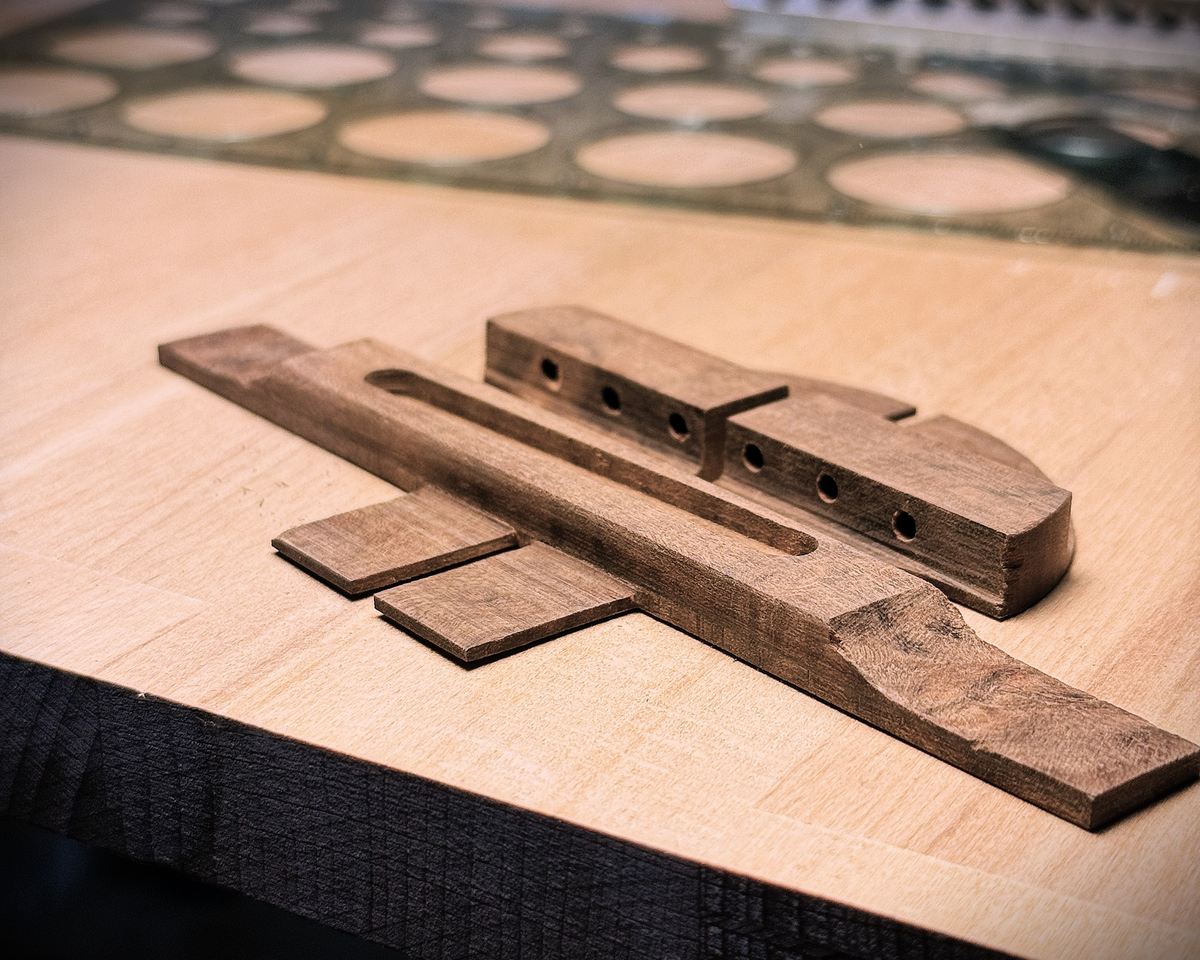
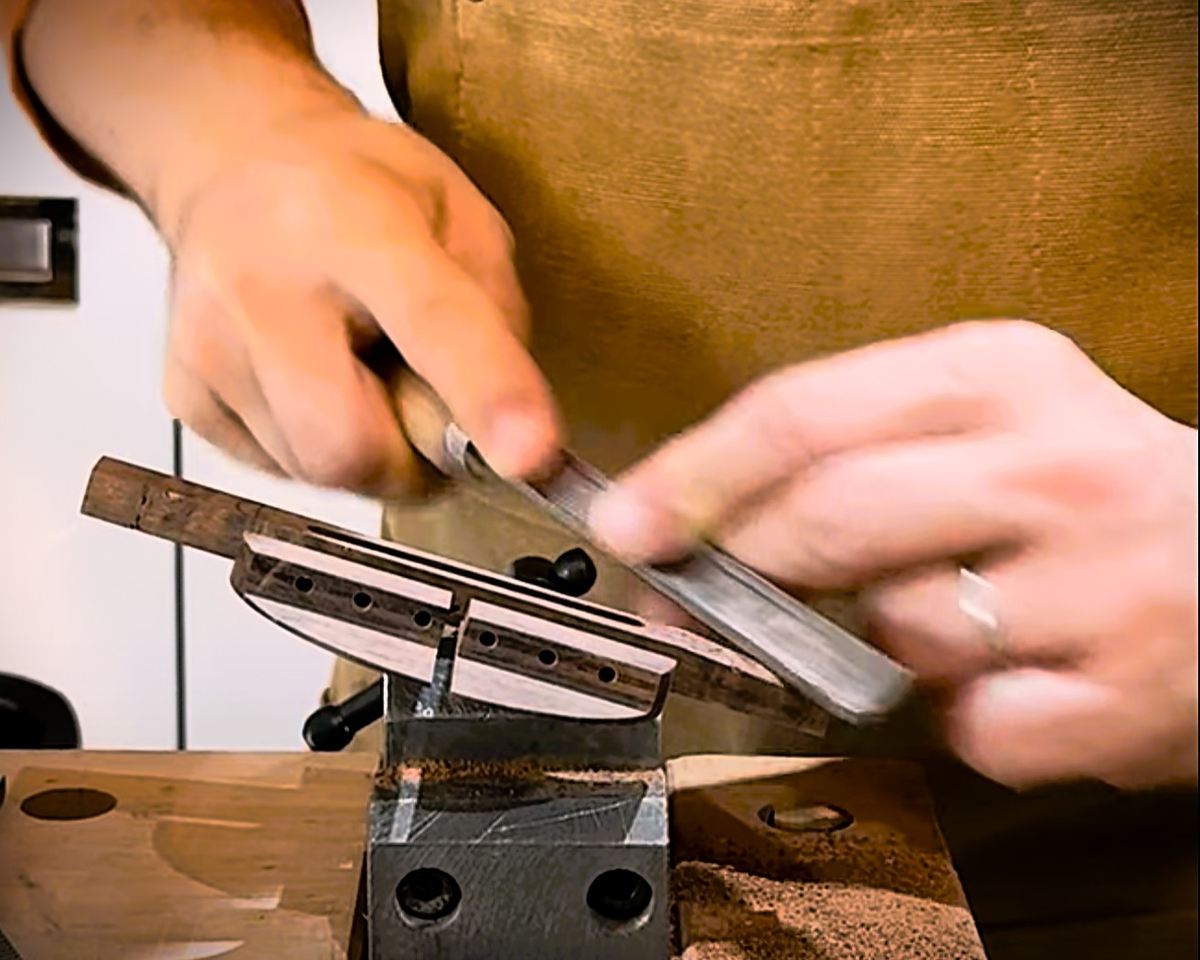
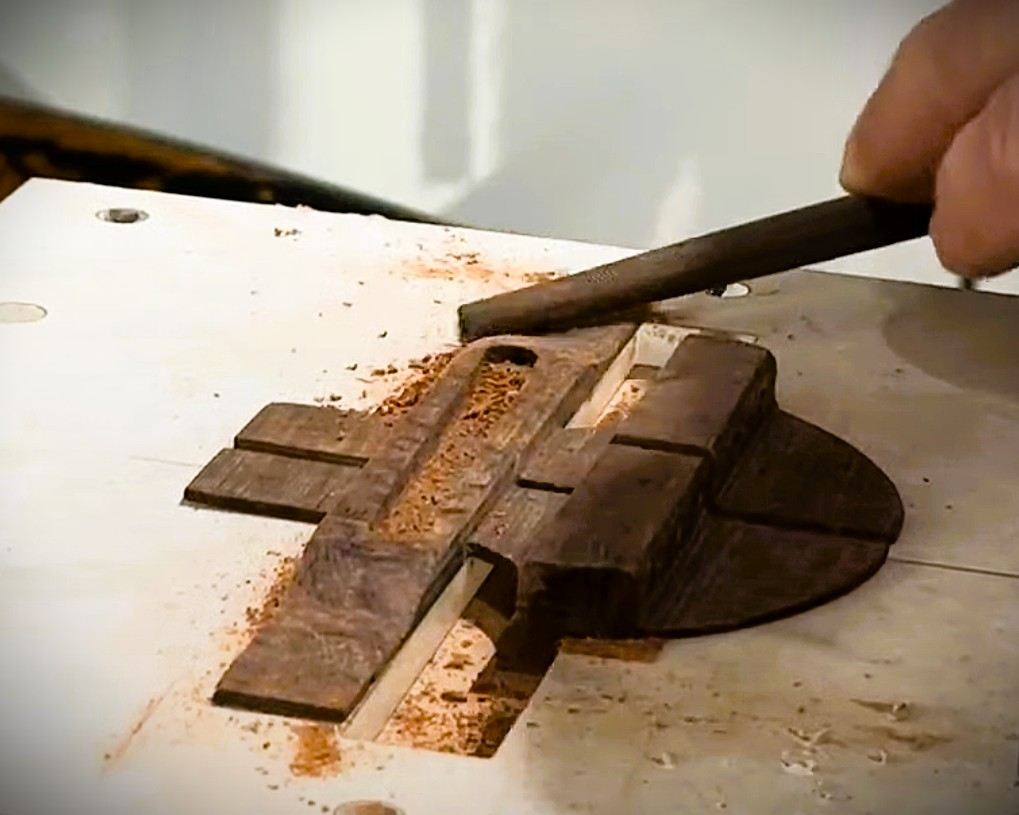
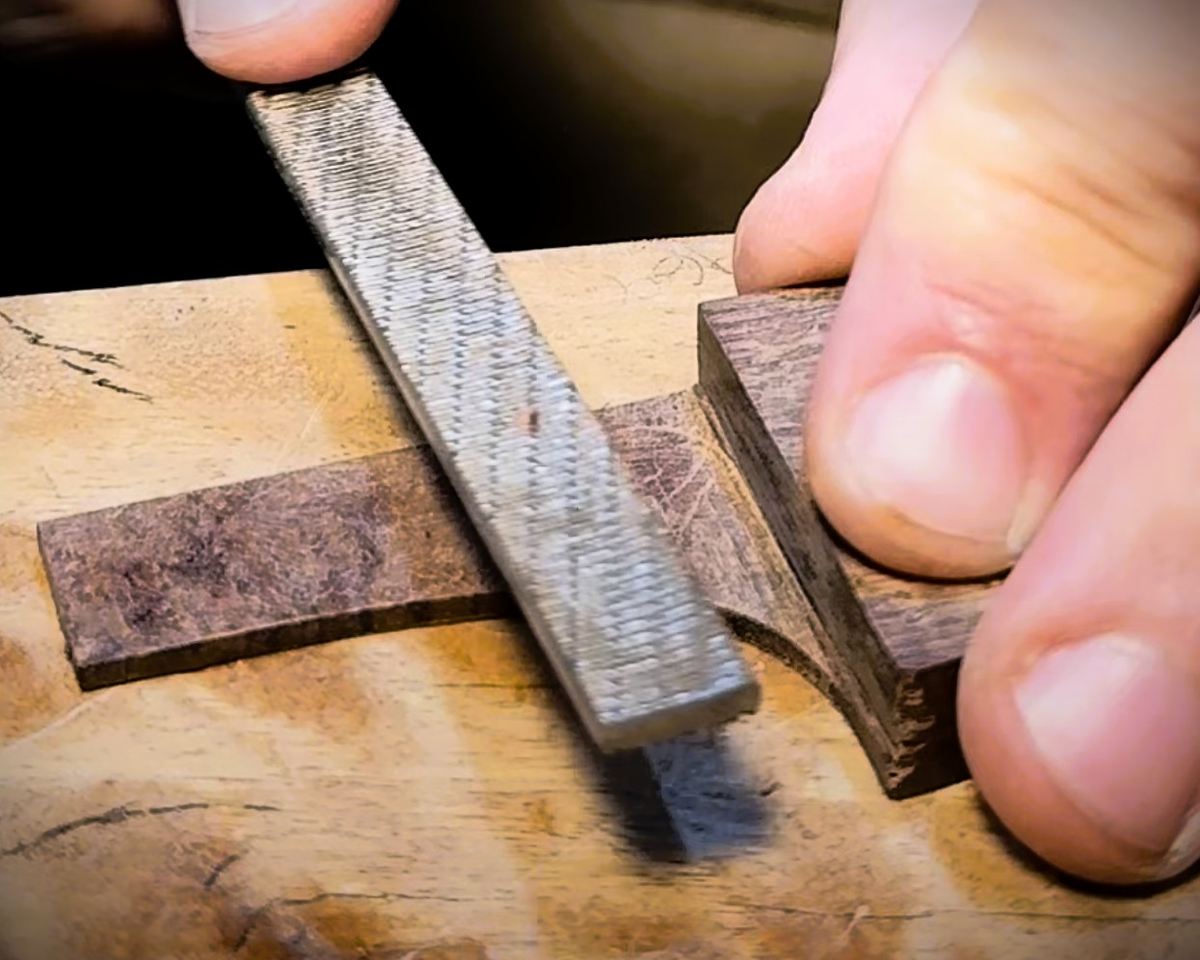
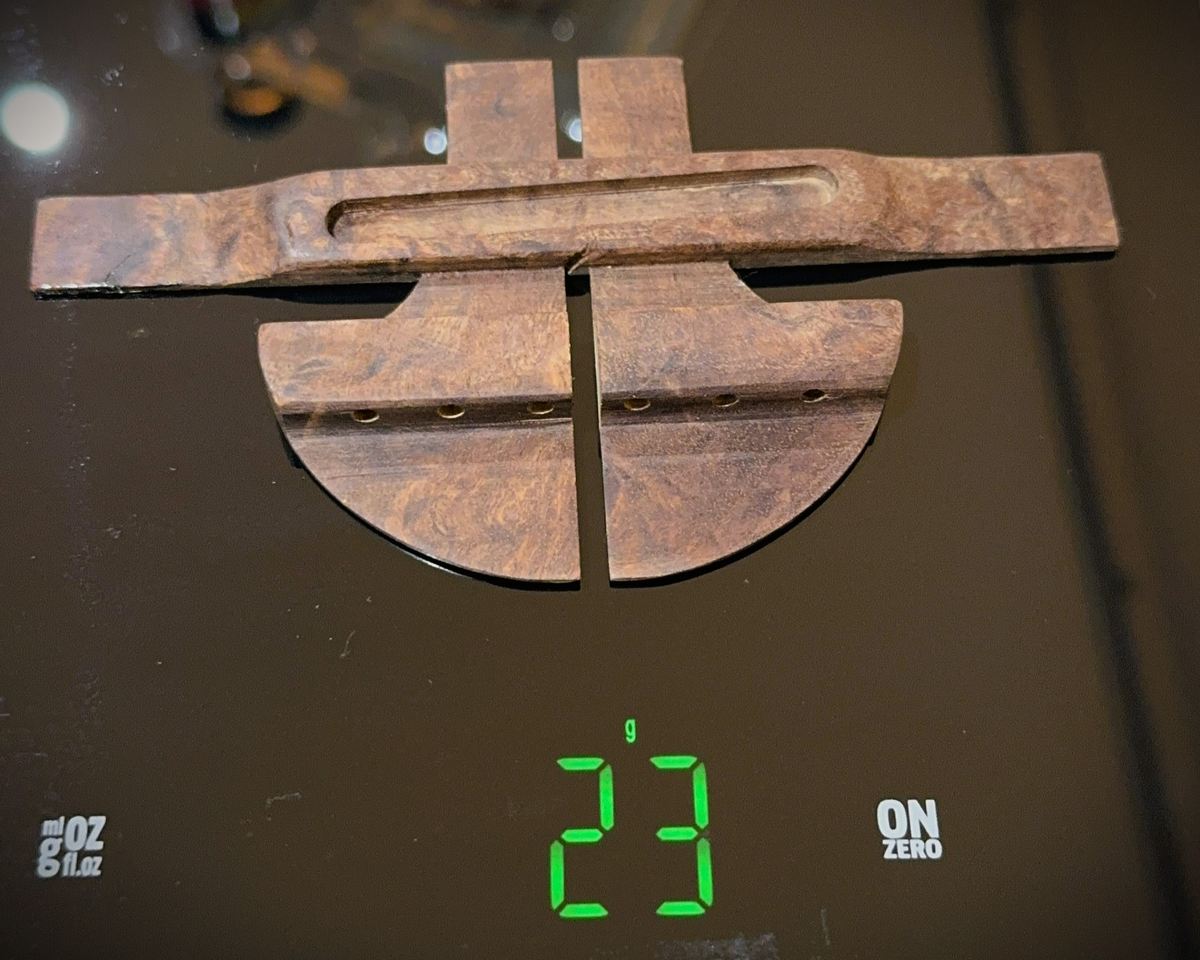
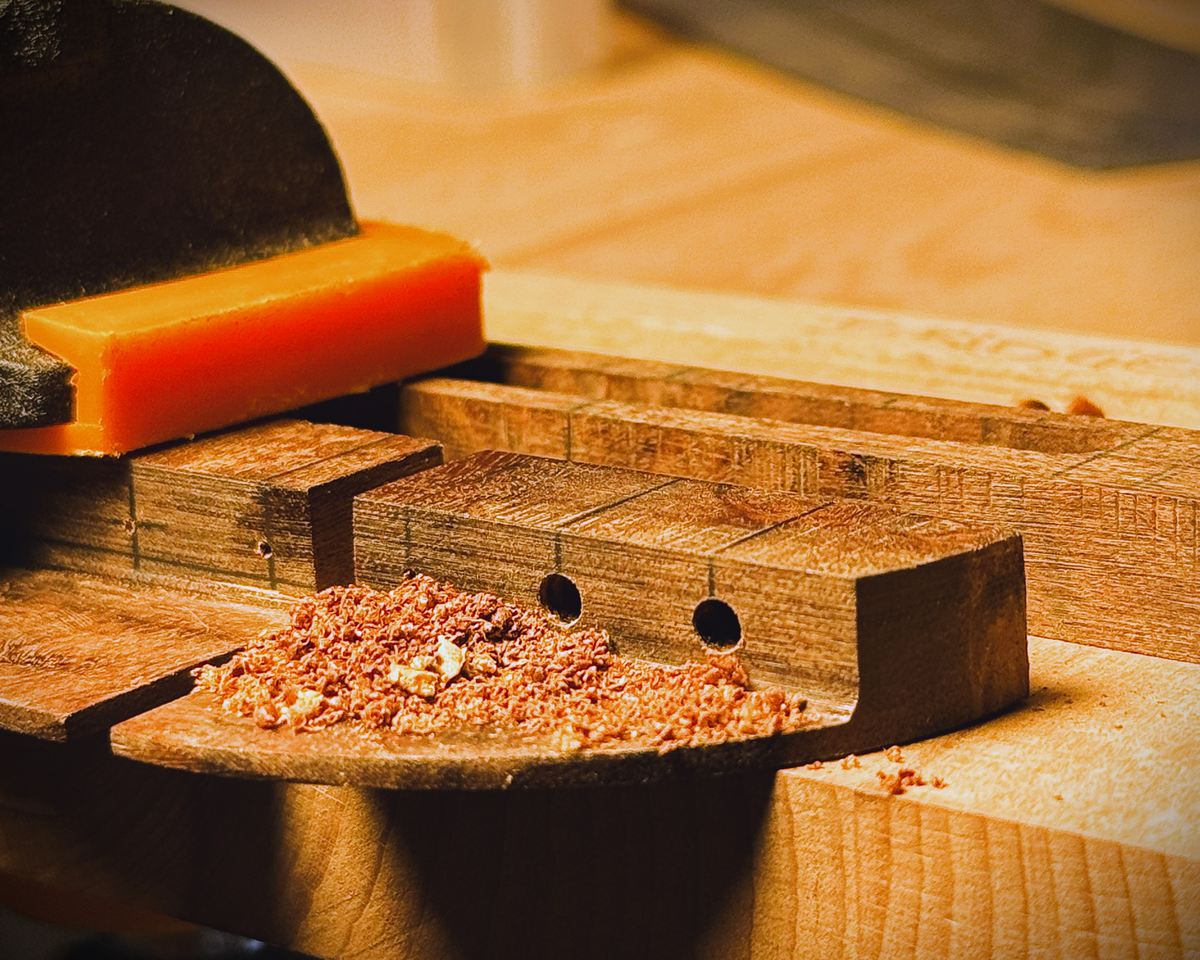
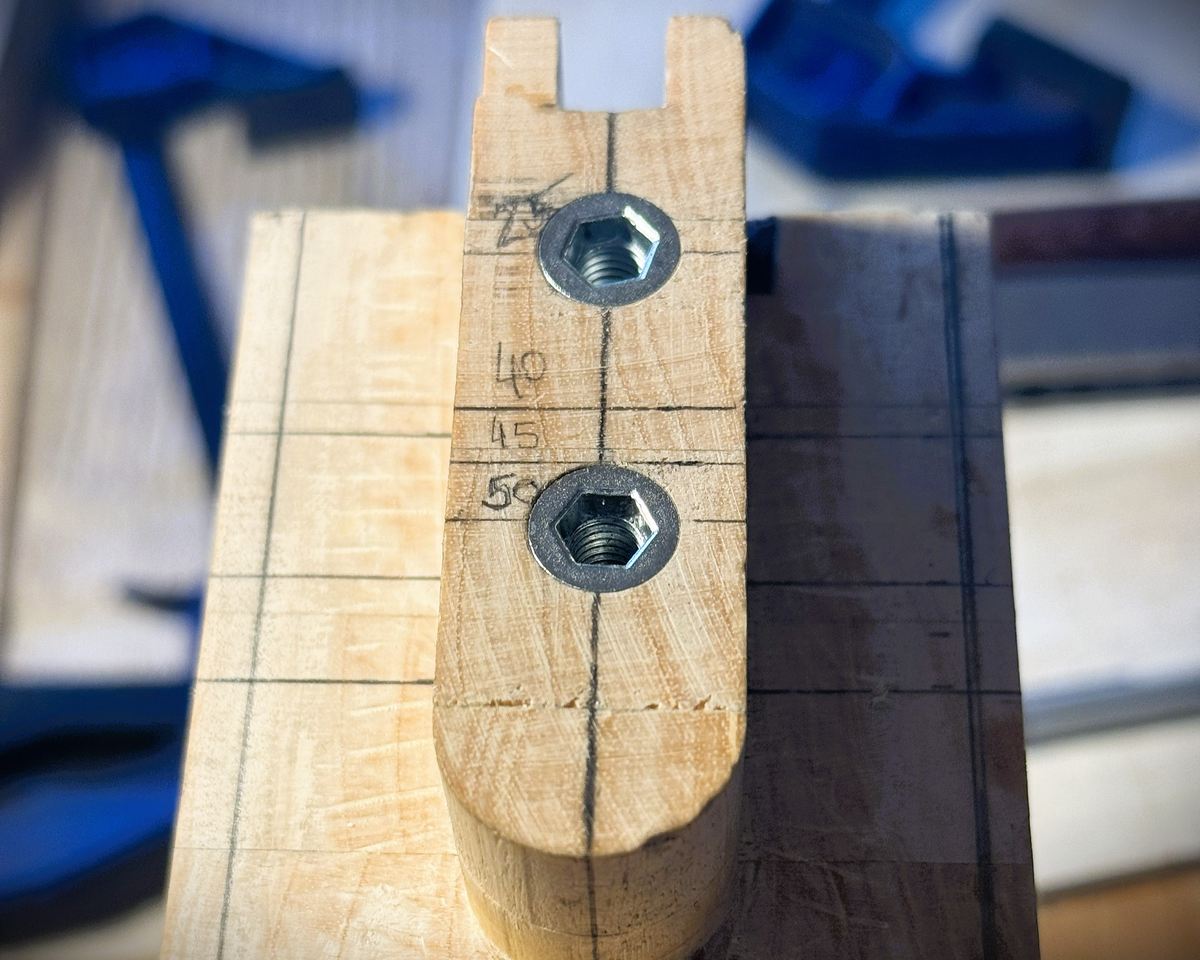
The design of the bridge is pinless, specifically created for this instrument and inspired by the work of Michihiro Matsuda. It is sawn from reclaimed birdseye Gidgee and carved by hand. Without pins the strings feed through from the back of the bridge and climb at 20 degree angle to the saddle. This creates enough break angle to hold the strings down on the saddle and drive the top, without loading the bridge any harder than it needs. The saddle slot is routed to depth and angle and the wings are shaped by hand.

08

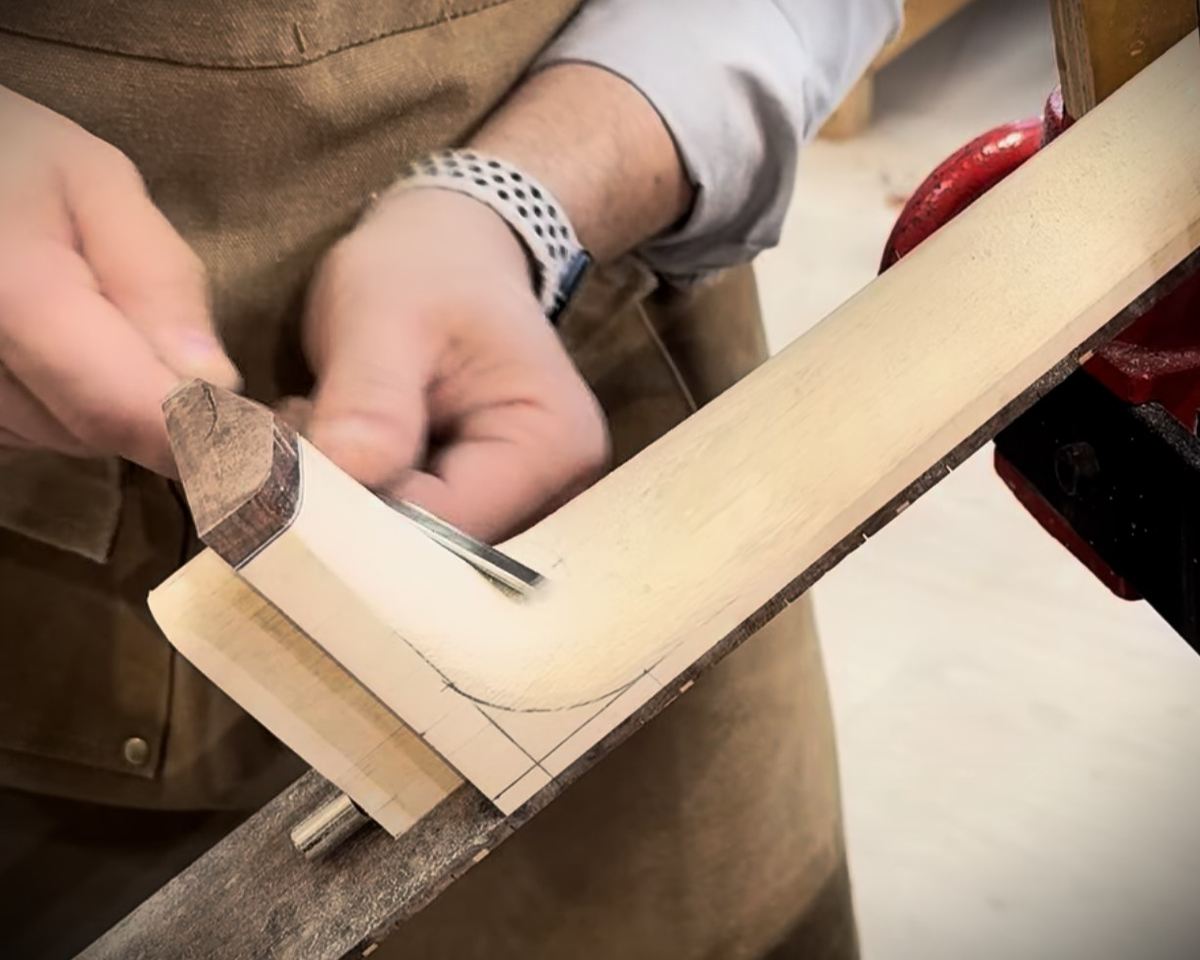
Creating the Florentine cutaway

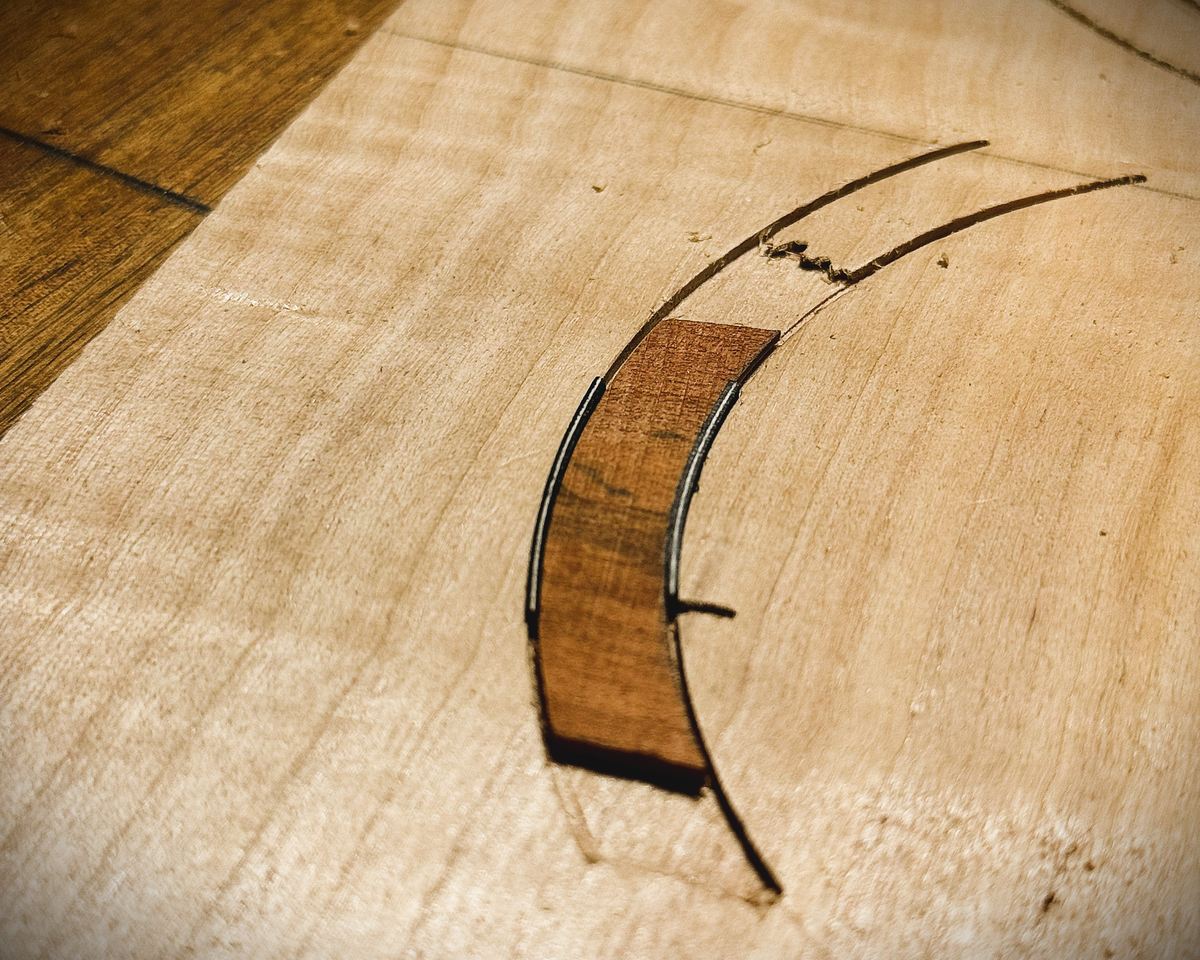
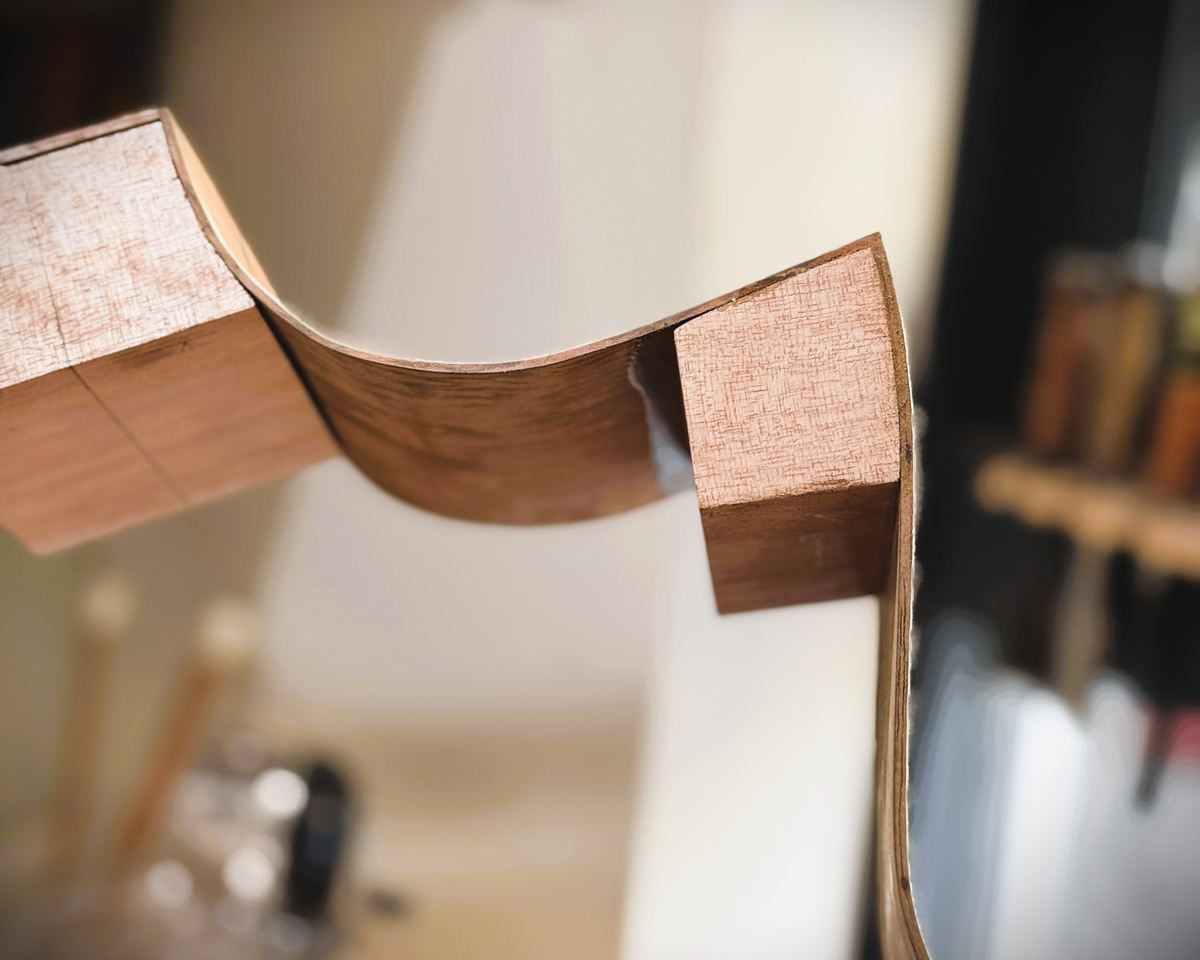
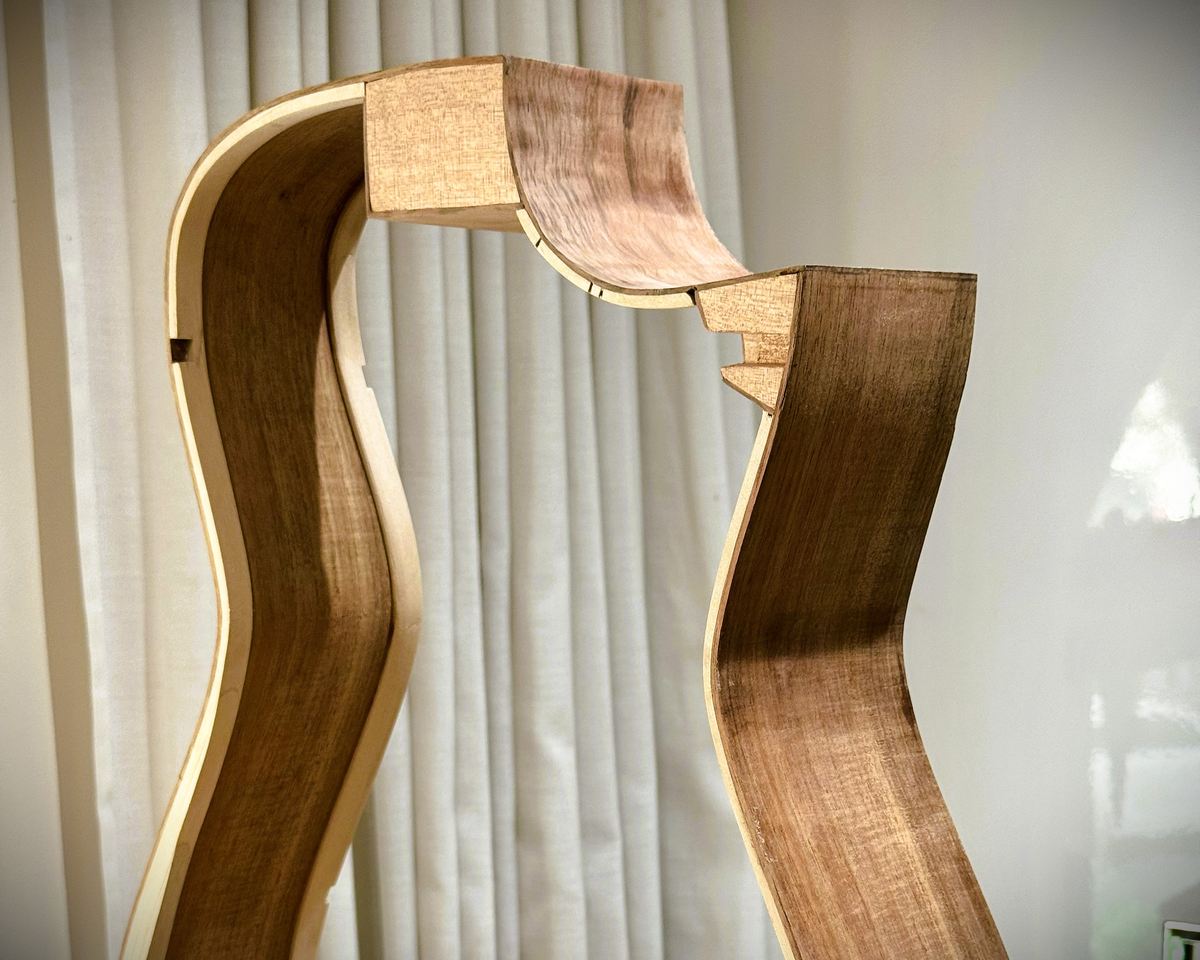
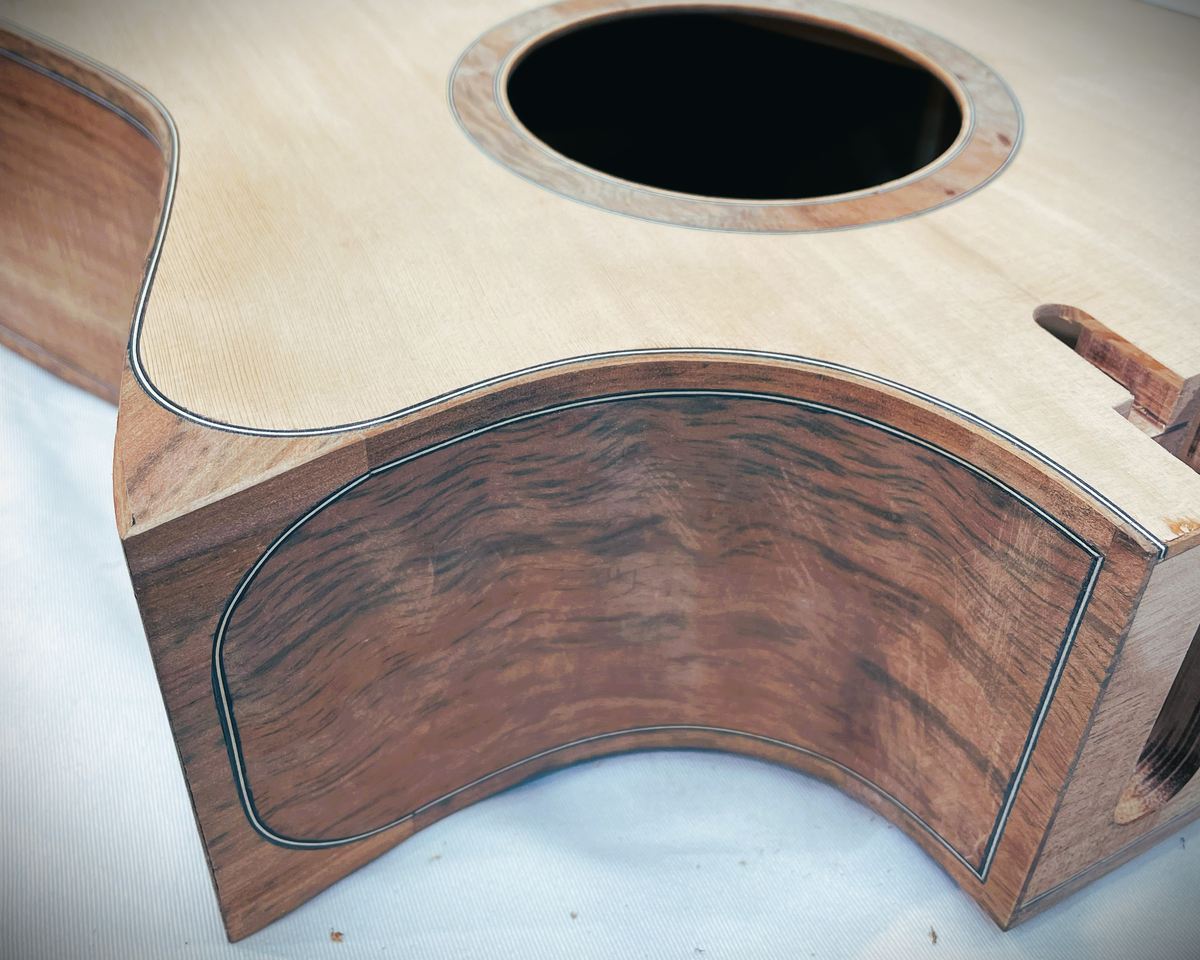
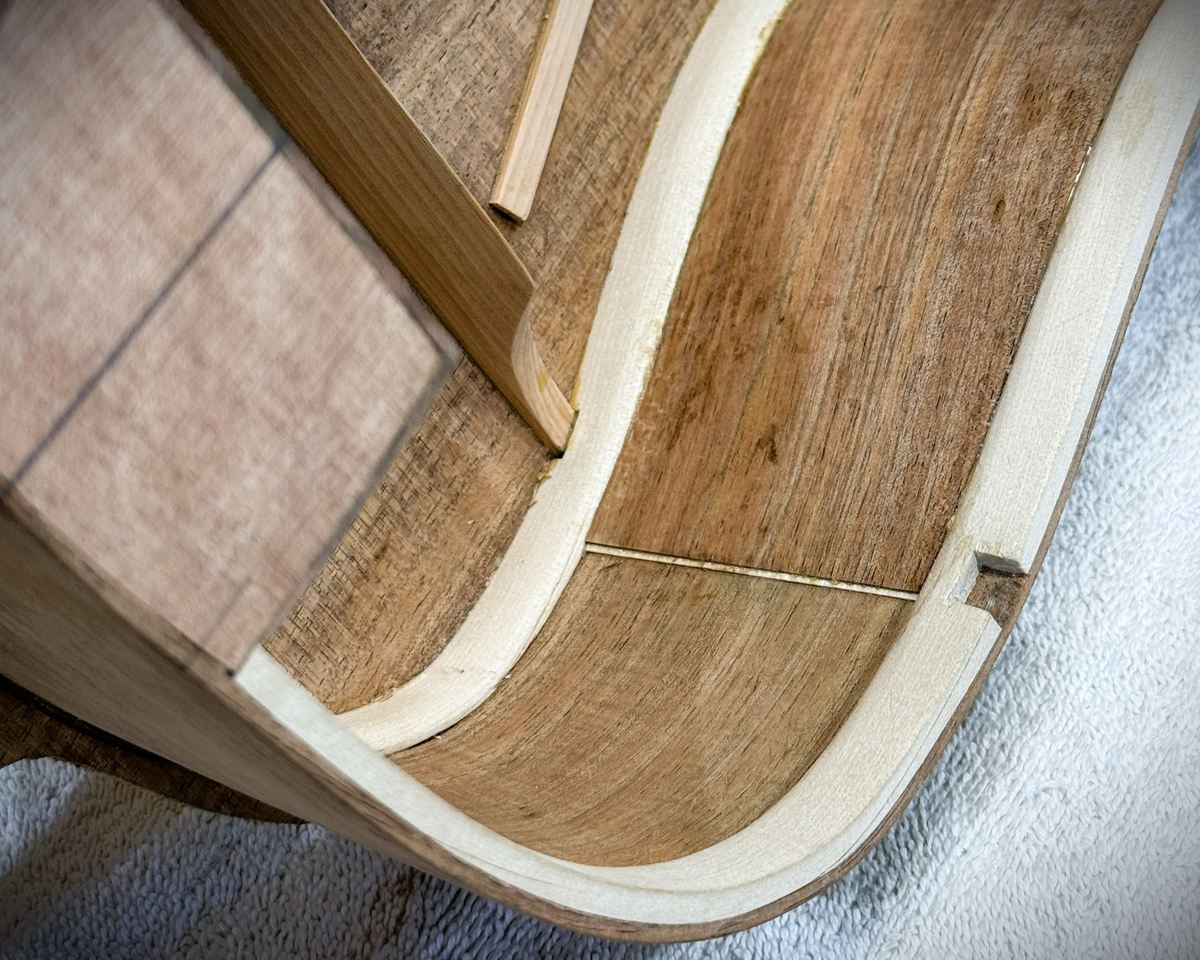
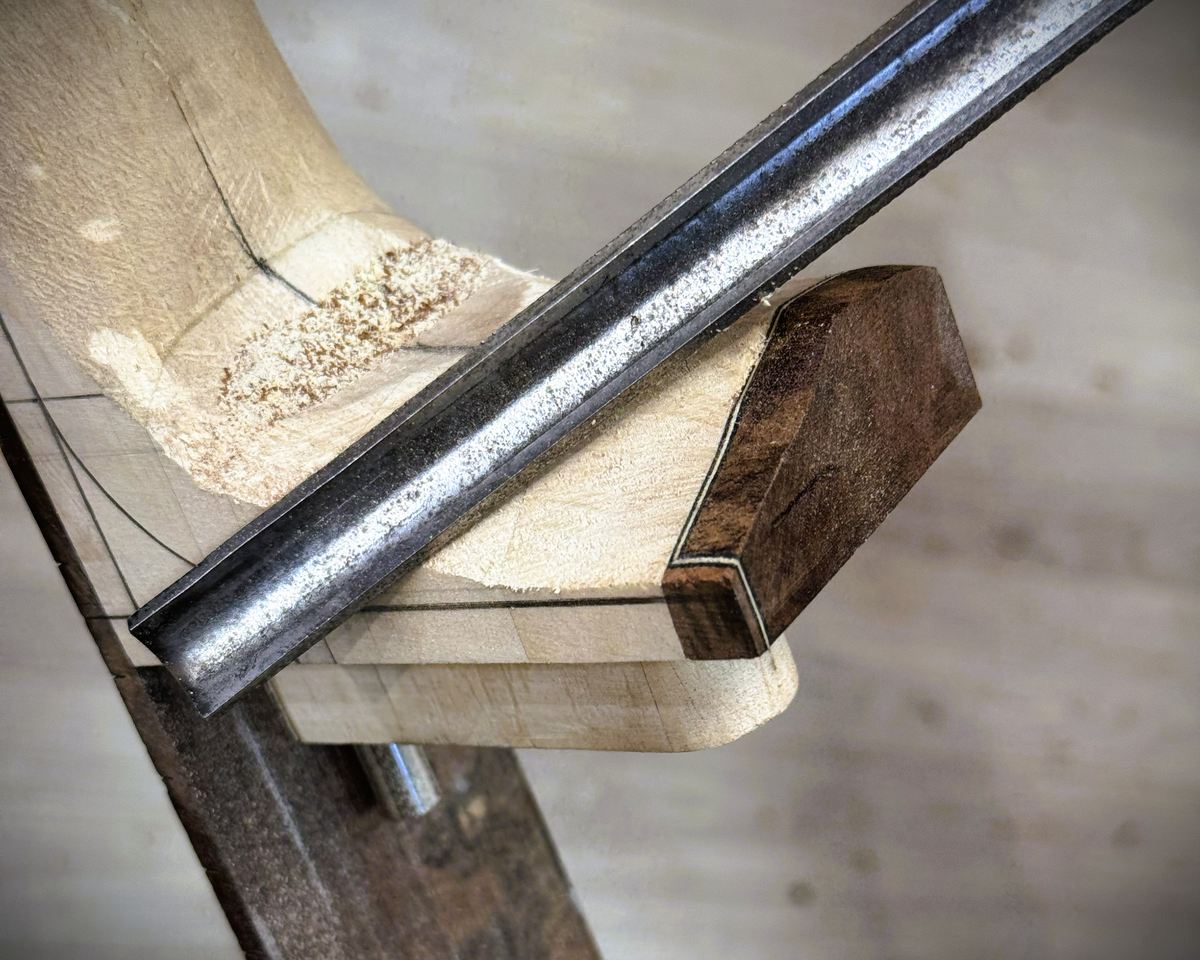
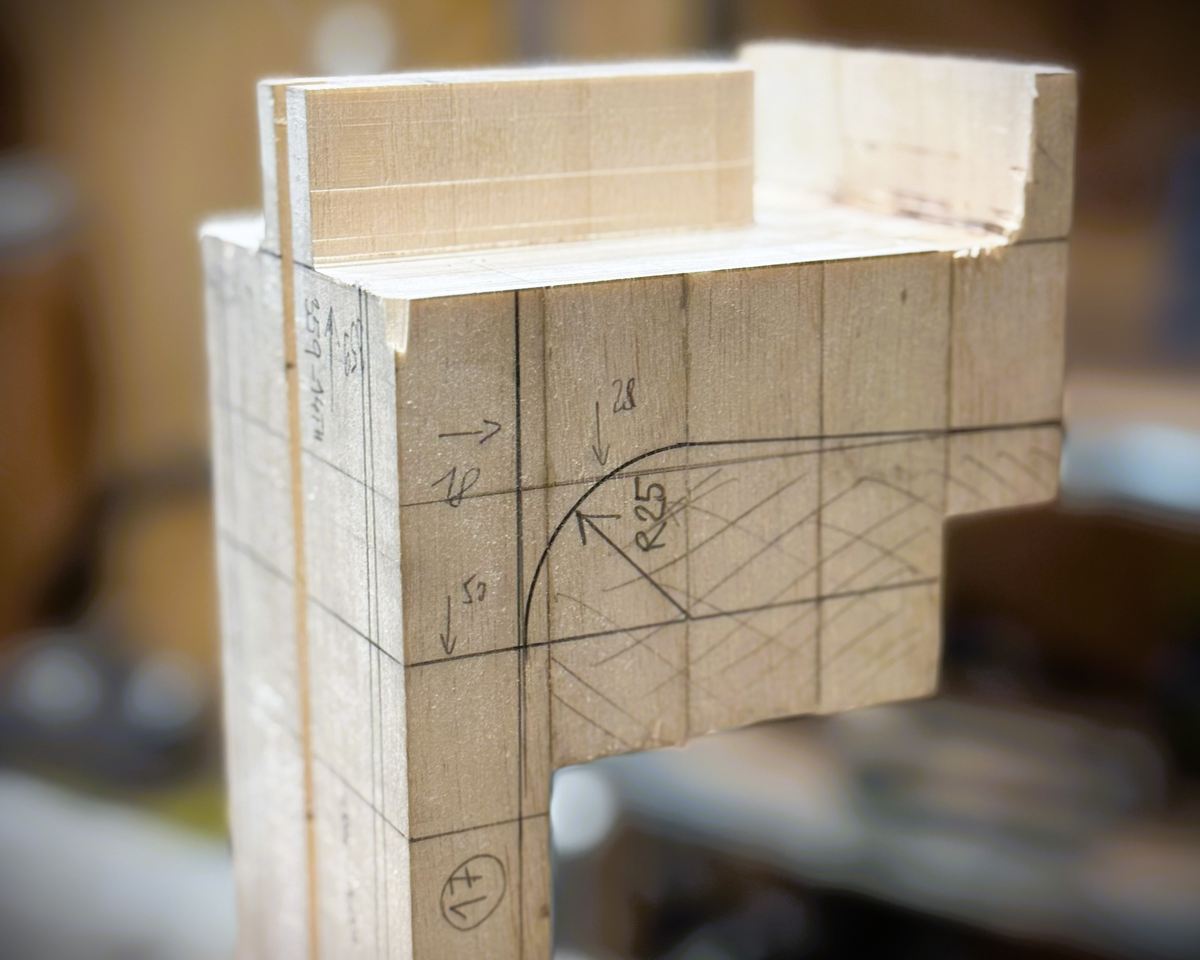
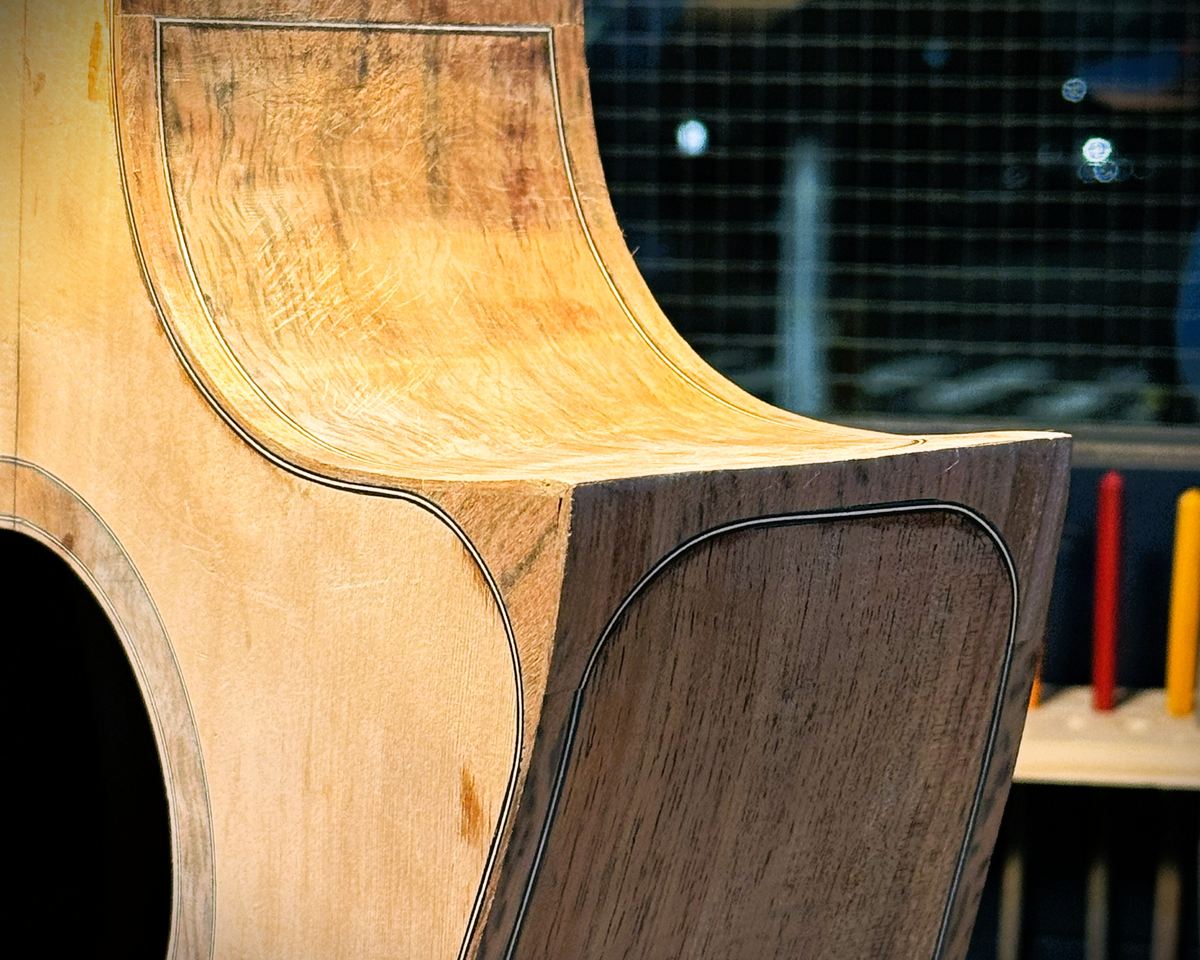
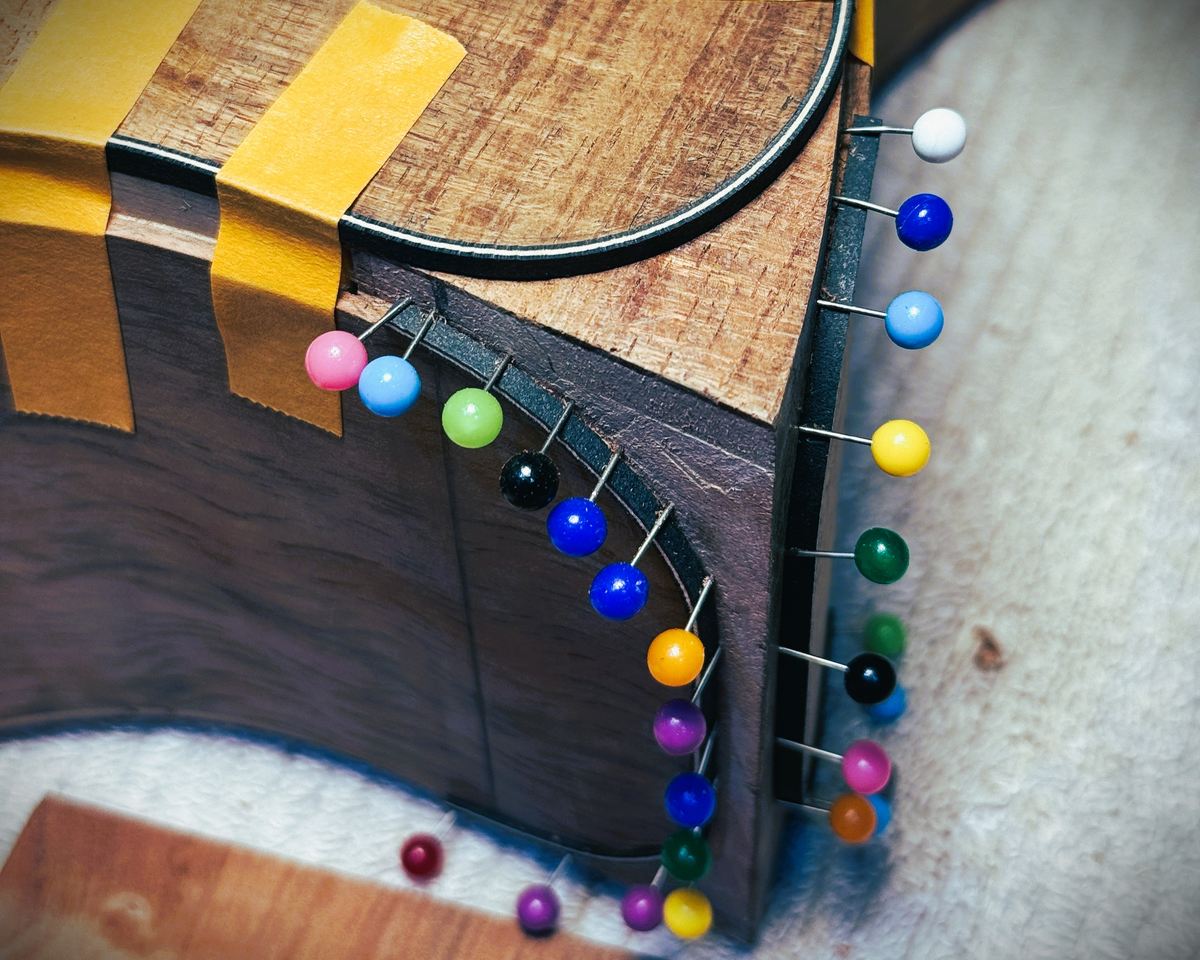
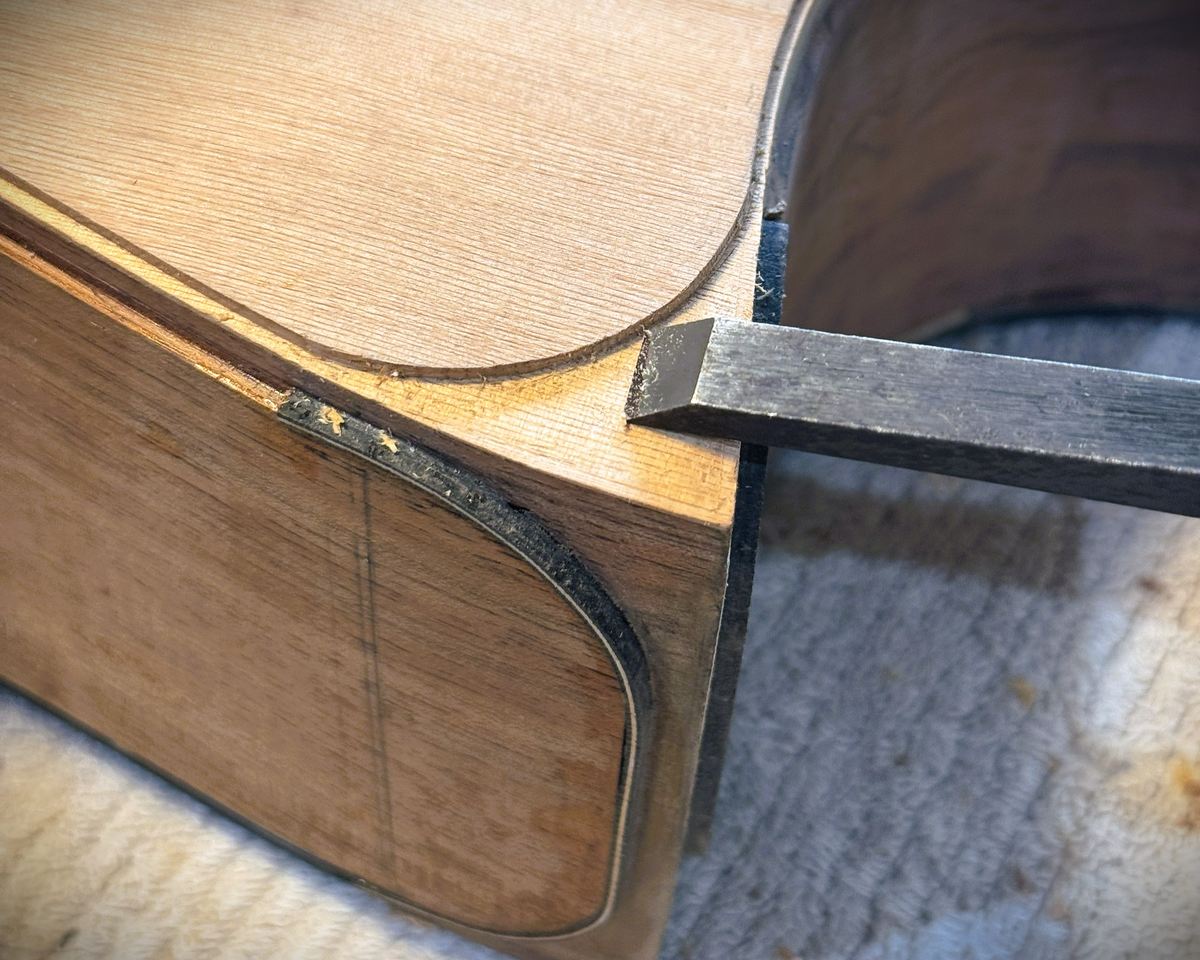
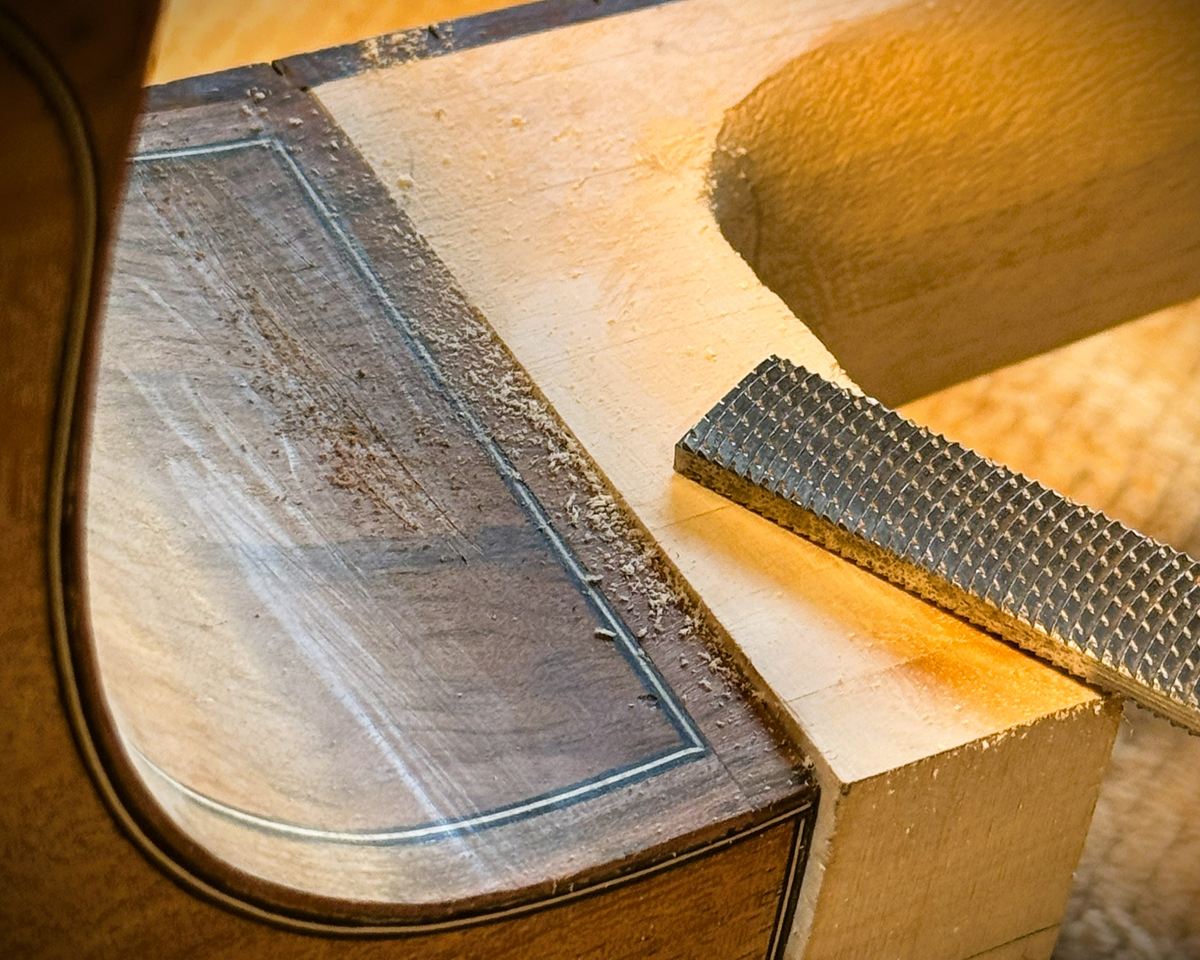
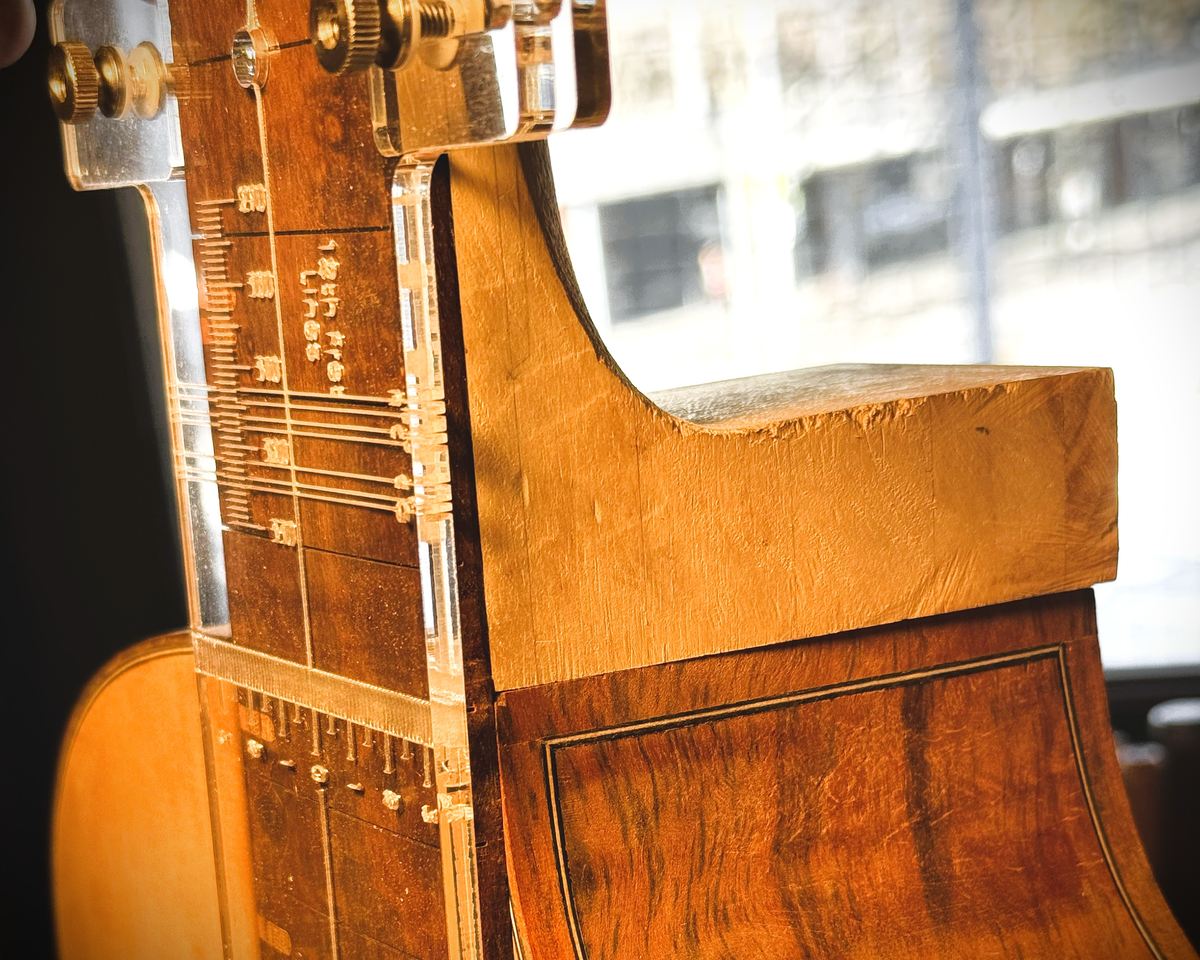
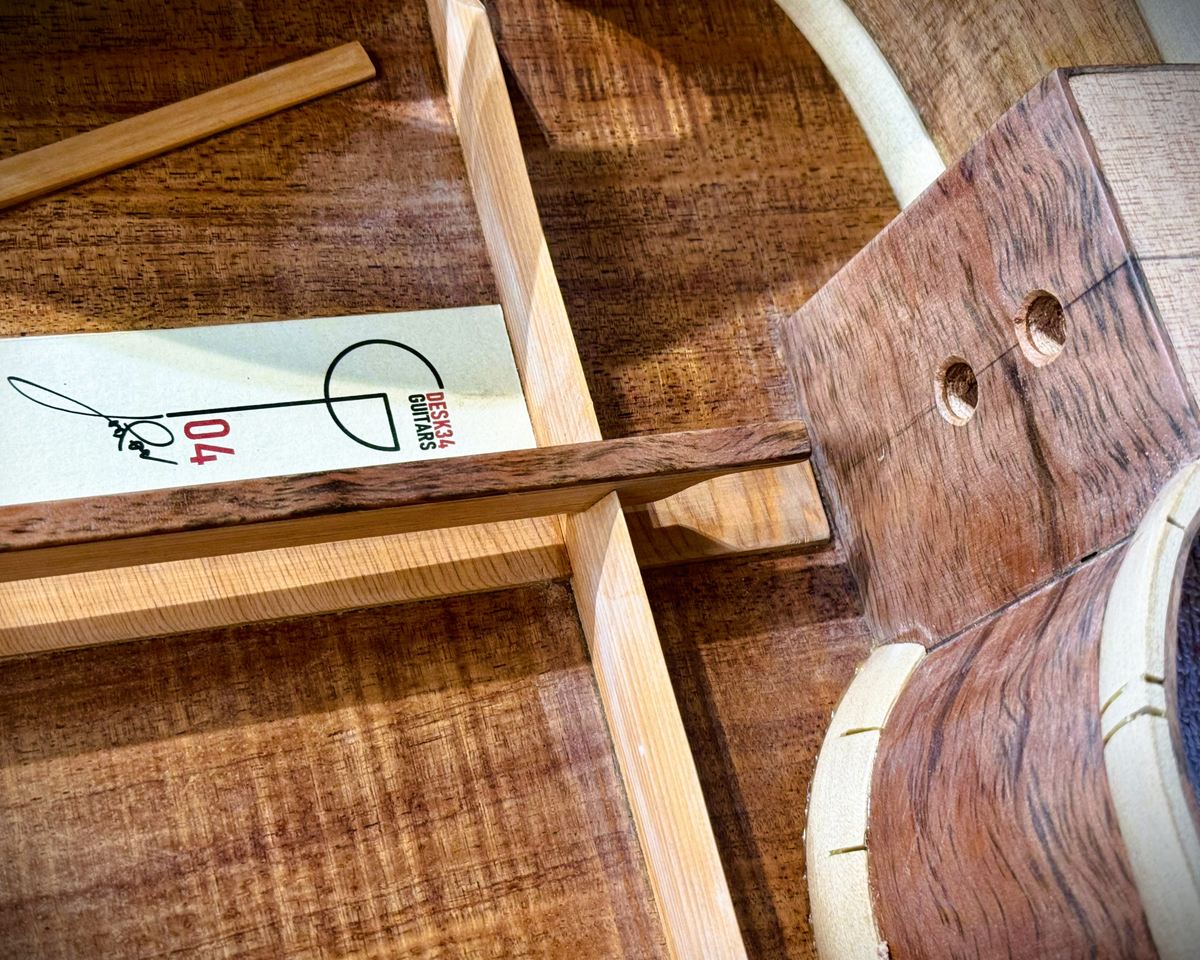
A Florentine cutaway is the sharp-cornered kind, and it is normally cut from the same timber as the sides so that it disappears into them. This one does the opposite. The cutaway is made from Tiger Myrtle, off the same board as the rosette, the binding and the end graft, so the figure that runs around the edge of the guitar turns the corner at the horn and is meant to be seen. The Myrtle does not stop at the surface either. It is carried on underneath and across the face of the heel block, so the block the neck is built on is clad in the same timber. None of that would ordinarily be visible, but the sound port opens onto it, and a player looking down into the instrument sees the Myrtle carried right through to the inside.
09

Bending, lining and closing the box

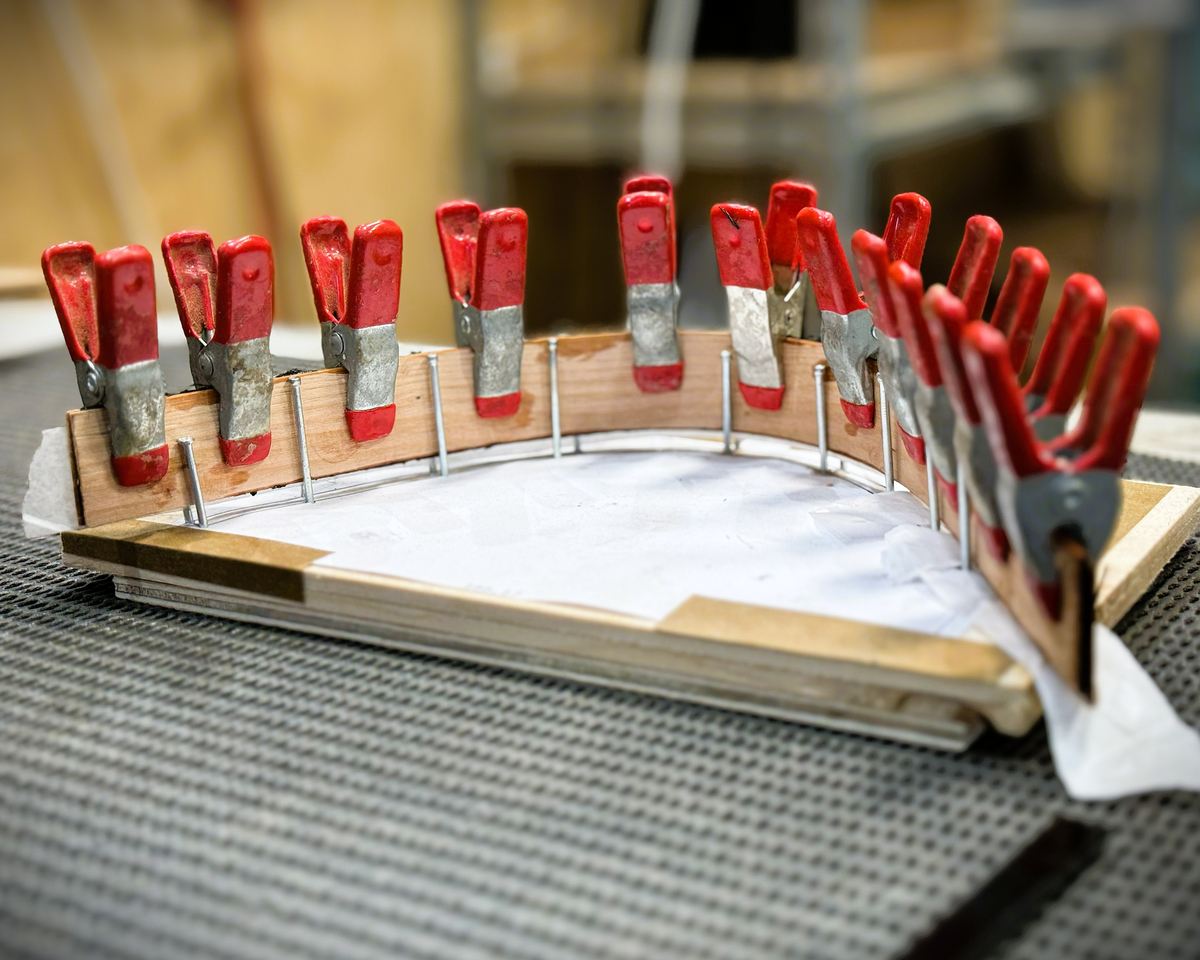
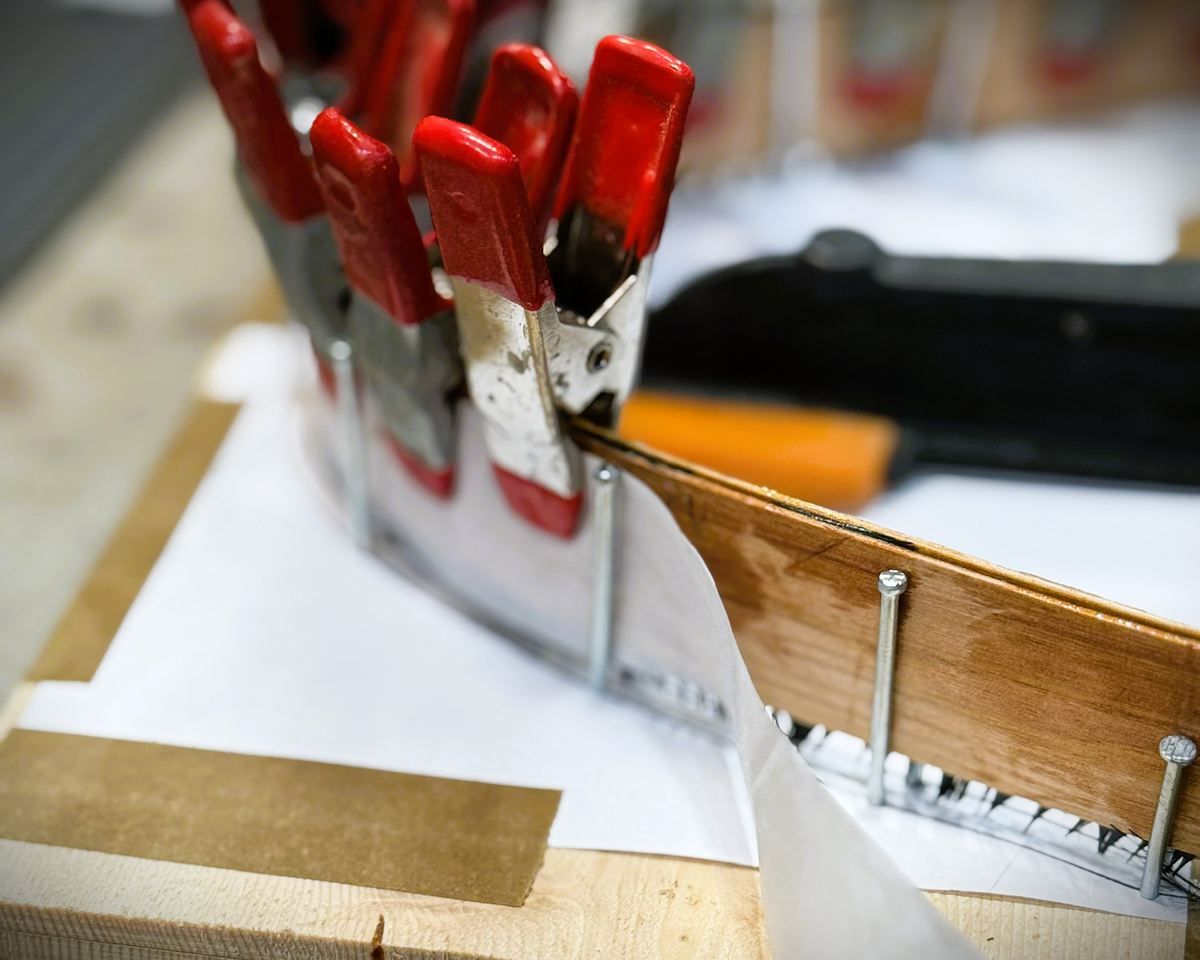
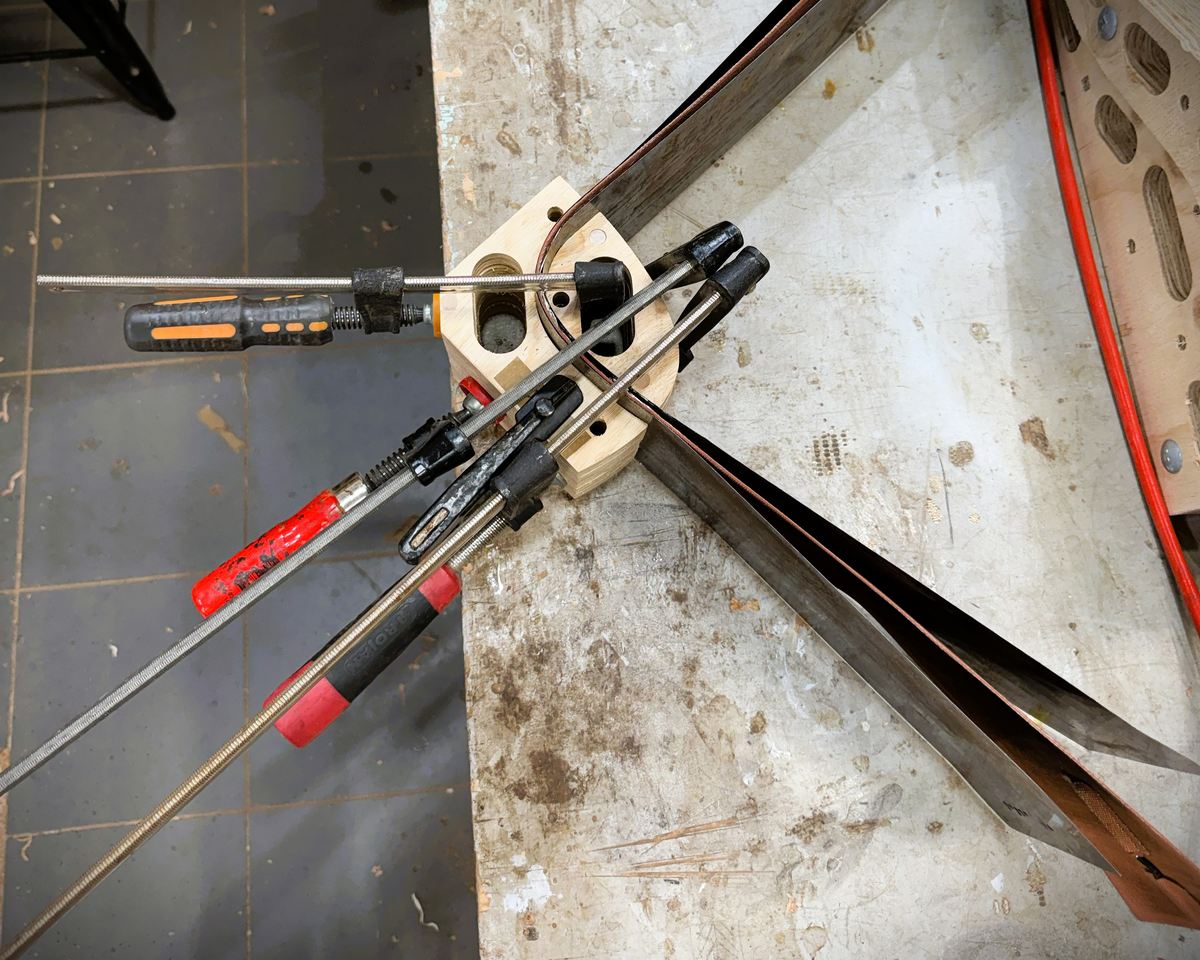
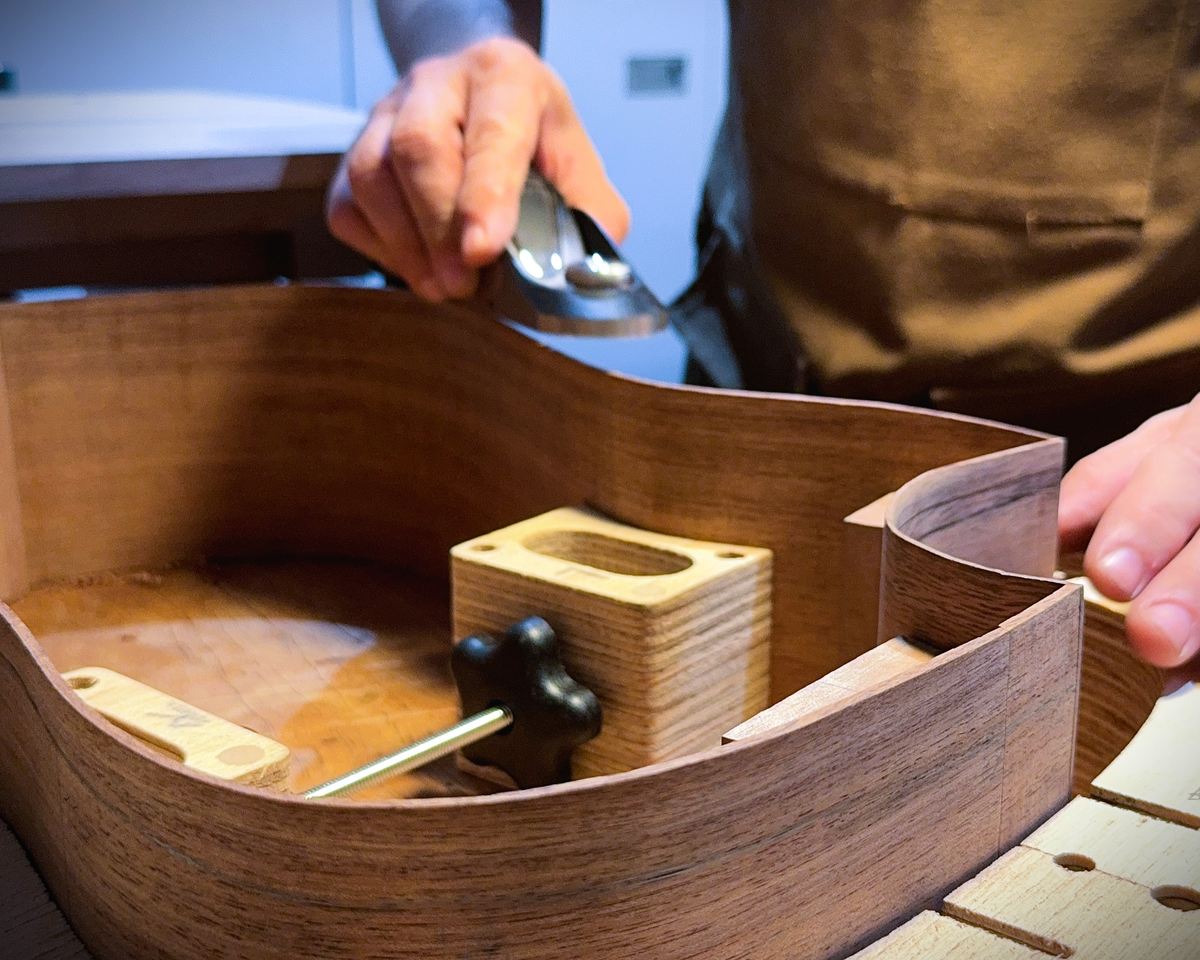
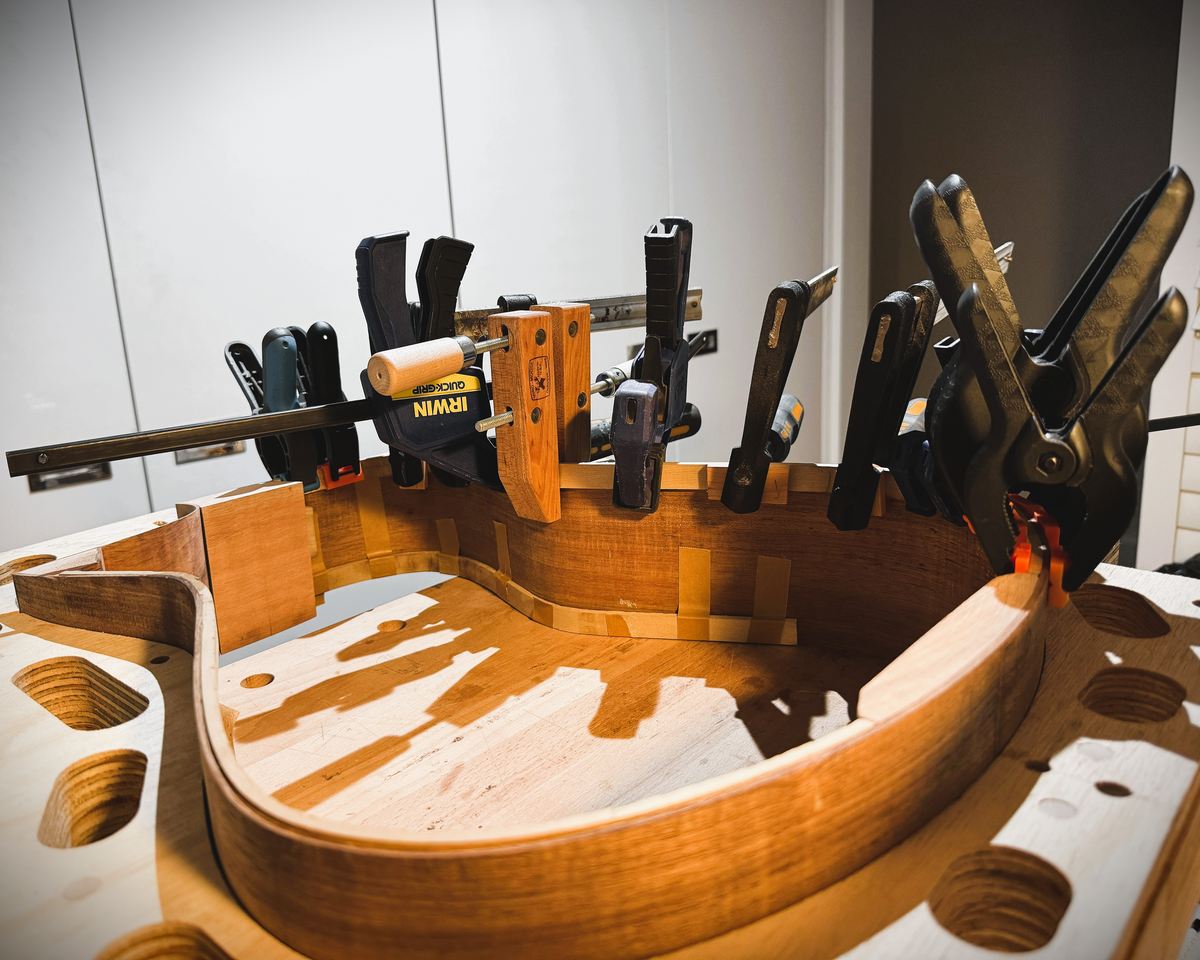
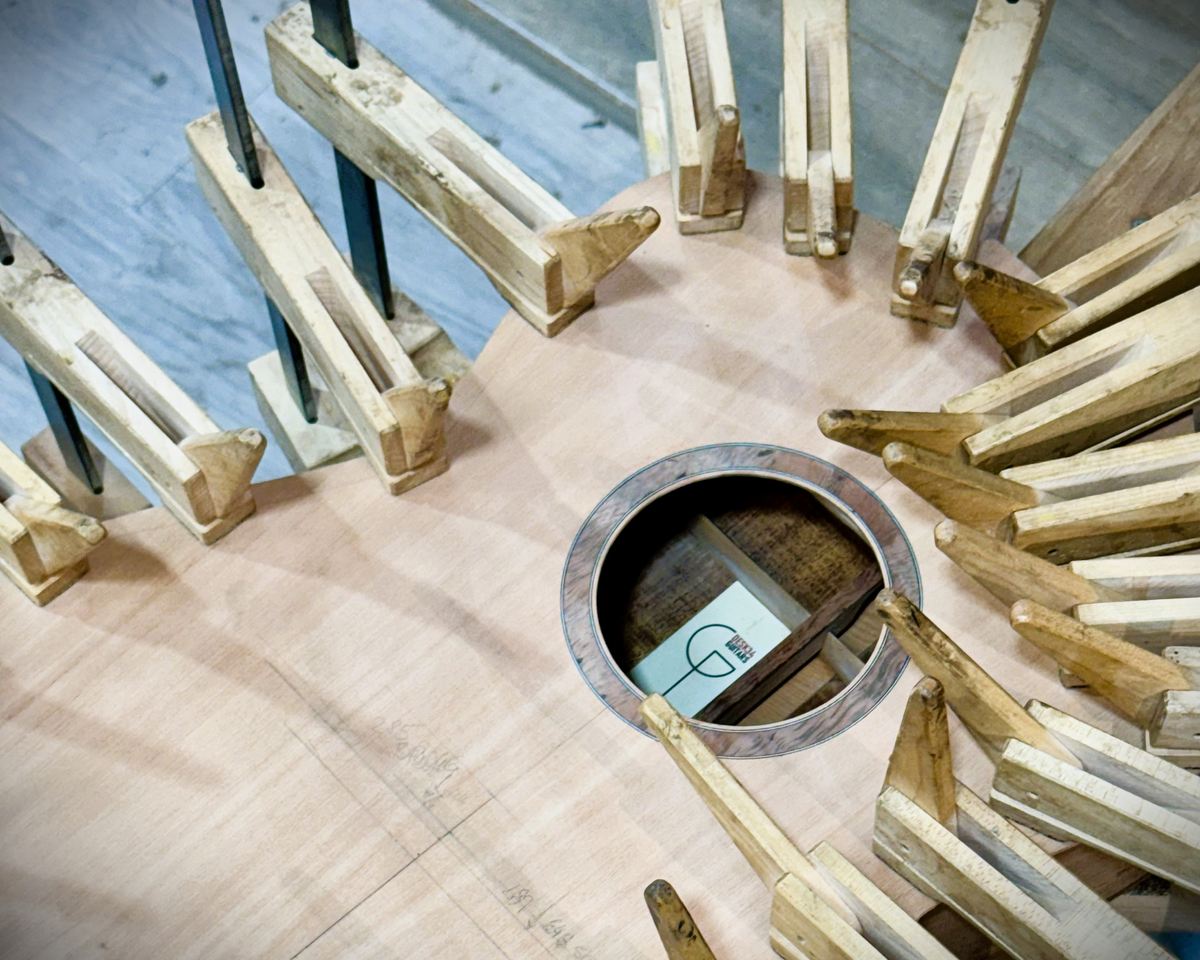
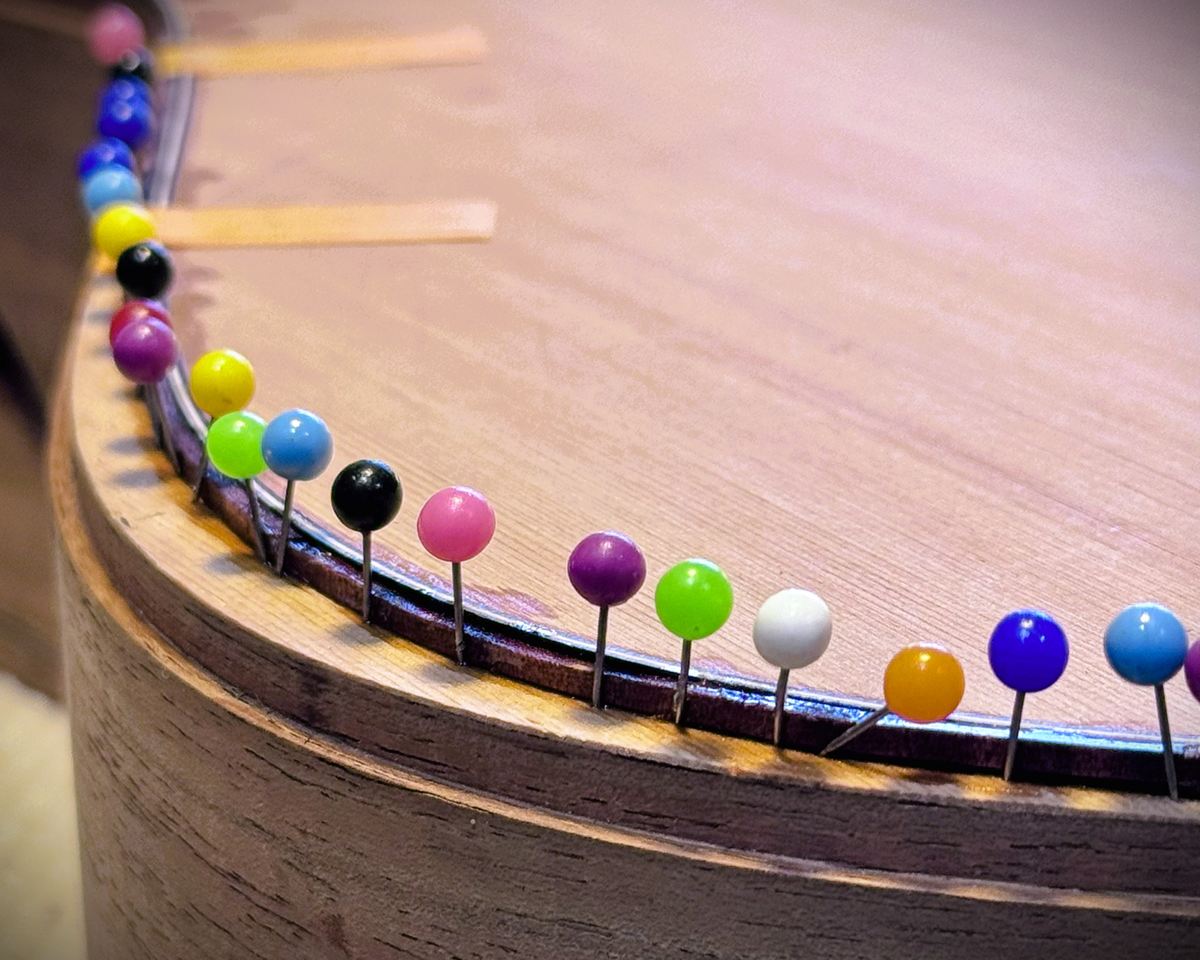
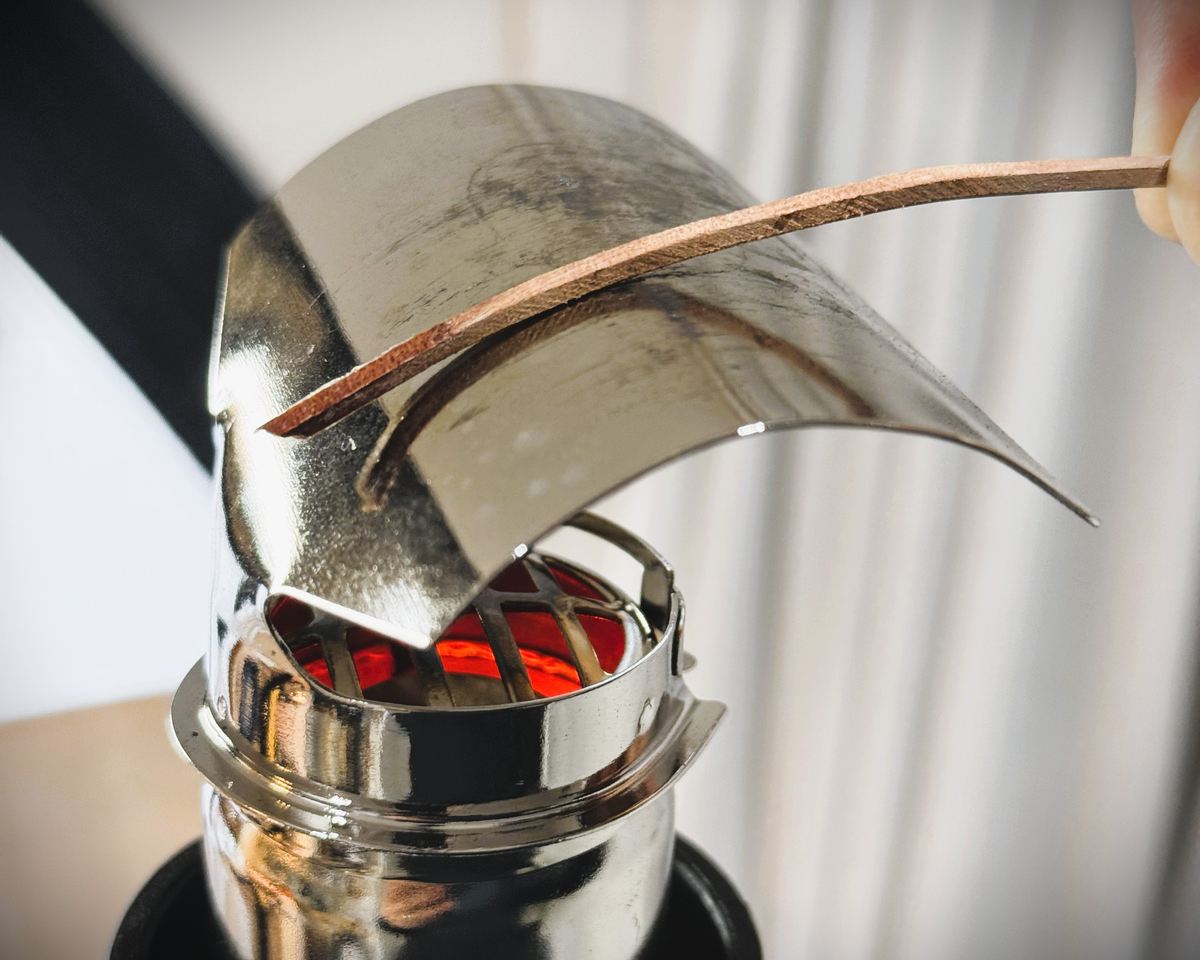
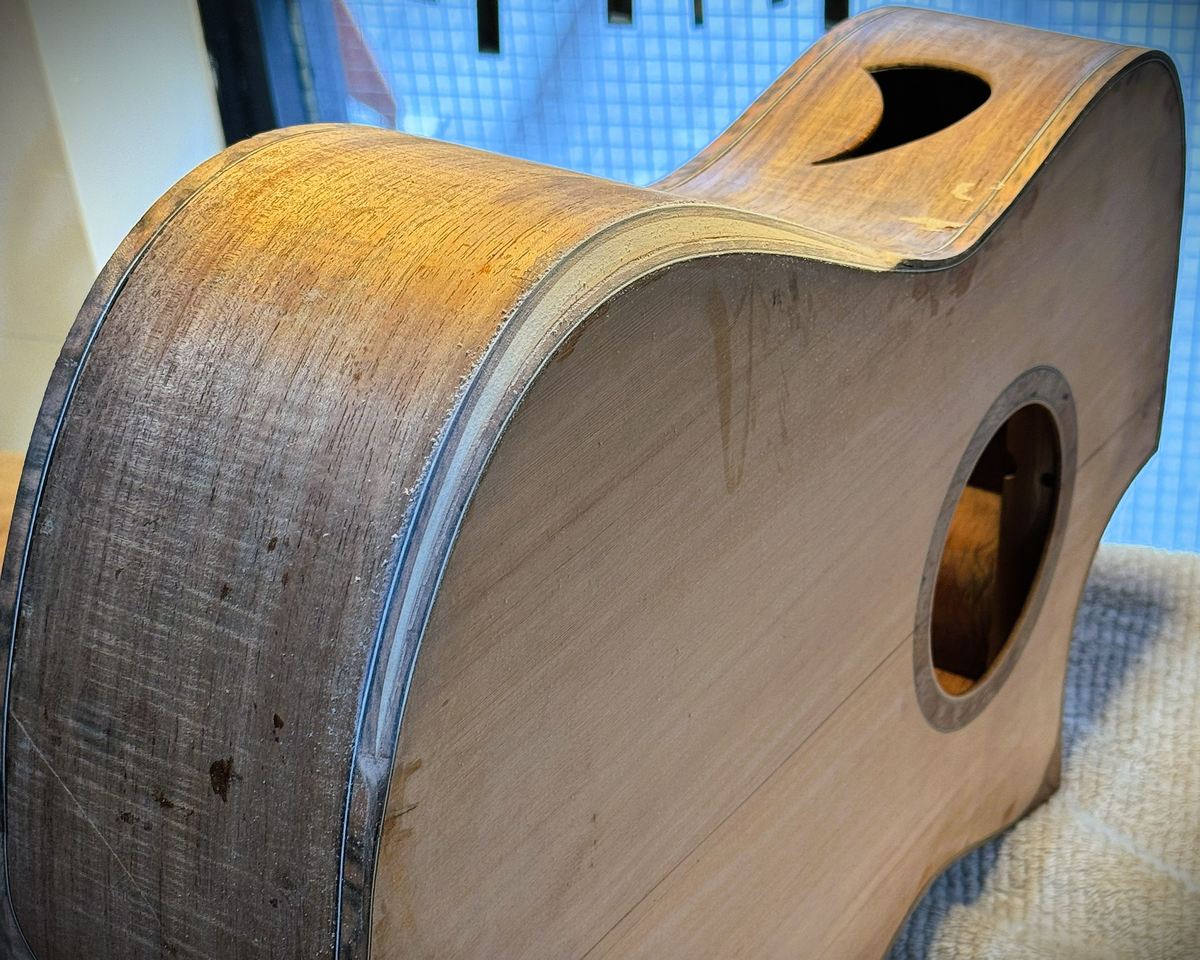
The Blackwood sides are bent over a hot iron and clamped to a mould. Blackheart Sassafras lining is bent to match and then glued to the length of both edges, giving the rim its stiffness and the plates a proper gluing surface. The sound port is cut through the upper bout on the side facing the player, which gives the player a monitor of their own while the guitar throws its sound forward as usual. The box is then closed, back and top glued to the rim, and from that moment the instrument has a voice that can only be refined, not redesigned.

10

Testing and refining the response

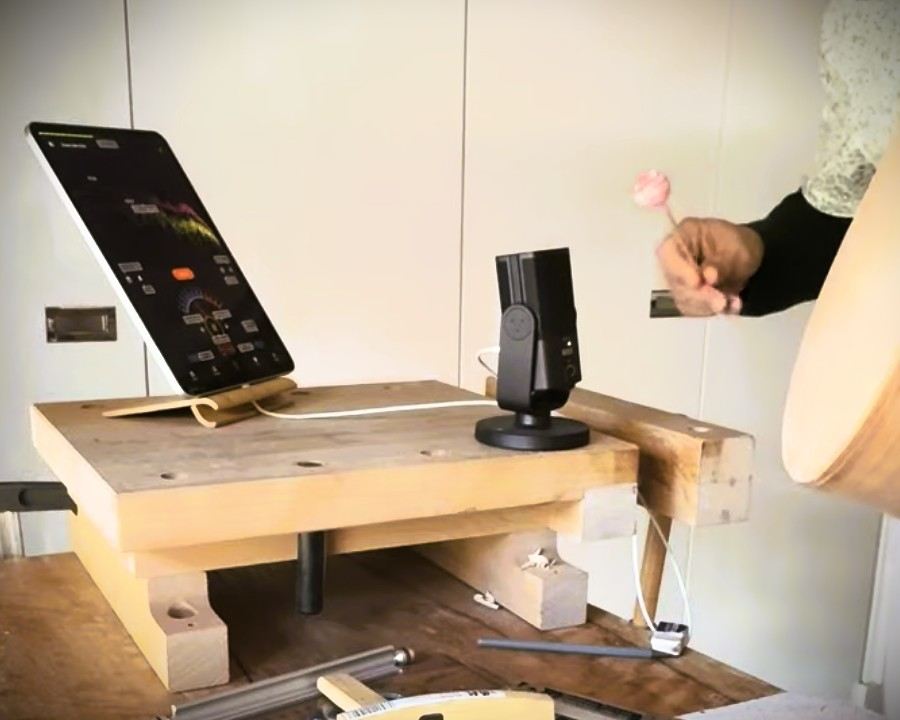
The plate is tapped at a node and the sound recorded a few centimetres away with a directional microphone, which hears the timber and not the room. An FFT turns that tap into a frequency plot, and the peaks show where the plate wants to move: the air resonance of the box, the main top mode and the back mode. The same measurement is repeated at every stage, free plate, top on the rim, box closed, soundhole opened, so each change can be compared against the one before it. Refining is subtractive and slow. The top comes down in small passes and the braces are shaved and scalloped a little at a time, then the plate is measured again to see which way the peaks moved. Resonances are kept off the scale notes so no single pitch is favoured over its neighbours. The plot records what changed; the decision of how far to go is still made by hand and by ear.

11

Making the neck and fingerboard

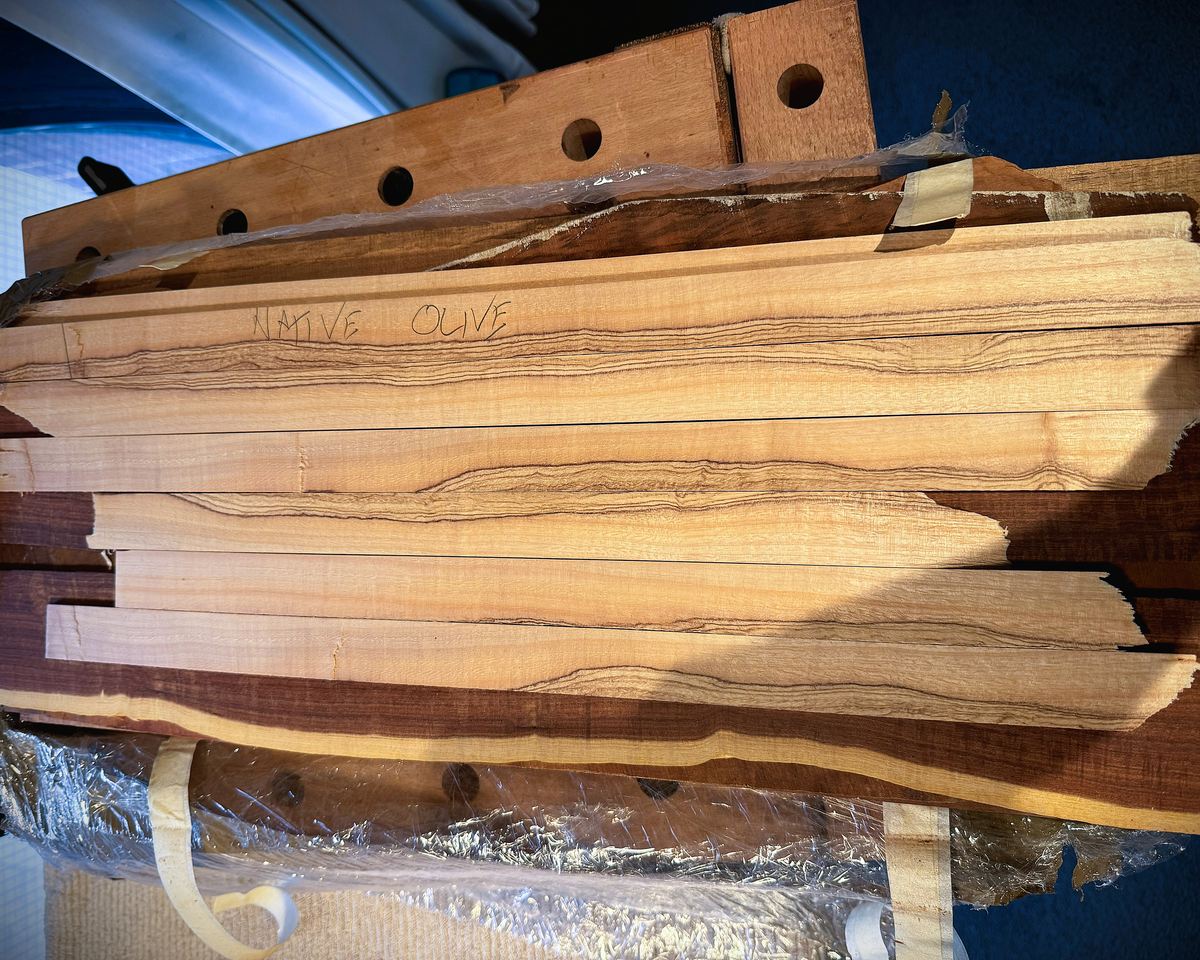
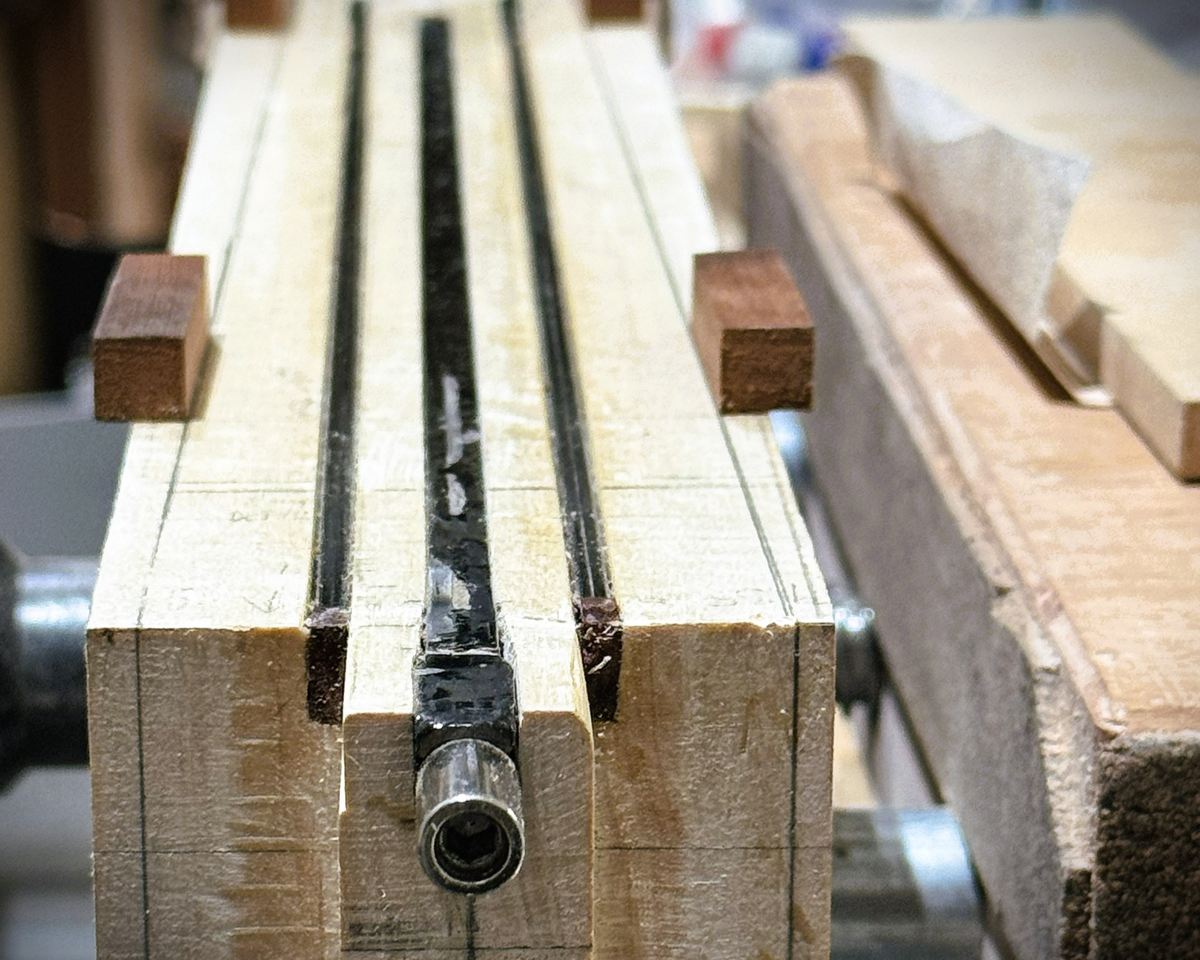
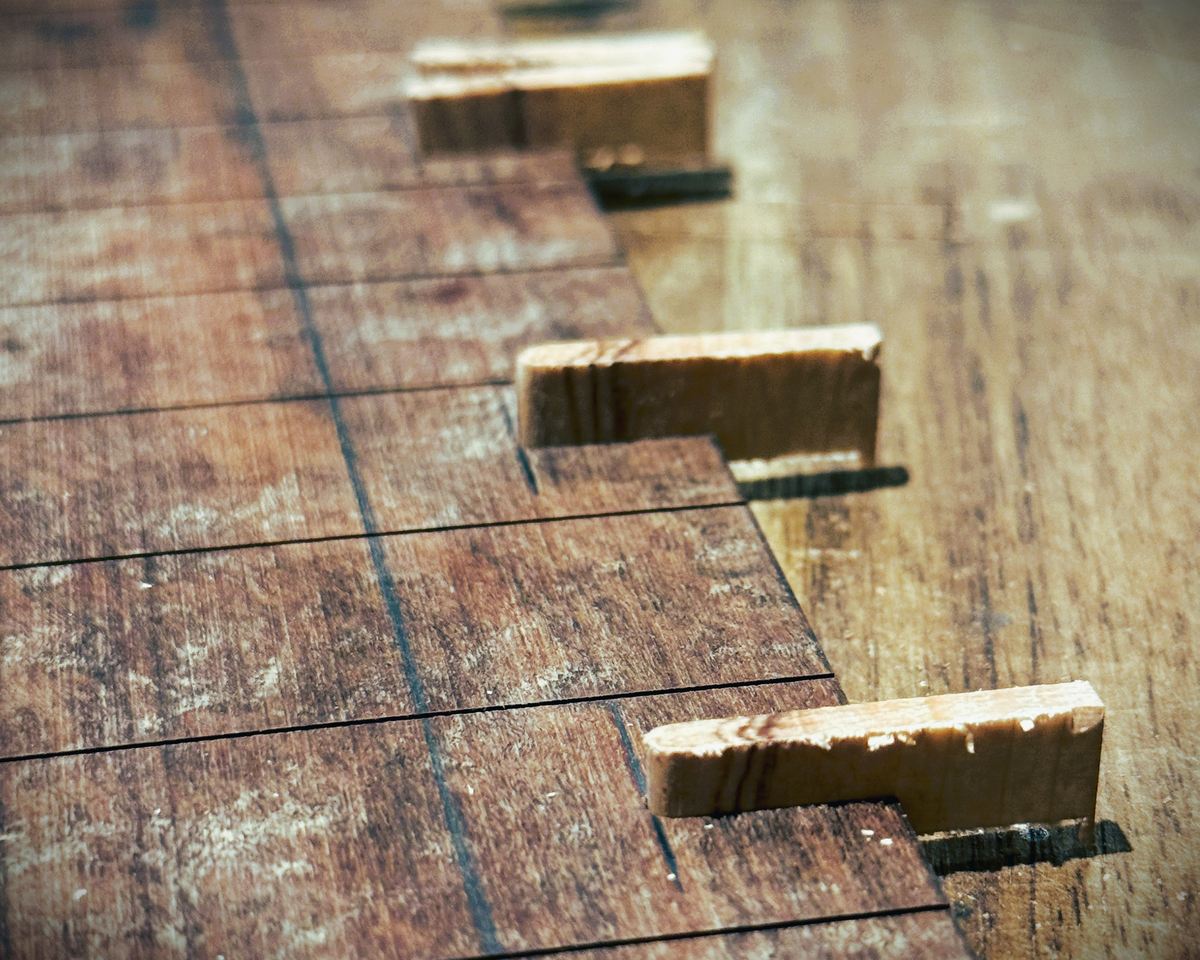
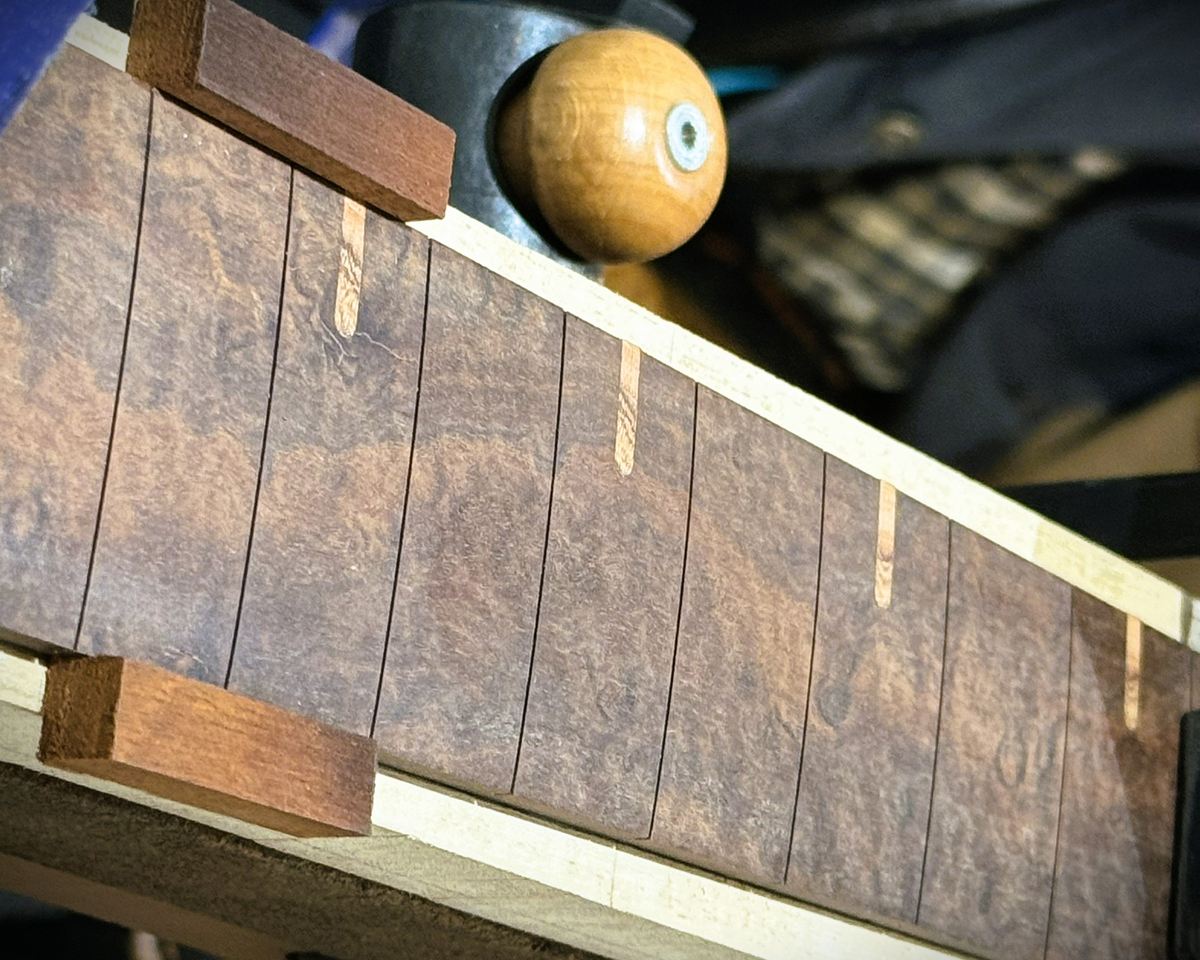
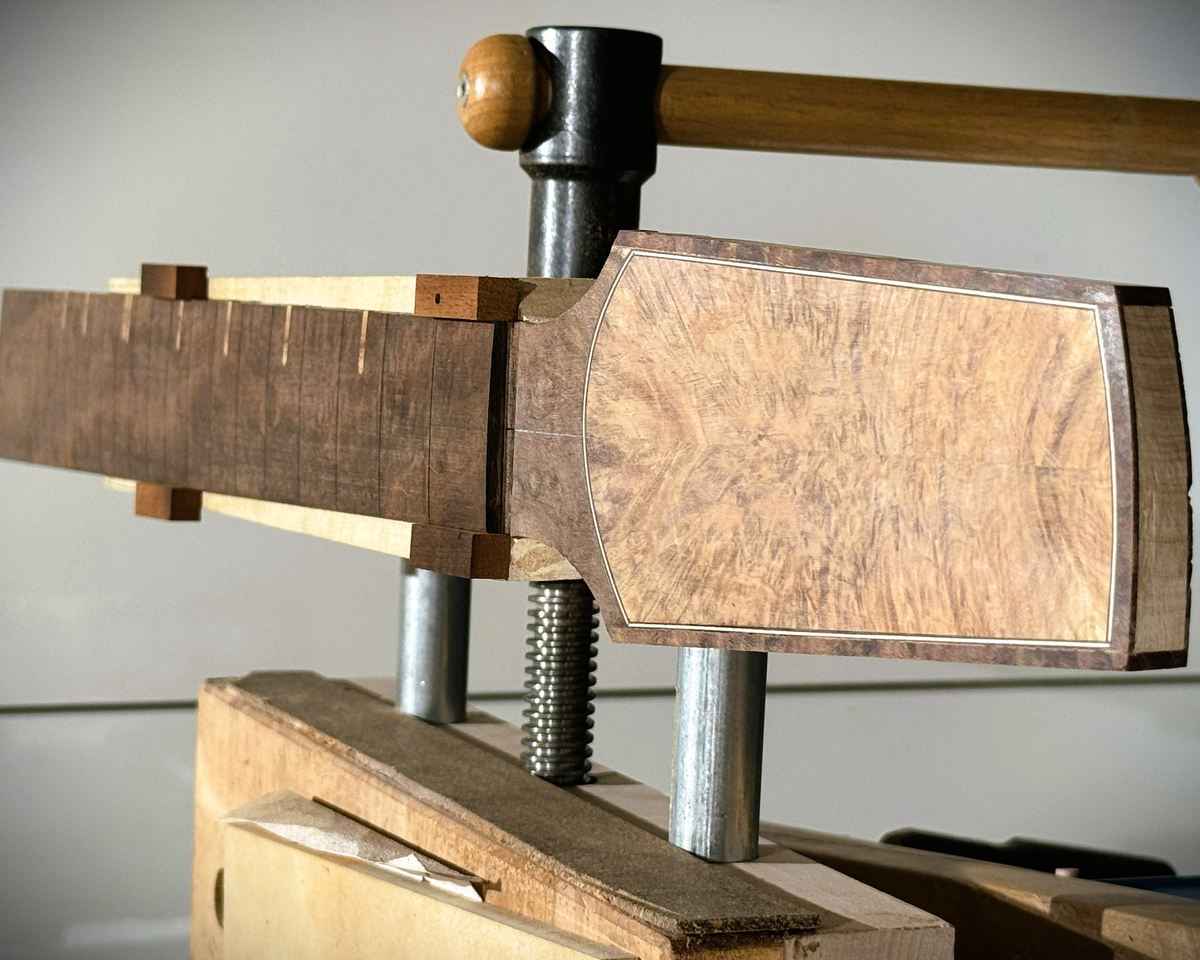
The Silver Ash neck is carbon-fibre reinforced and carries a two-way adjustable truss rod. The Gidgee fingerboard is radiused to 16 inches and slotted for twenty frets, the slots cut to depth against the radius so every fret seats along its whole length. The frets are pressed in, levelled, crowned and the ends dressed flush with the binding line. Native Olive side dots are drilled and set into the edge, small enough to read without announcing themselves against the dark Gidgee. The heel cap carries a composite lining that ties it visually into the back of the guitar, so the line of the back continues through the heel rather than stopping at it.

12

Binding and carving the arm bevel

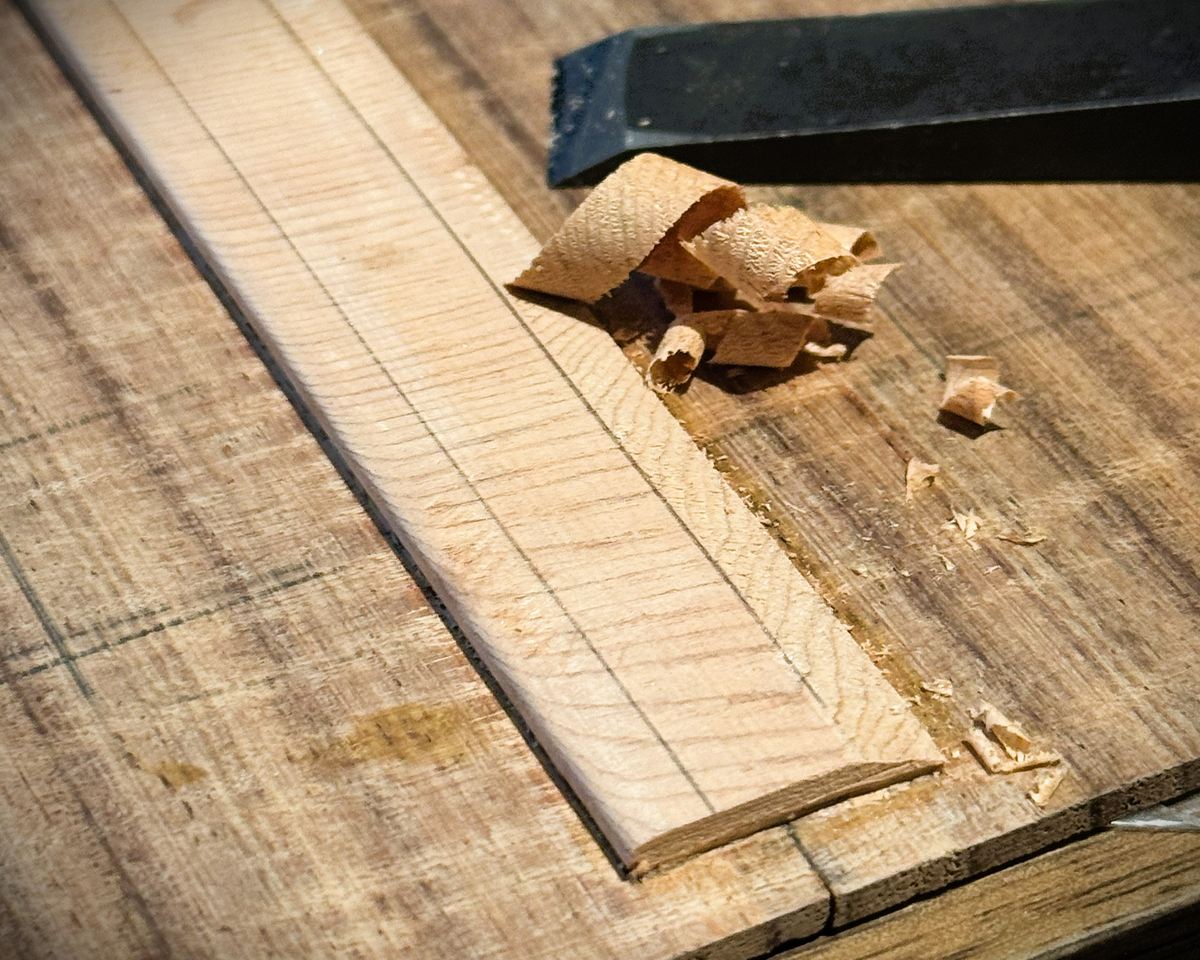
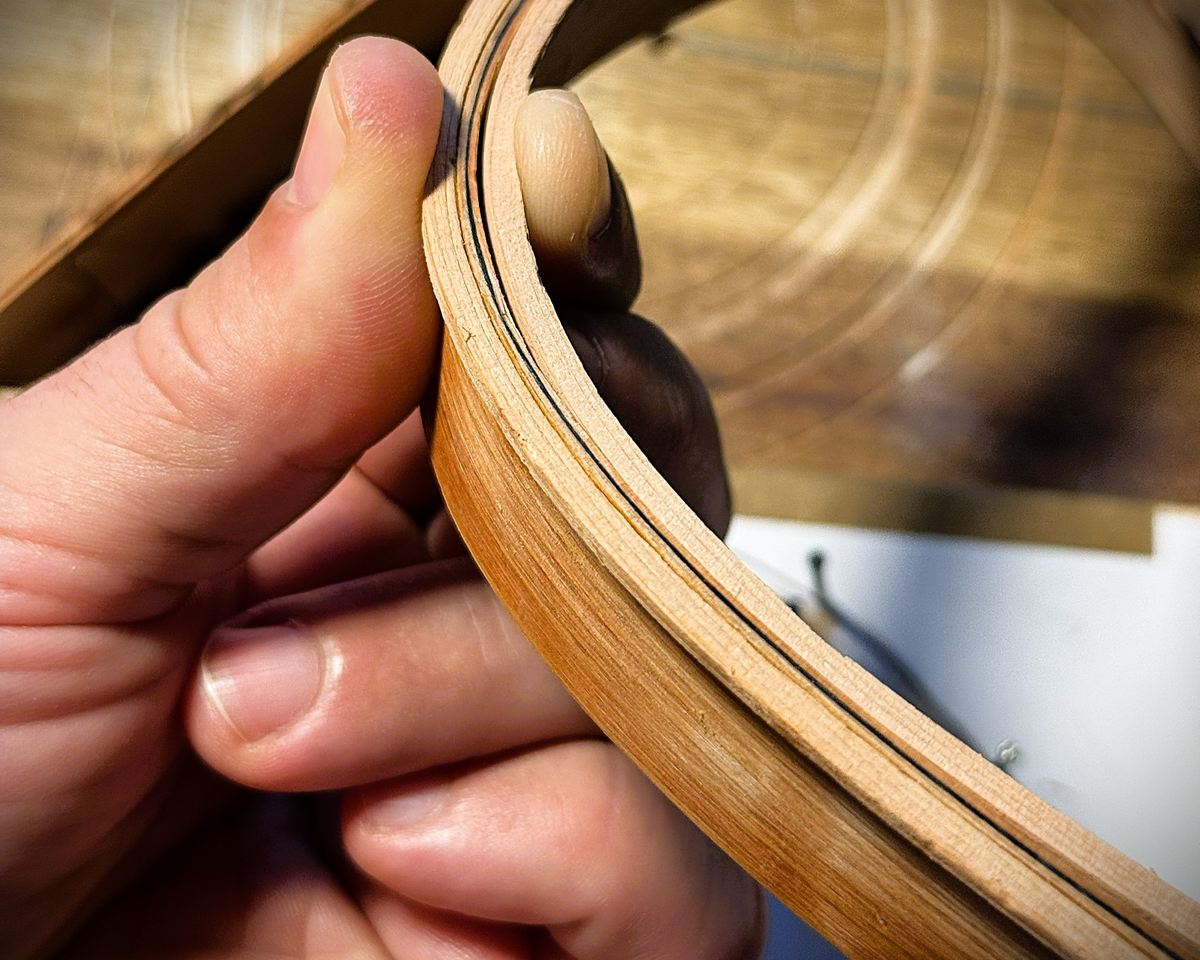
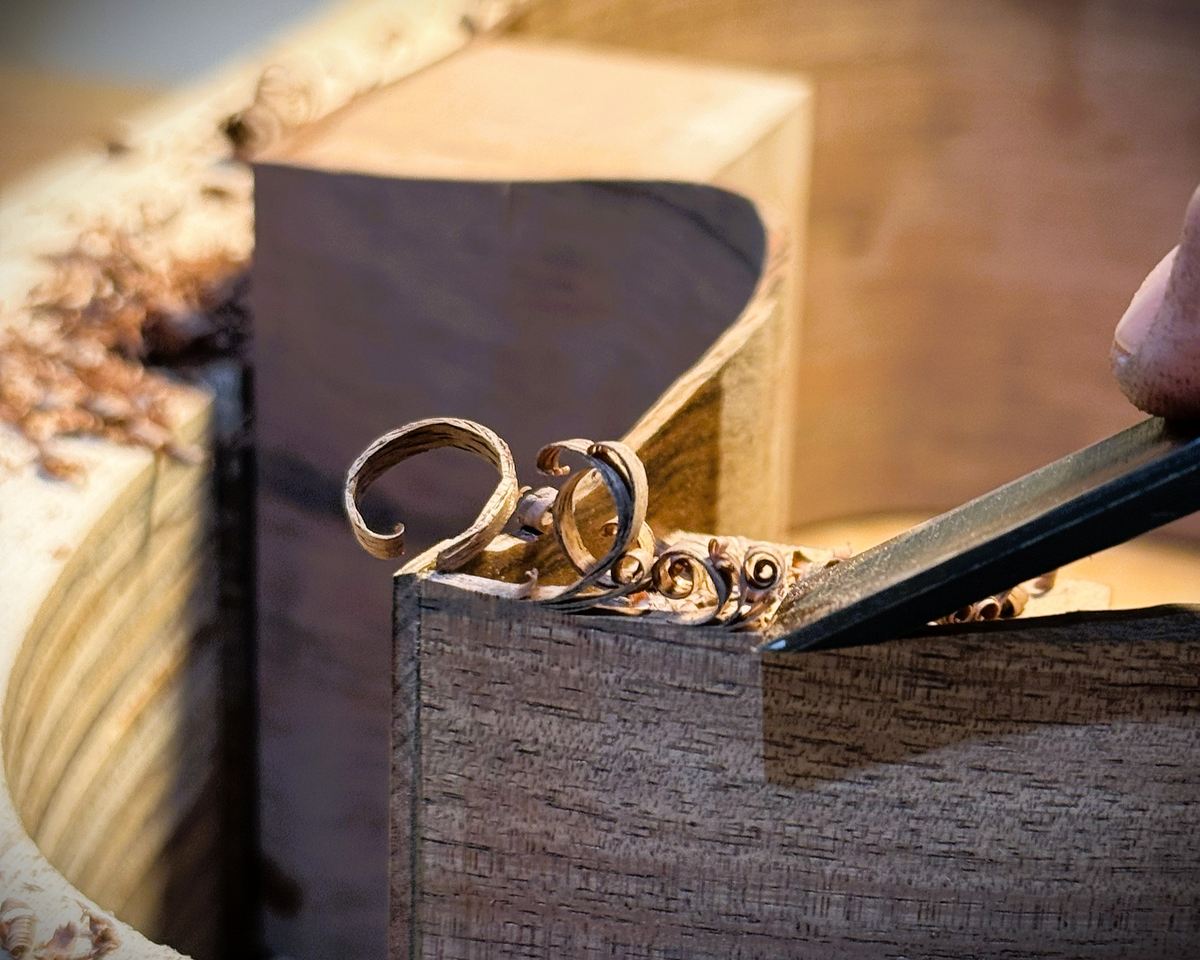
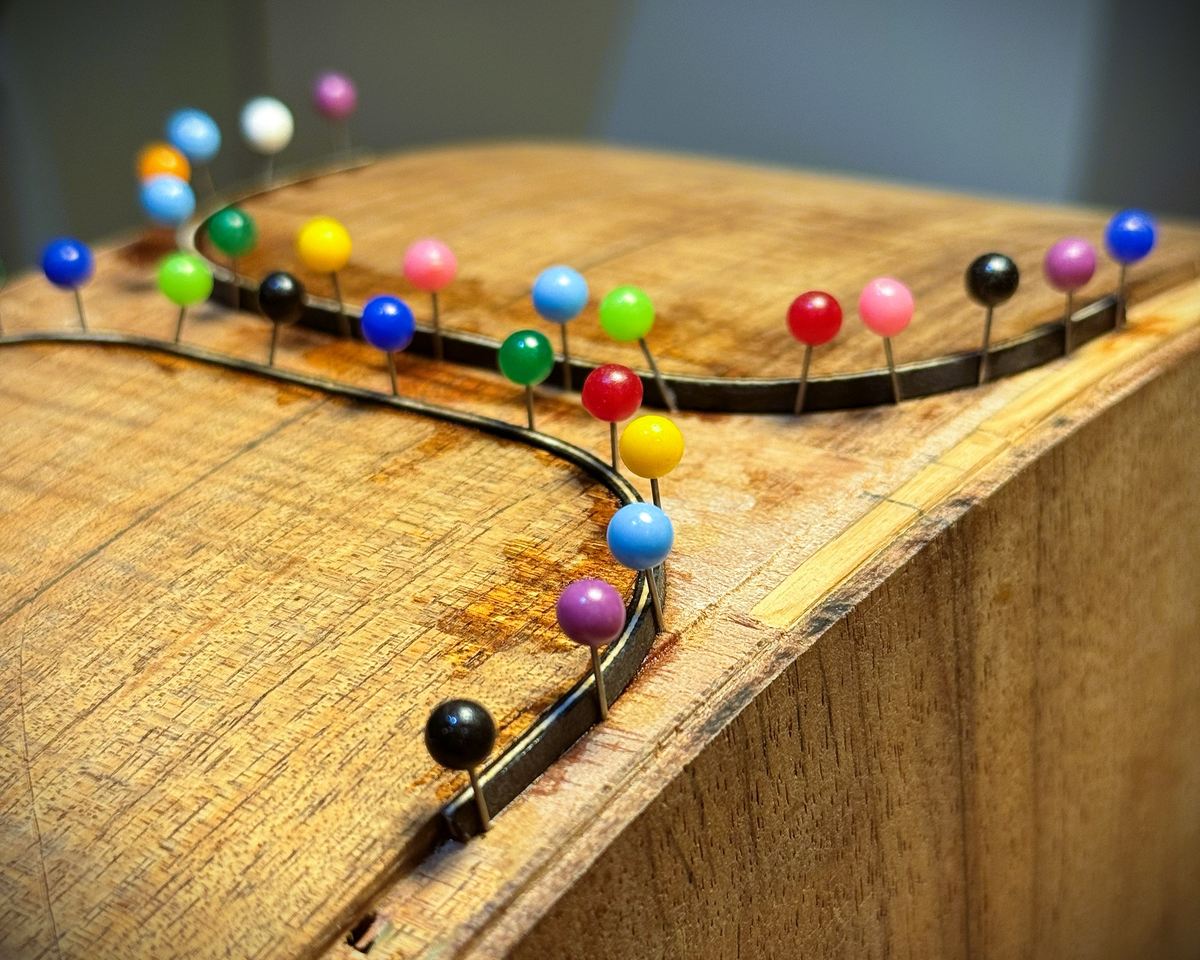
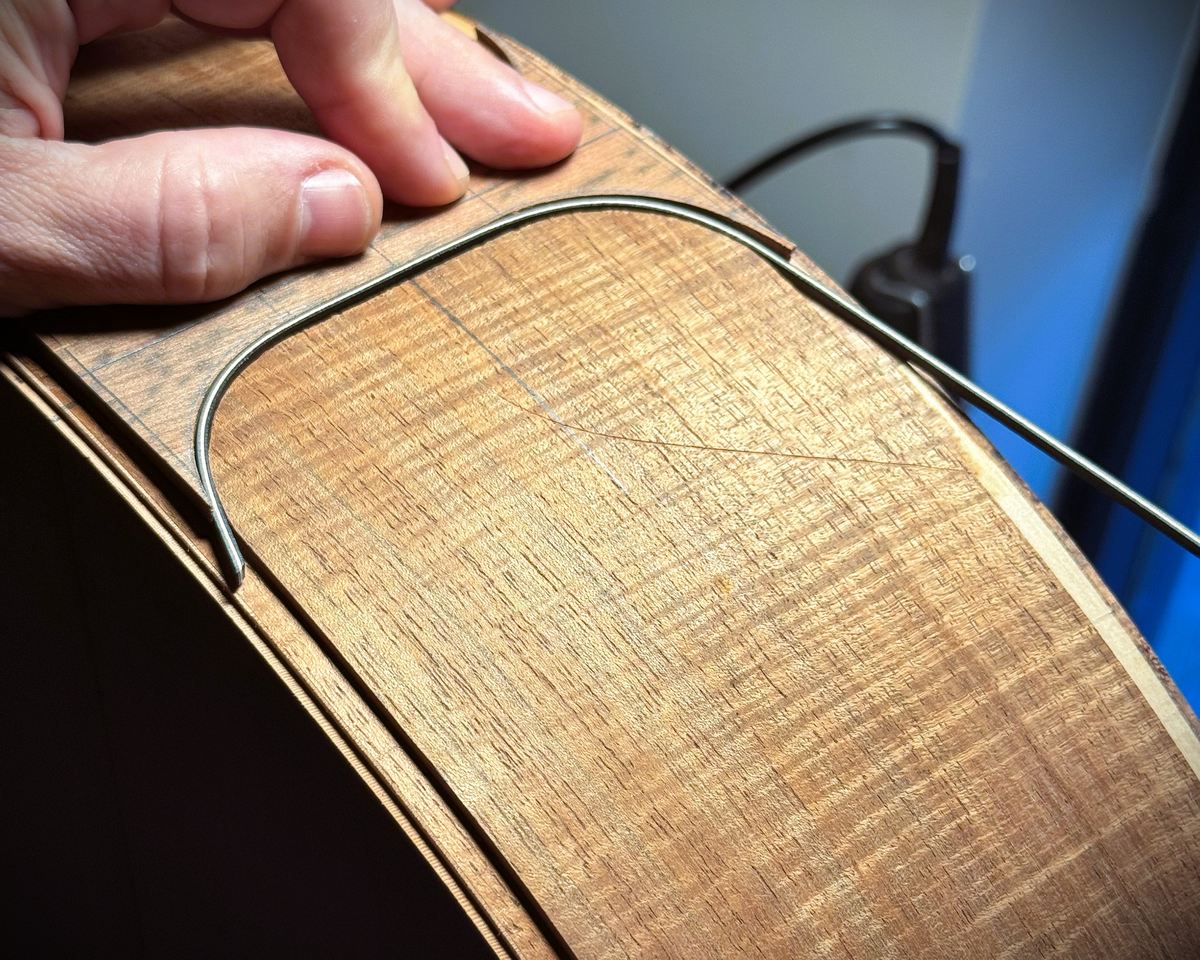
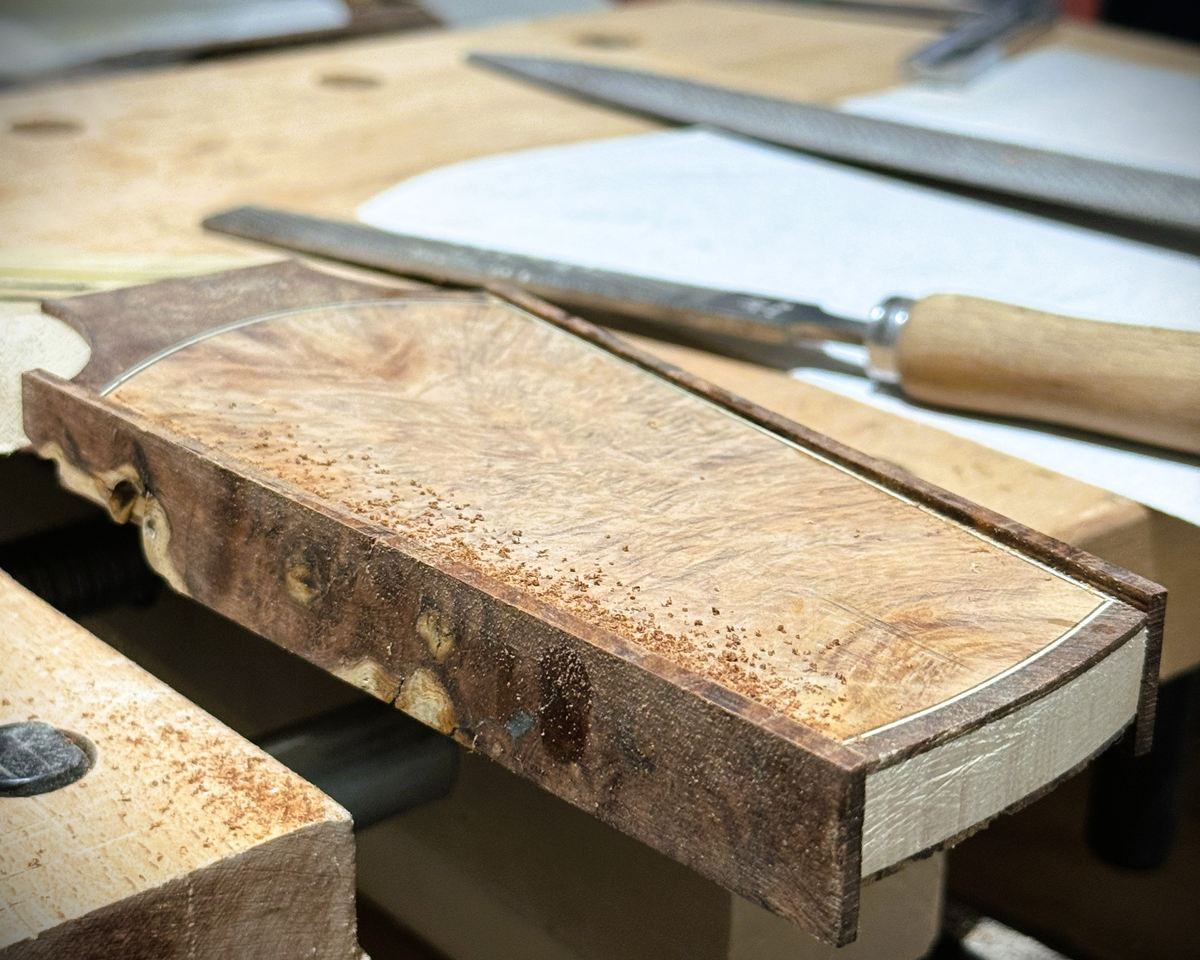
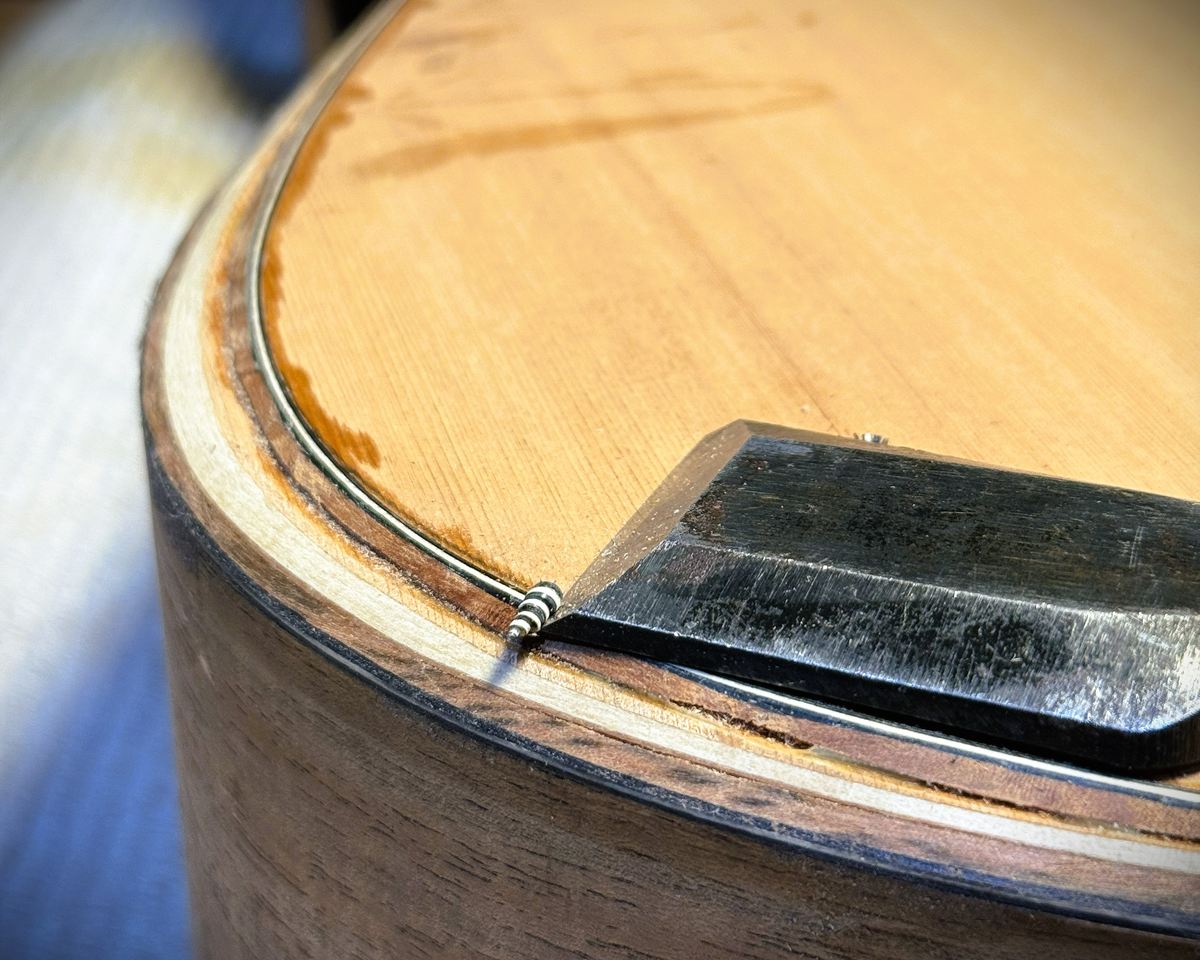
Channels are routed around the top and back edges and the Tiger Myrtle binding is bent, fitted and glued in. The end graft is inlet at the tail also from the same timber so the figure runs right around the instrument. The arm bevel is carved into the edge of the lower bout, where the forearm crosses the guitar, and capped in Myrtle to match. It relieves the pressure of the rim exactly where it presses, and it is shaped by eye and by feel rather than to a template, because the only measure that matters is how it sits under an arm.

13

Aligning the neck with the body

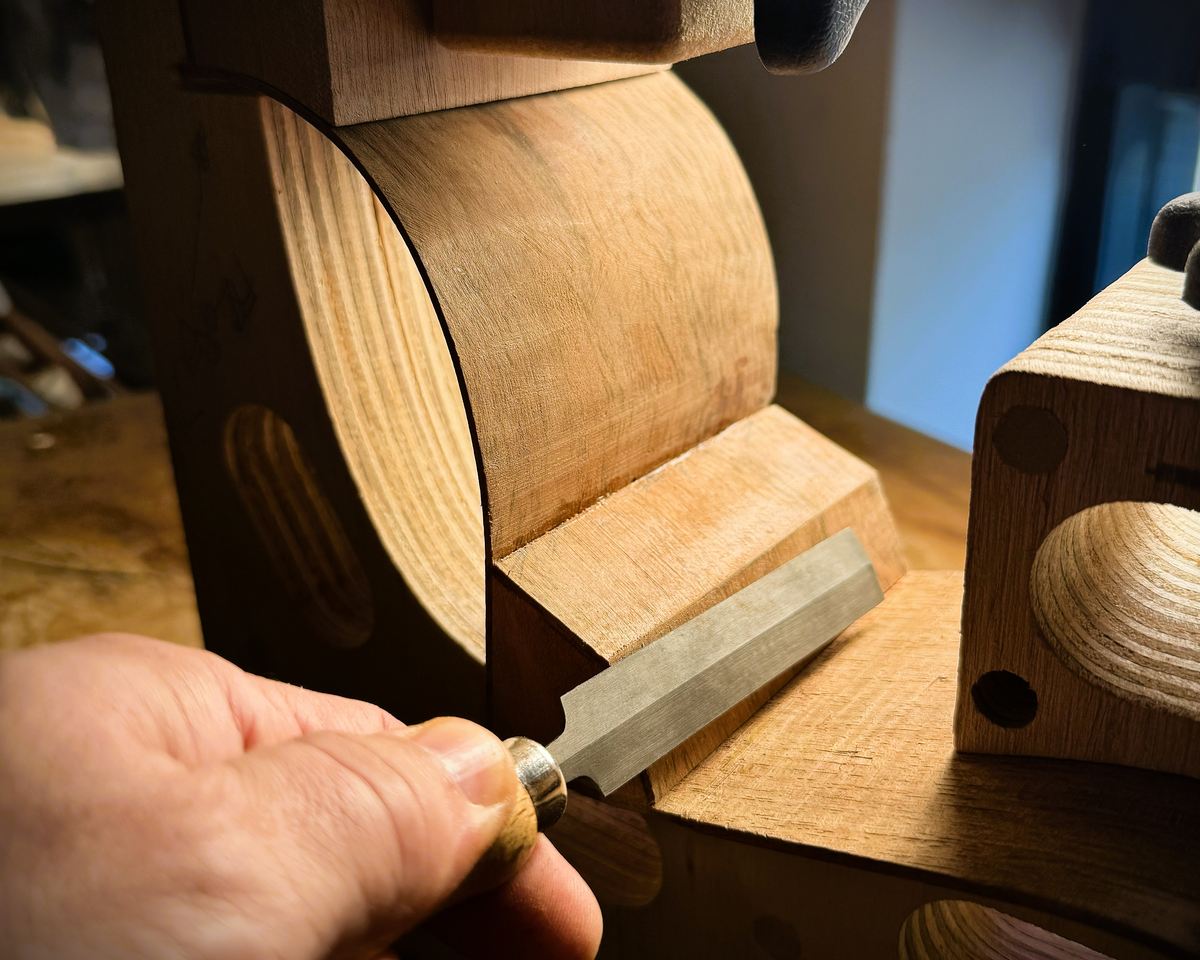
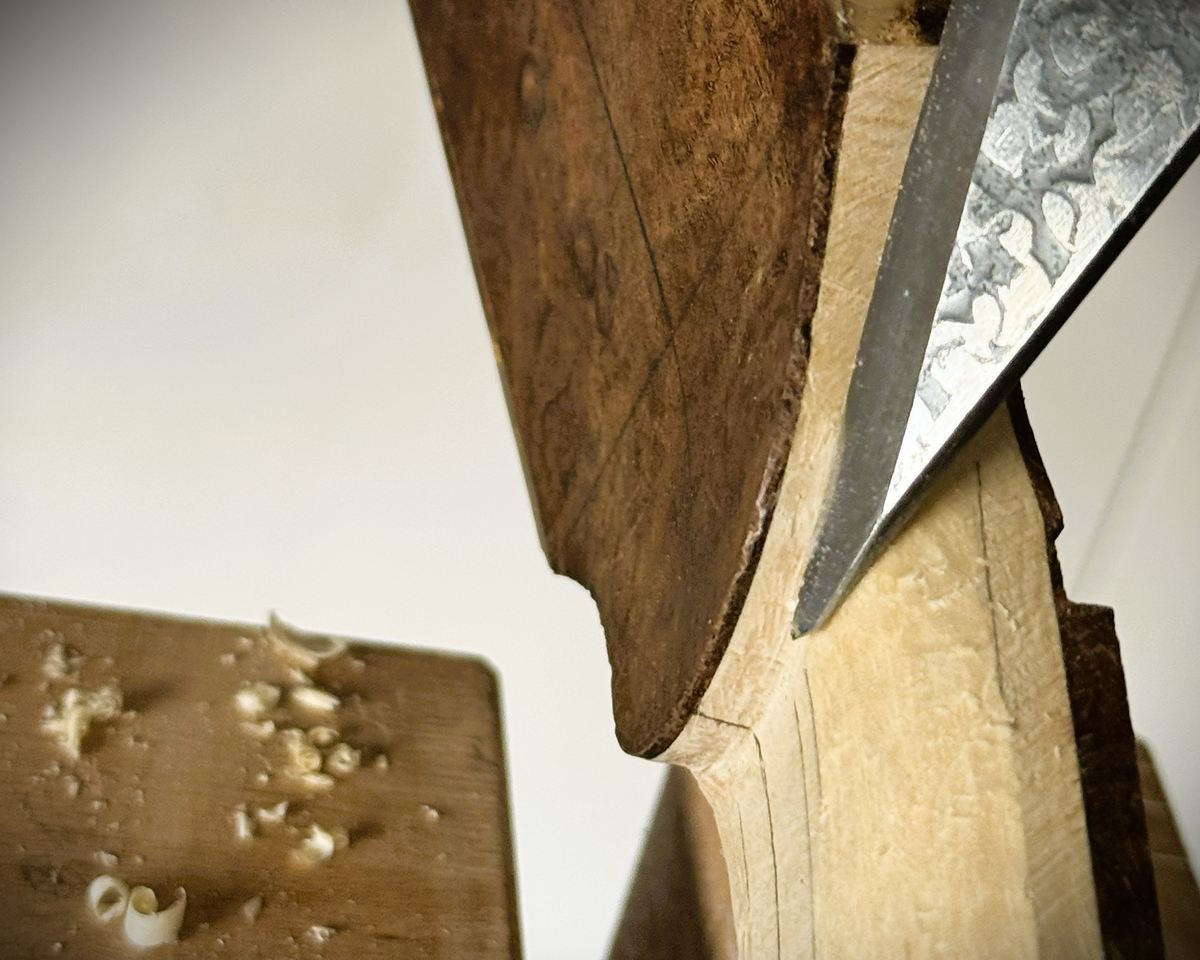
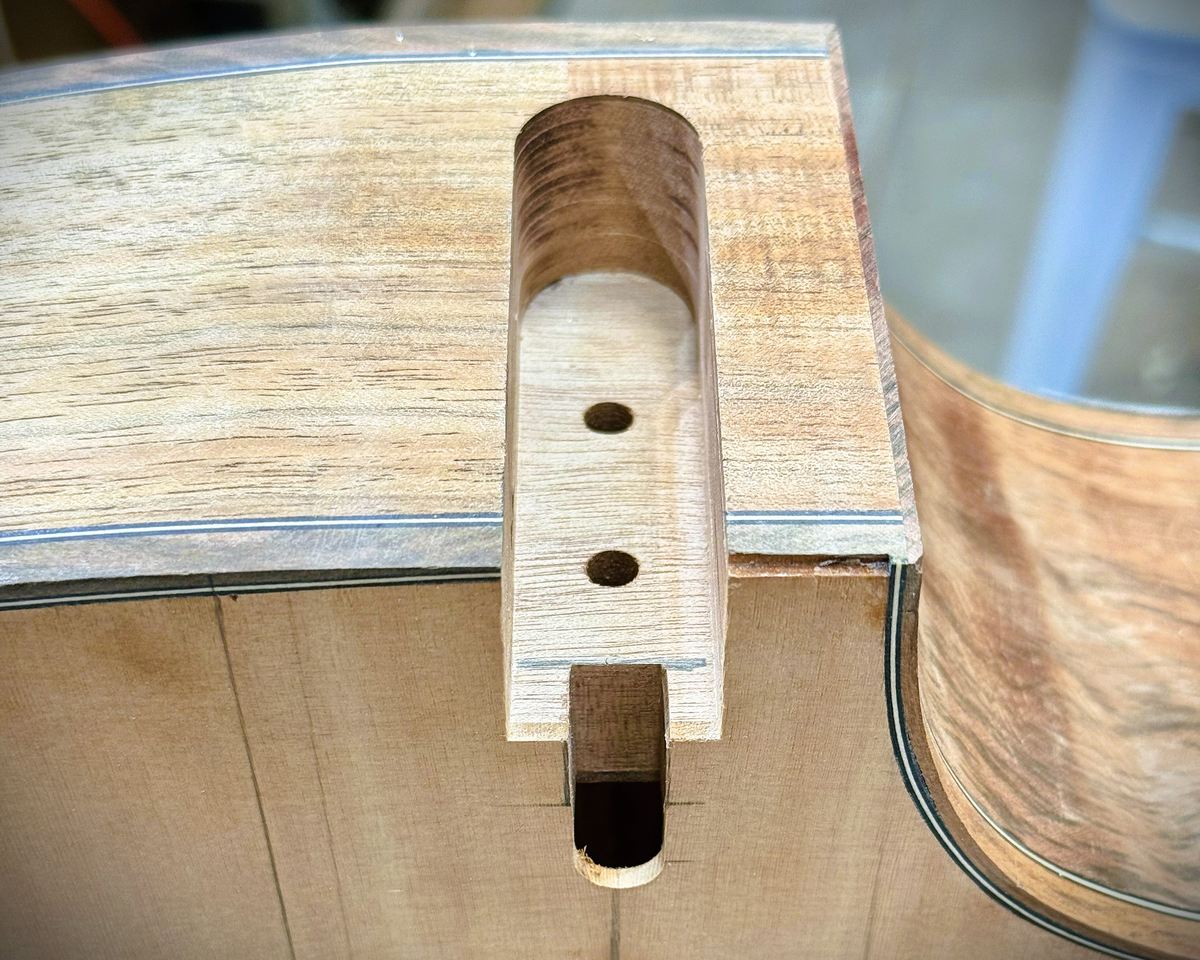
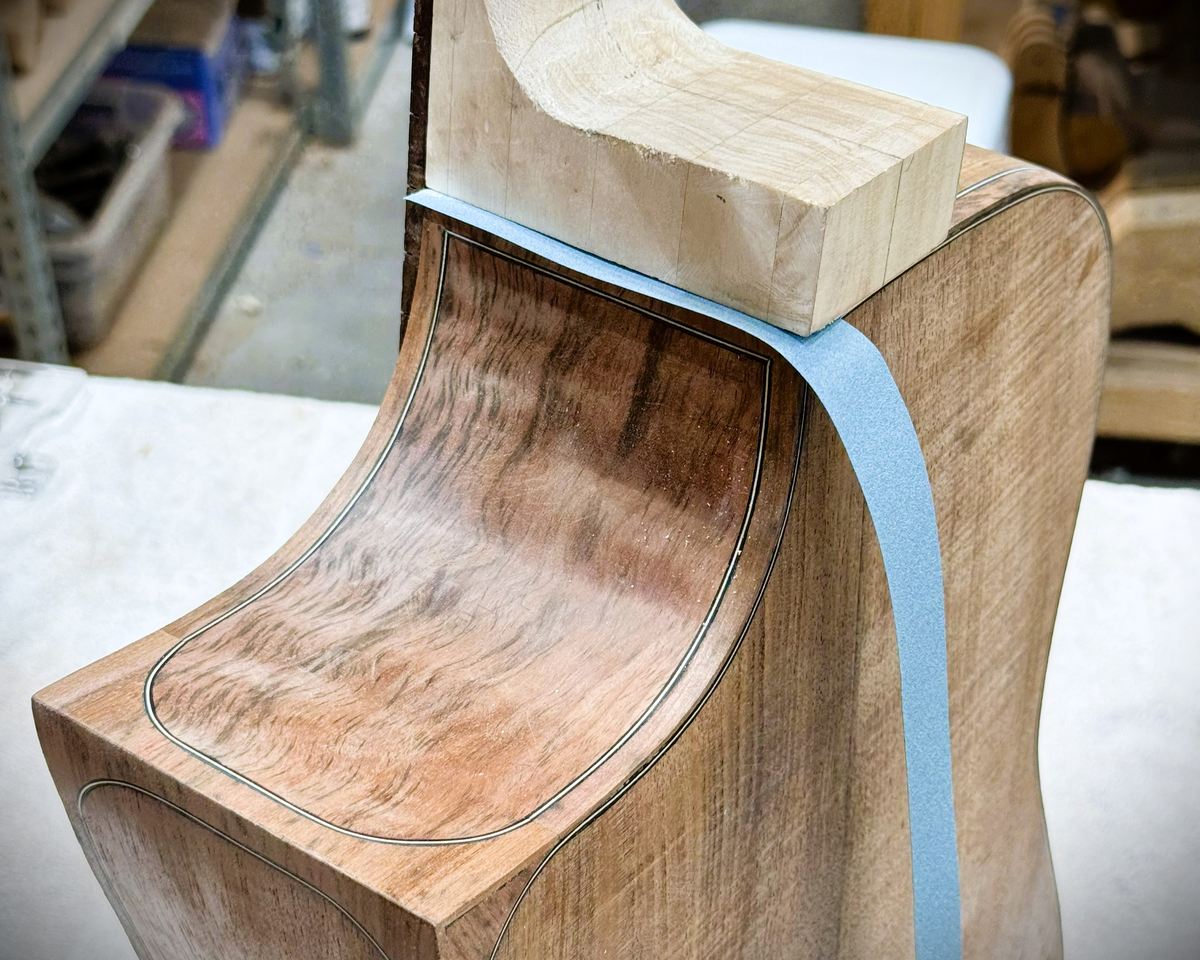
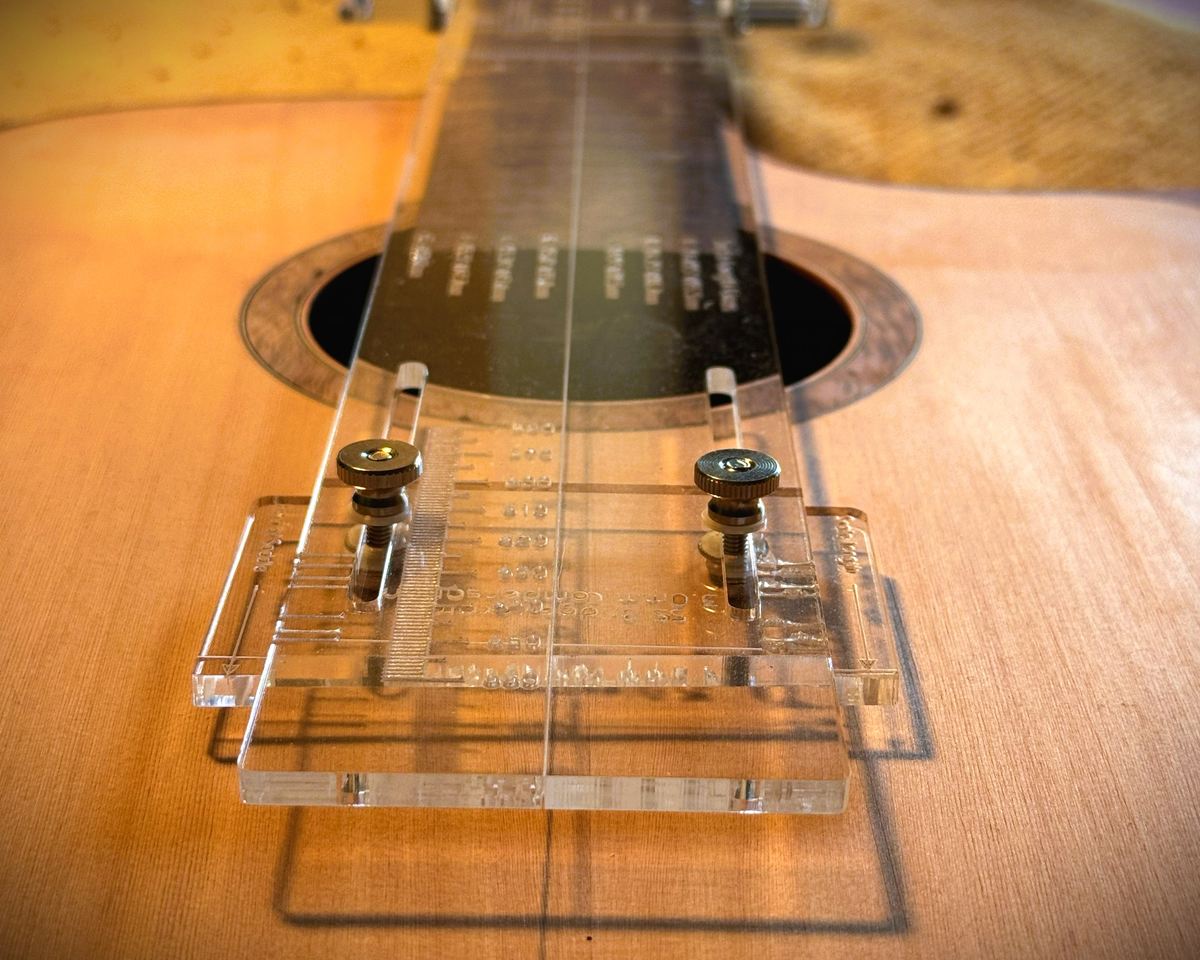
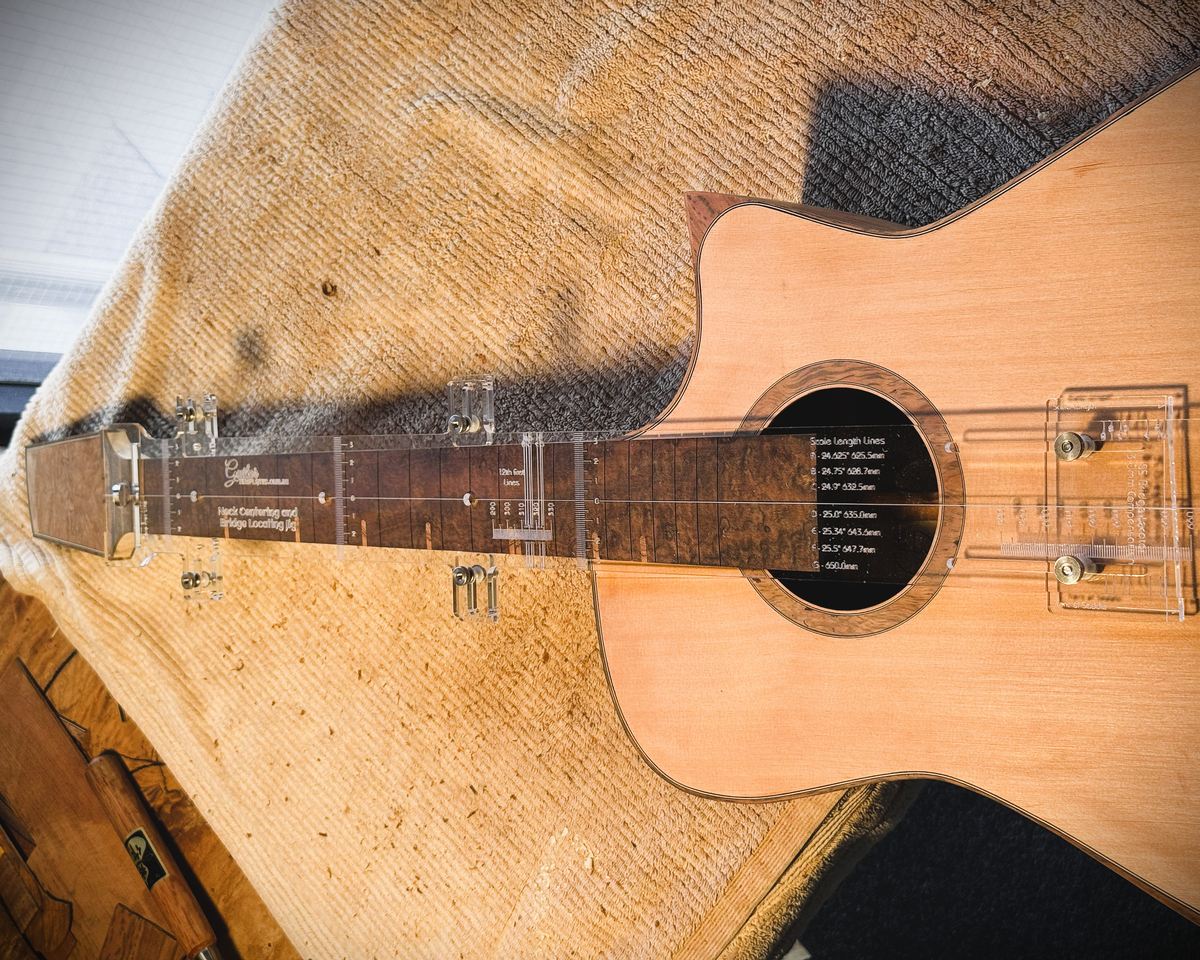
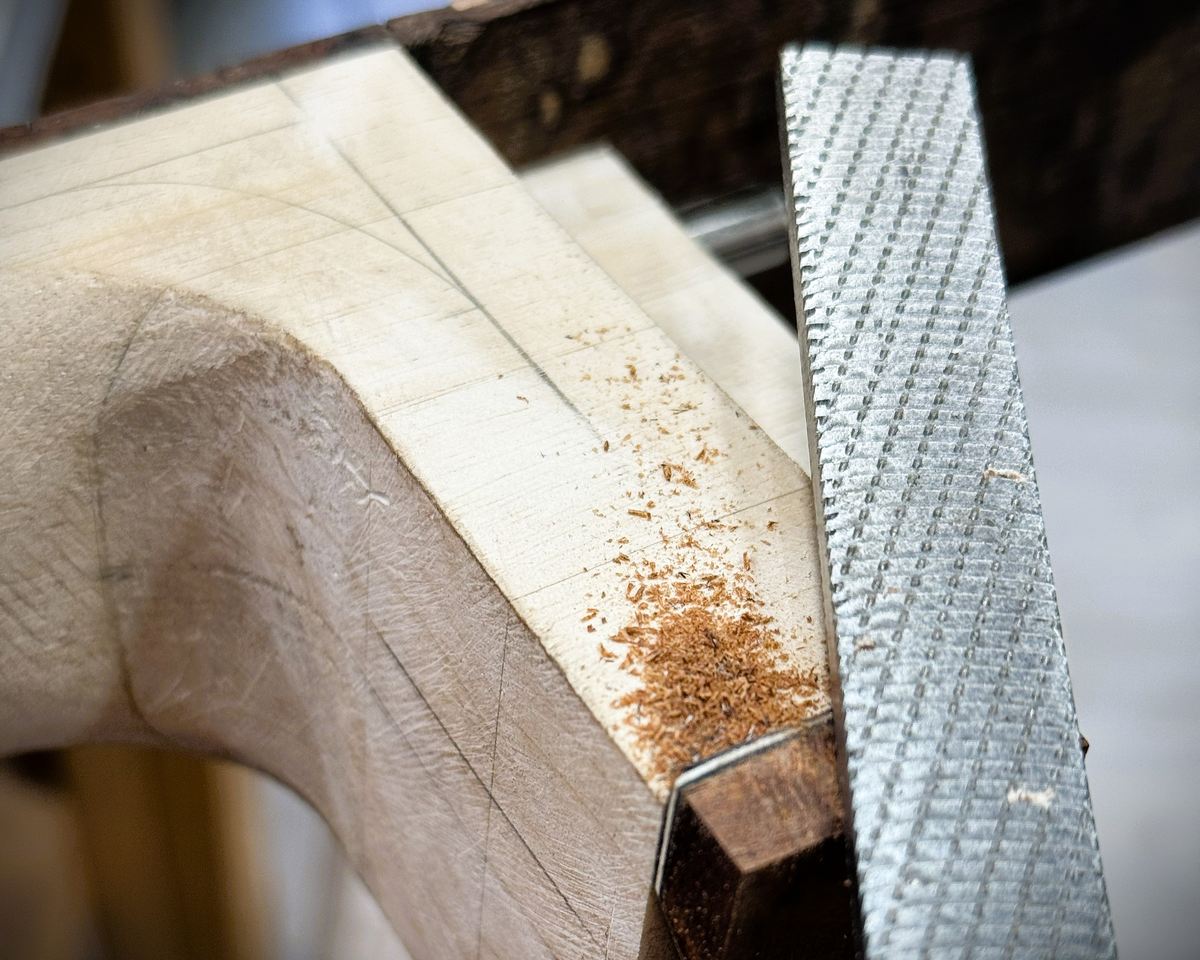
The neck is fitted to the body before anything is finished. The heel is pared back in small cuts until it sits against the rim with no gap anywhere along the joint, and the centreline of the fingerboard is checked against the centre of the soundhole and the bridge position. A long straightedge laid along the fingerboard has to land at the top of the saddle, which is what sets the action once the instrument is strung, so the angle is corrected on the heel a shaving at a time and checked again.

14

Installing the machine heads

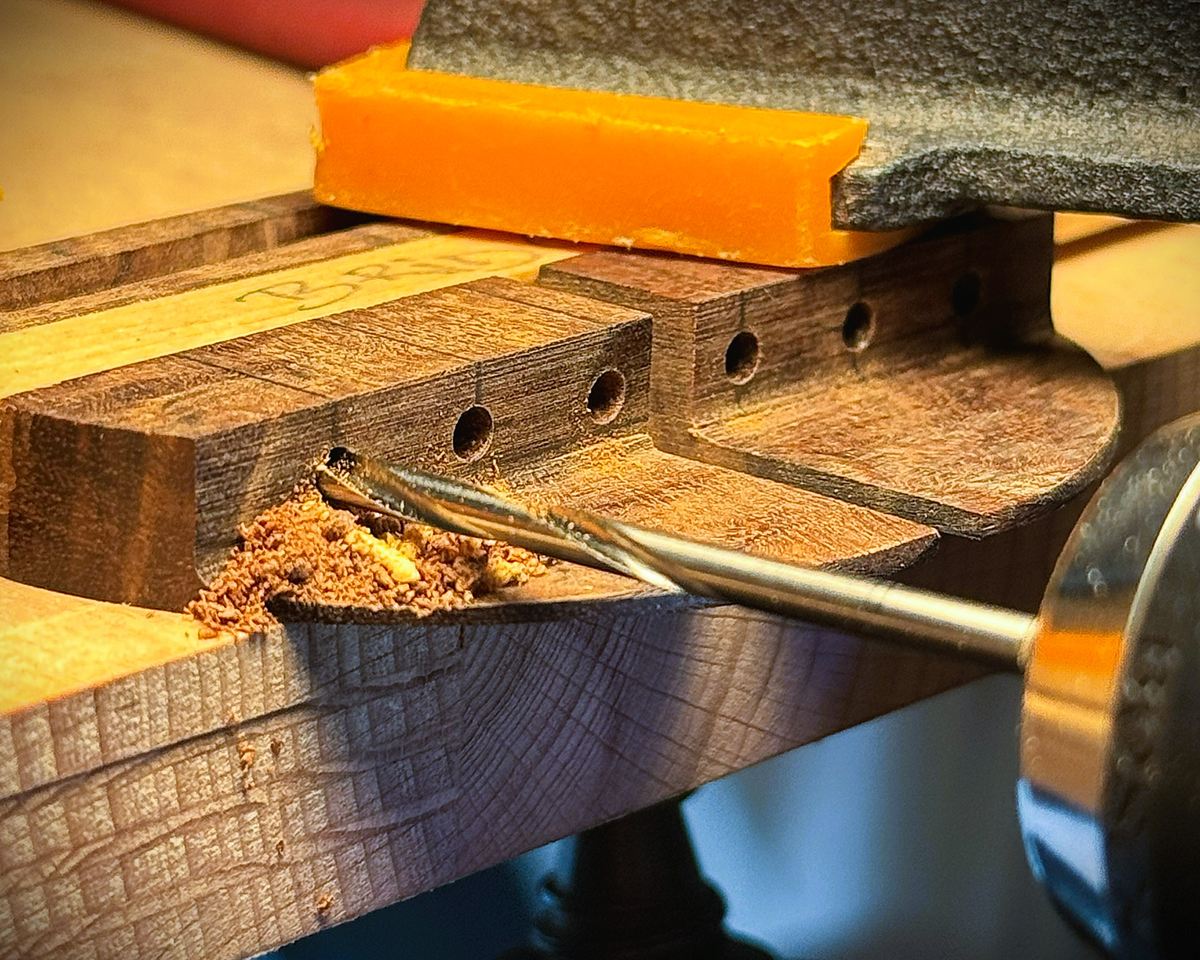
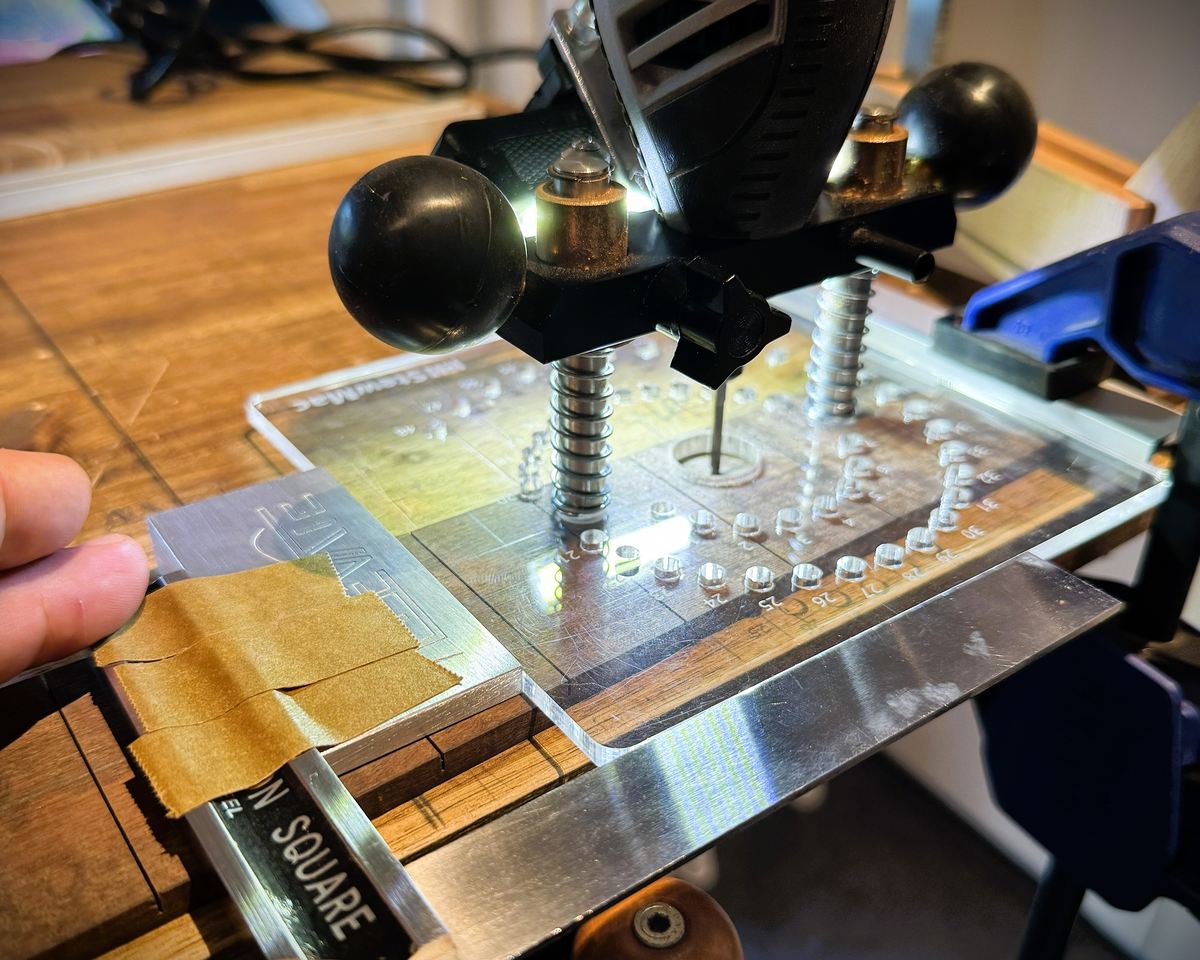
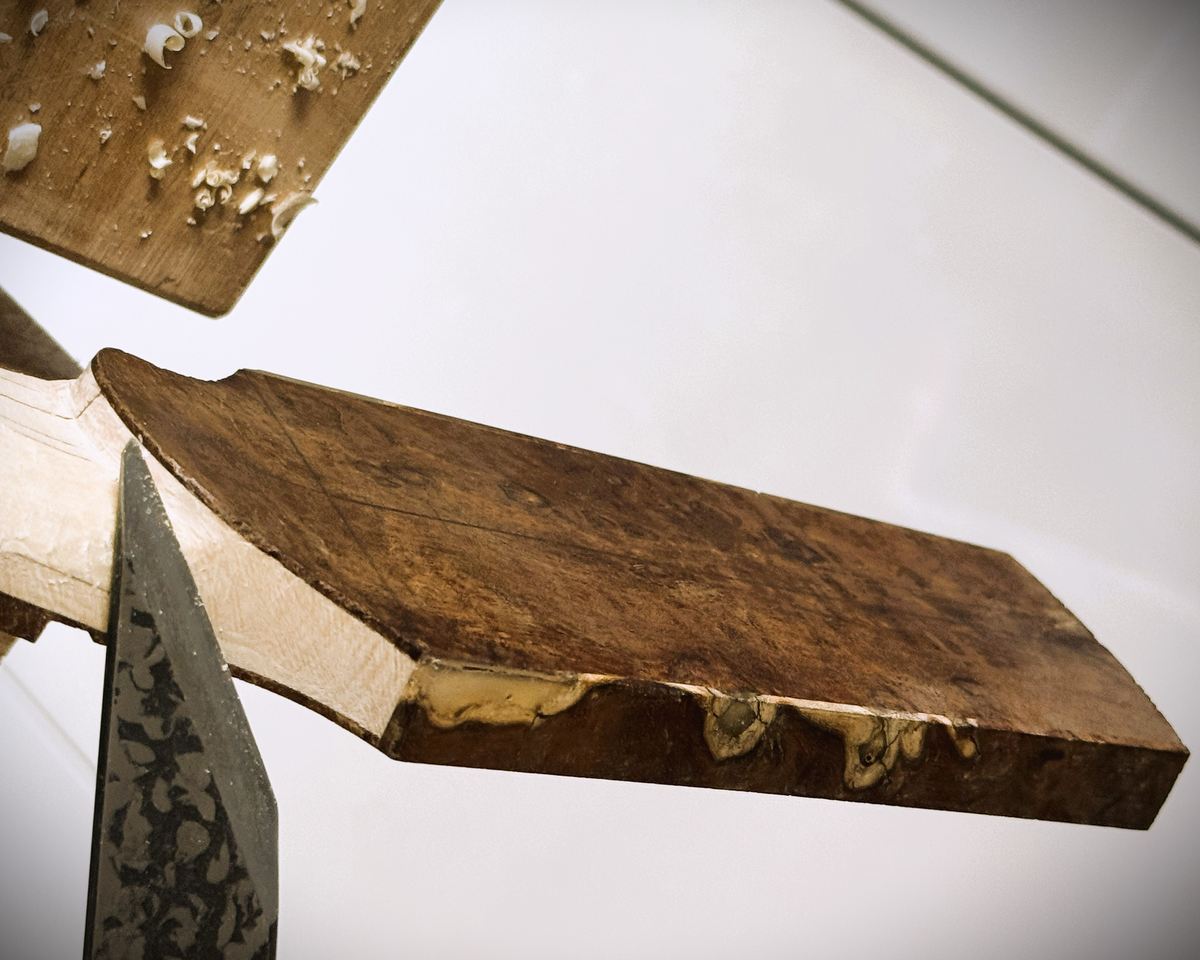
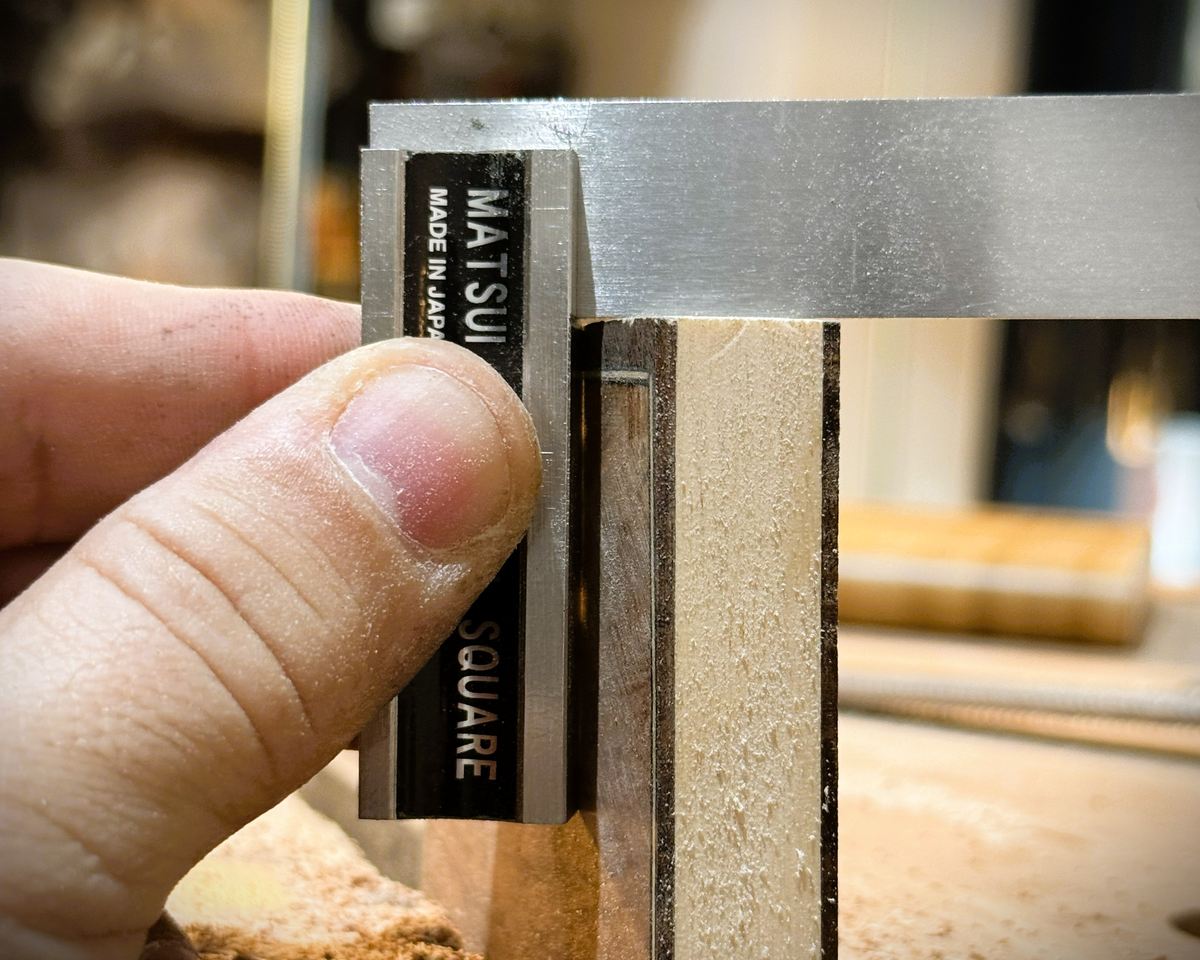
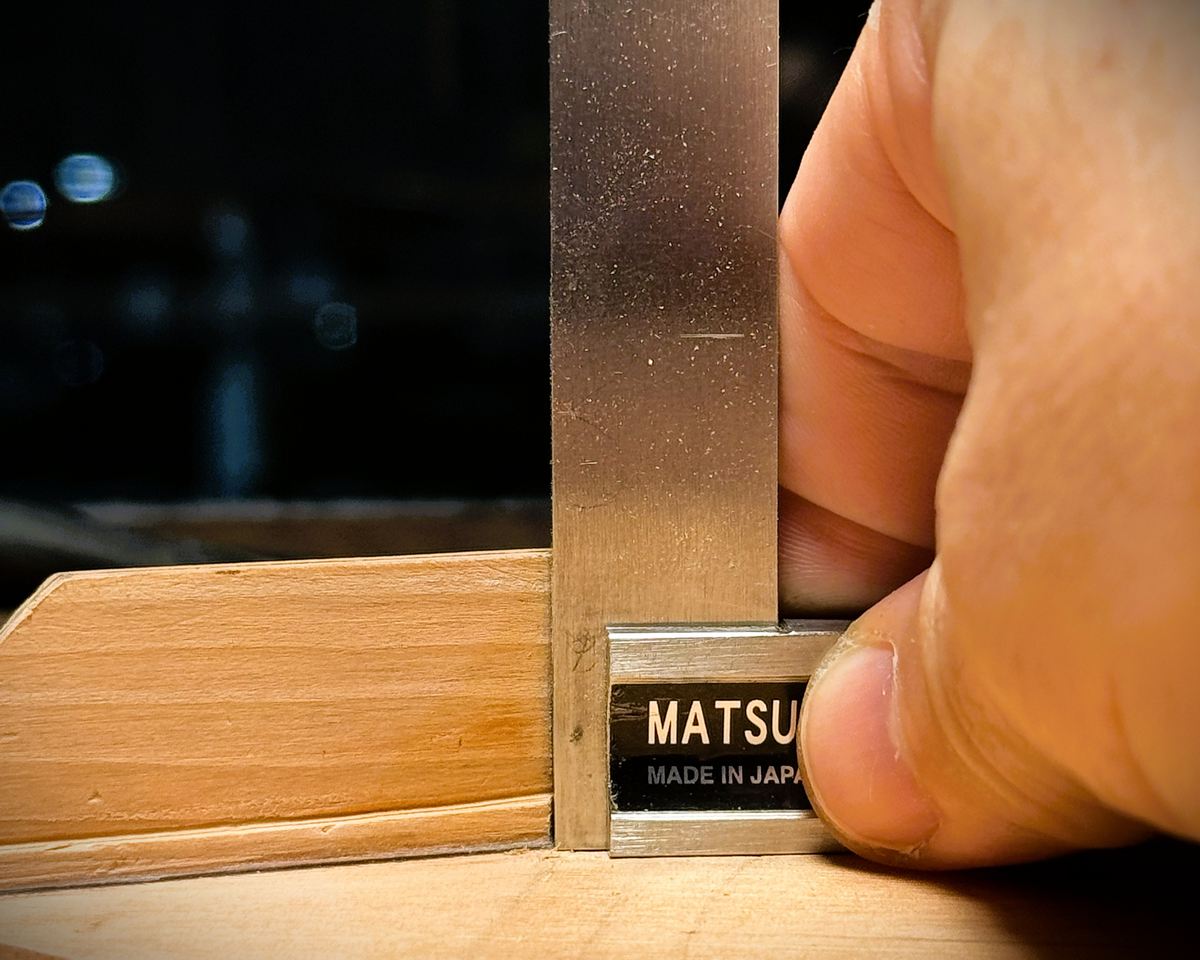
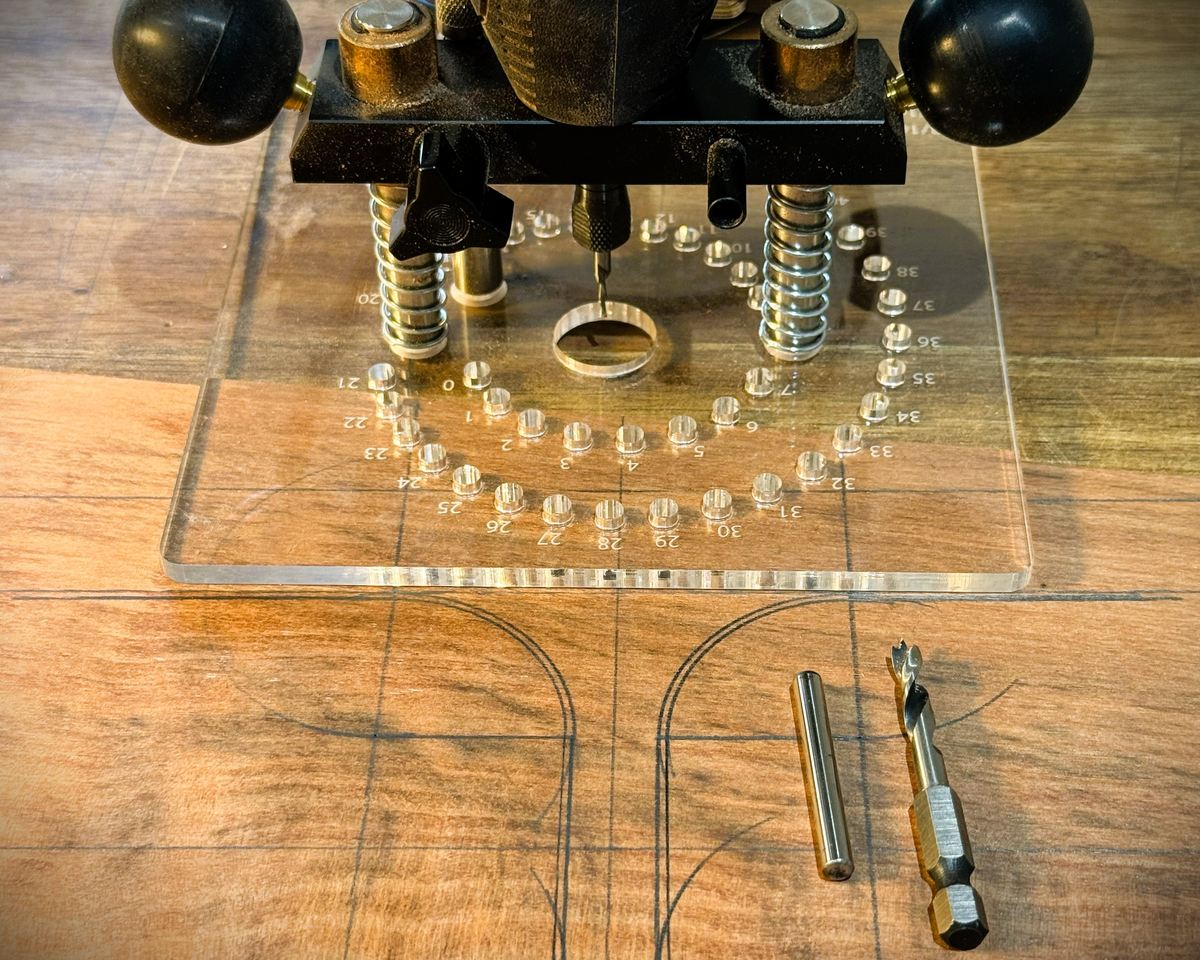
The tuner holes are drilled through the head plate on the drill press, backed underneath with a scrap block so the bit cannot tear out the Gidgee backstrap as it breaks through. Each hole is then countersunk to seat the press-in bushing flush with the face, the bushings are pressed home, and the six Schaller GrandTune tuners are set on the back and screwed down. Their alignment is squared off the edge of the head plate rather than by eye.

15

Polishing

The instrument is french polished. Shellac is dissolved in ethanol and carried by a rubber, a wad of cotton wrapped in linen, worked over the surface in small circles with a trace of oil as a lubricant. The finish is built up over many sessions in coats thin enough to dry almost as they are laid down, each one bodying the surface a little more, and the last passes spirit off the oil to leave the film clear. It is a slow method and a repairable one, and it stays thin enough to leave the timber audibly and visibly open.

16

Setting up and finishing

The bridge is located off the scale length, clamped and glued to the soundboard, and the saddle and nut are cut and dressed to height. Then the setup: action, relief, intonation and the first hour of playing it in. The NFC chip is fitted and configured against the instrument record, the passport is checked against the finished guitar, and a final coat of carnauba wax goes on. At that point the build is done.

The tools

Hand work, precision made

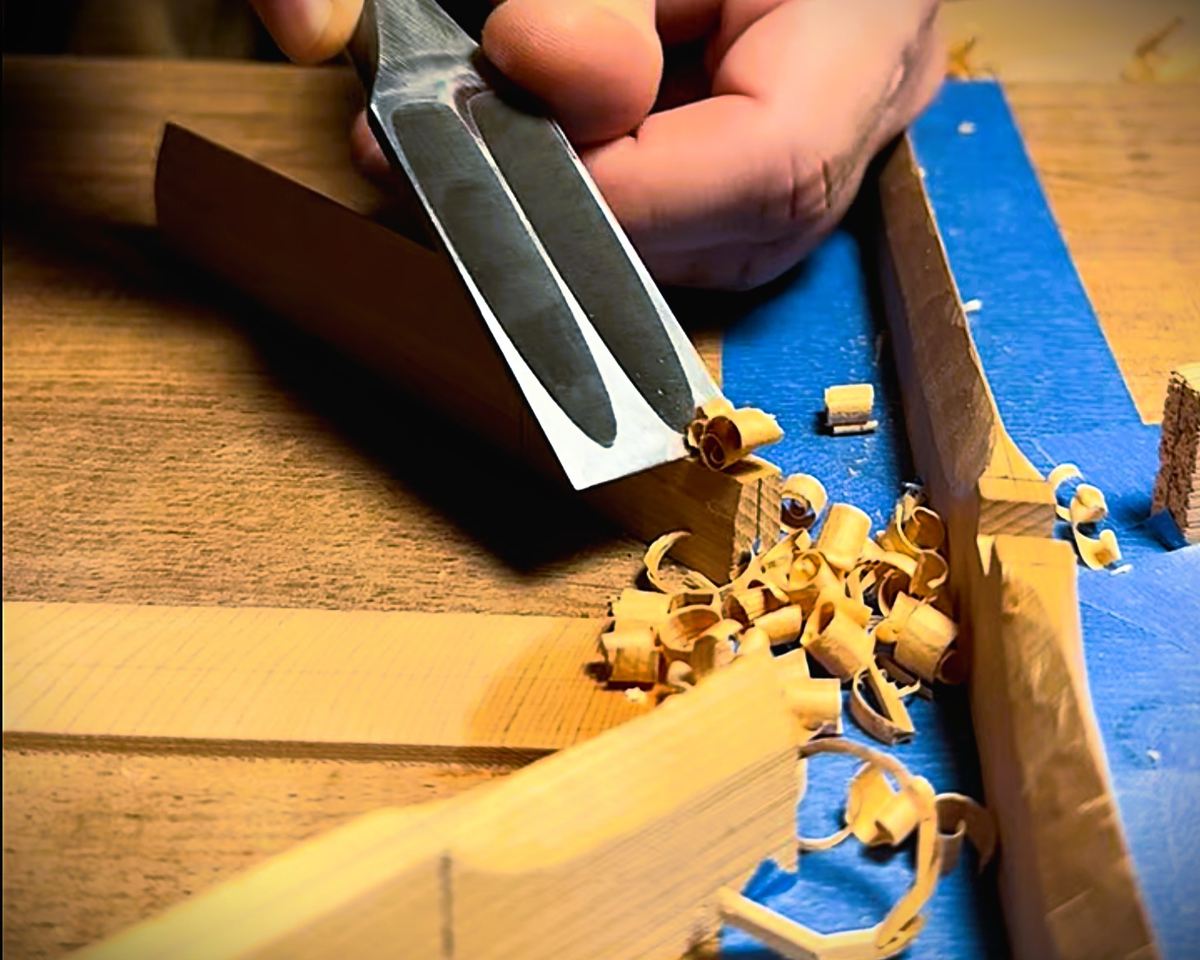
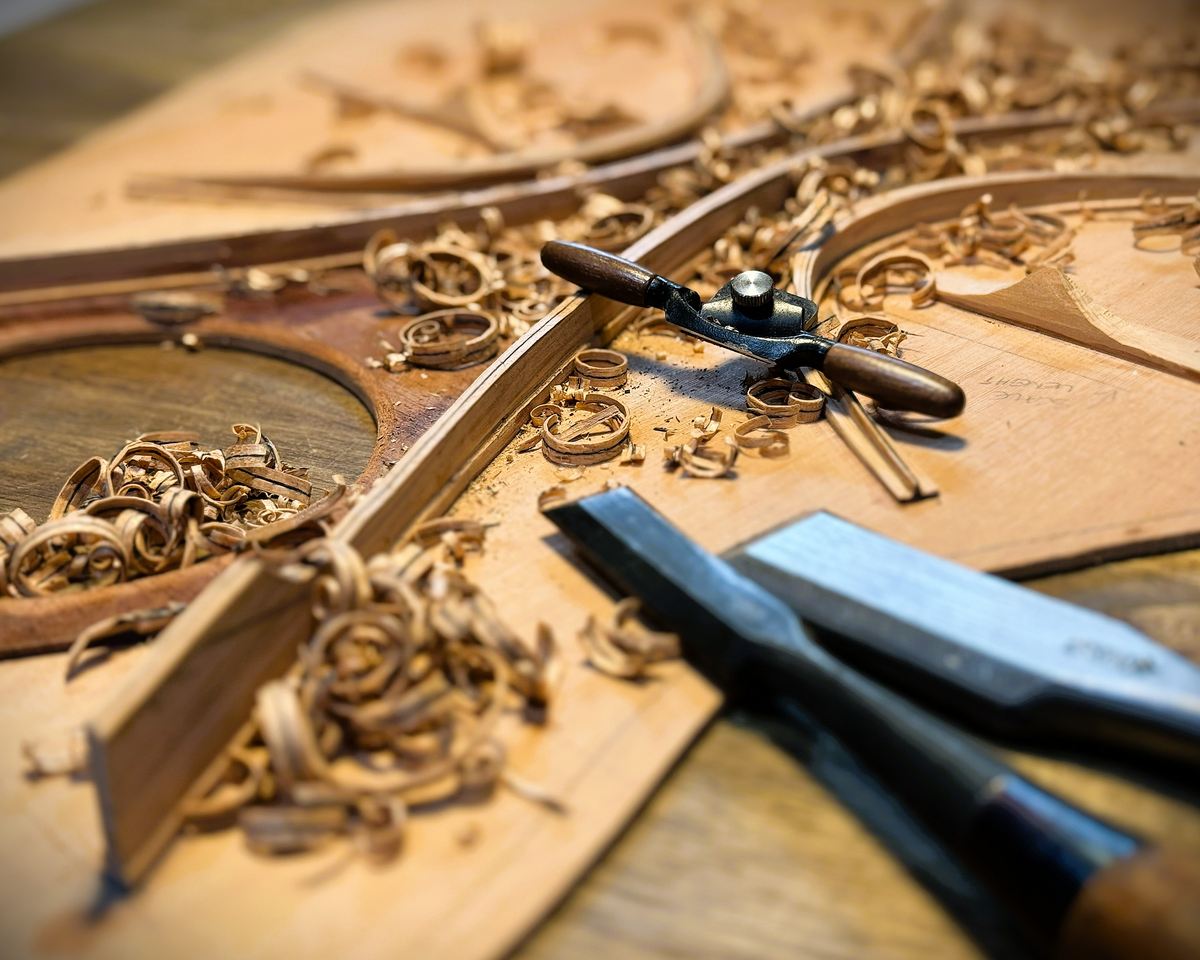
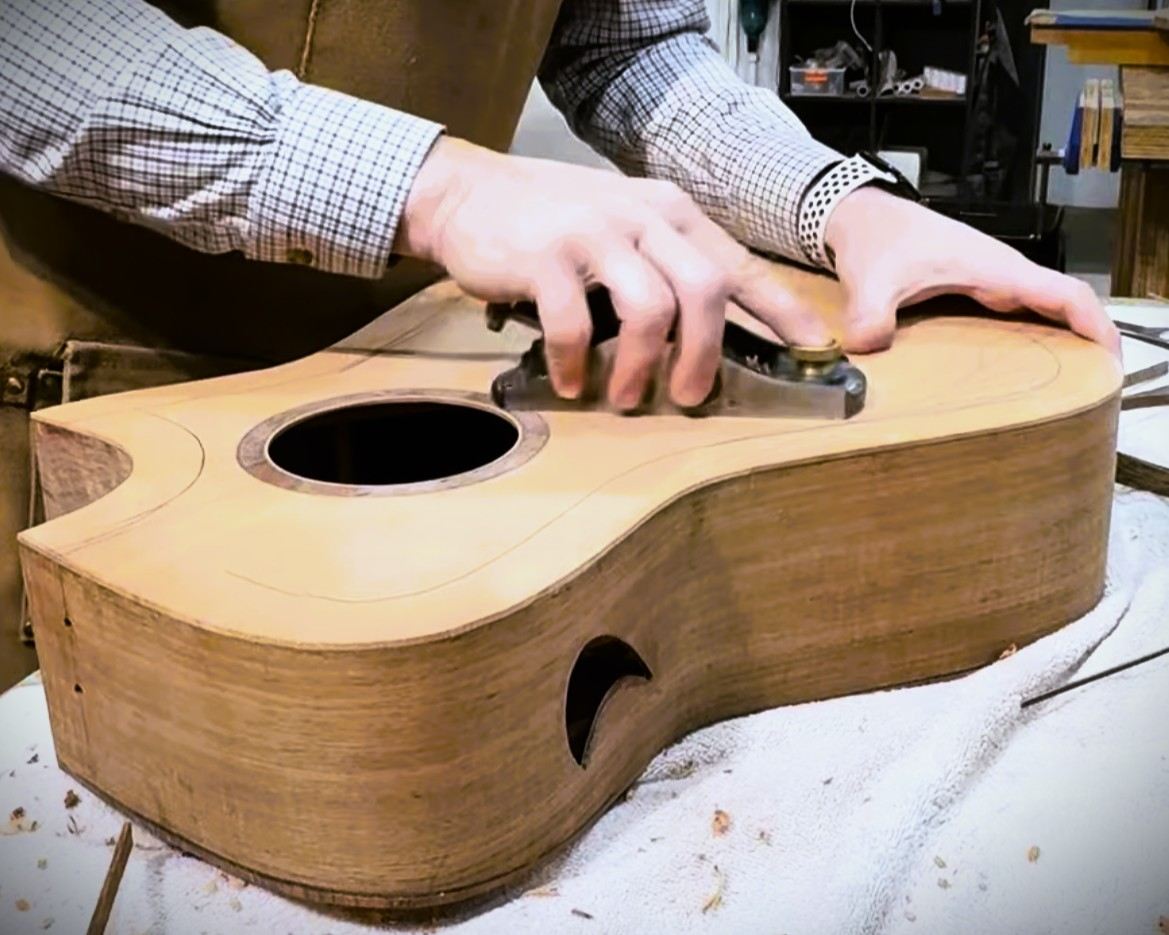
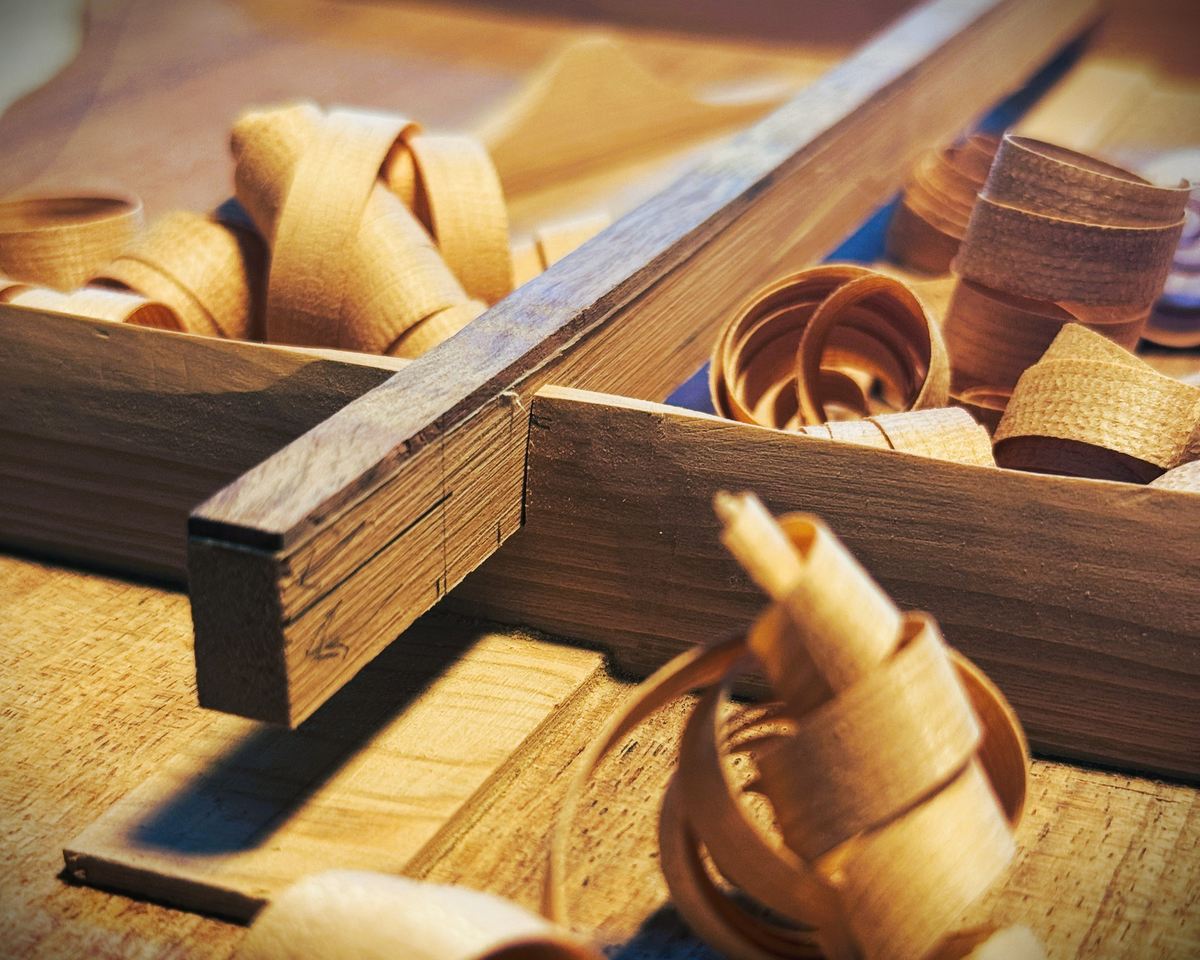
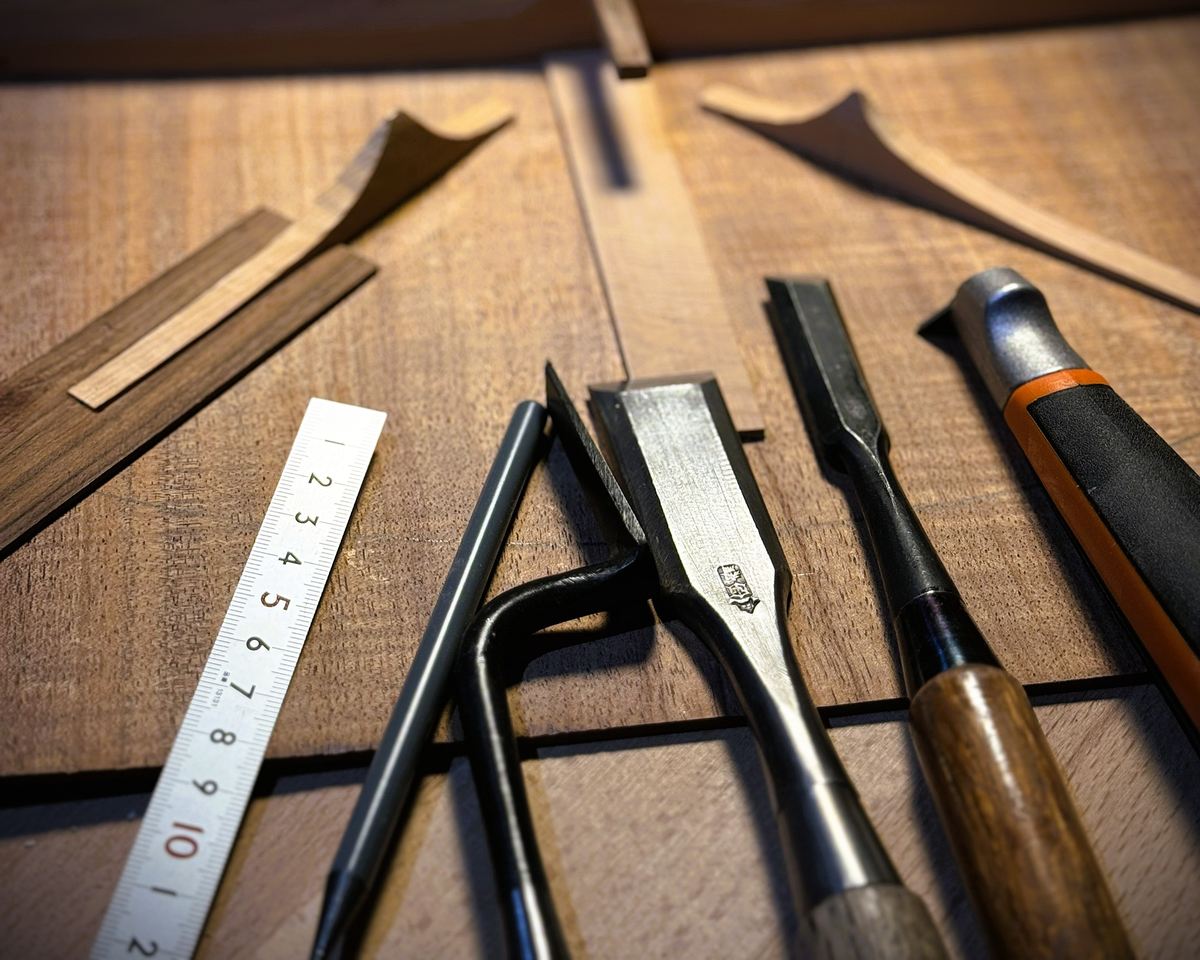
Almost everything on this instrument is cut, pared and levelled by hand, and that only works if the tools themselves are accurate. Hand work is not a licence for approximation. A chisel that will not hold its edge, or a plane whose sole is not flat, puts its own error into the timber, and every error has to be corrected somewhere further down the build.

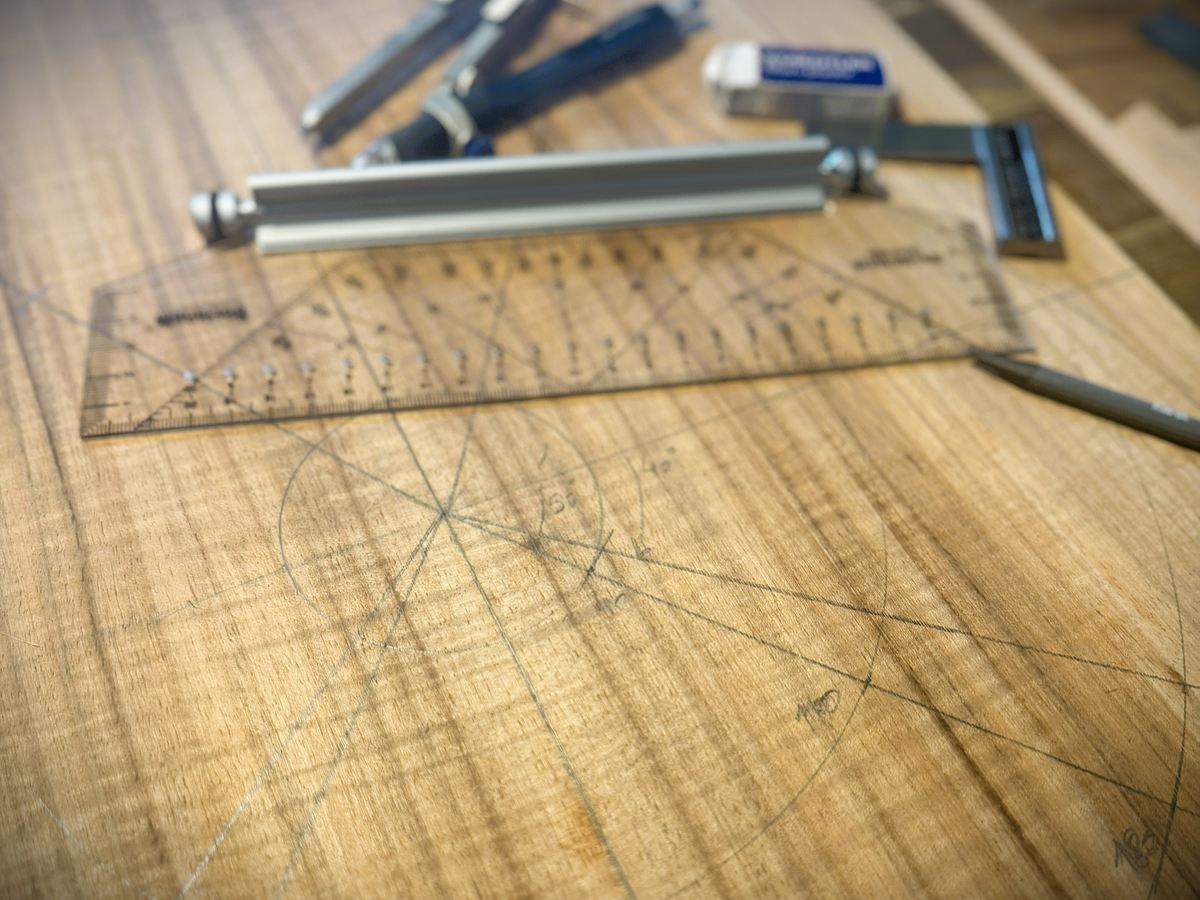
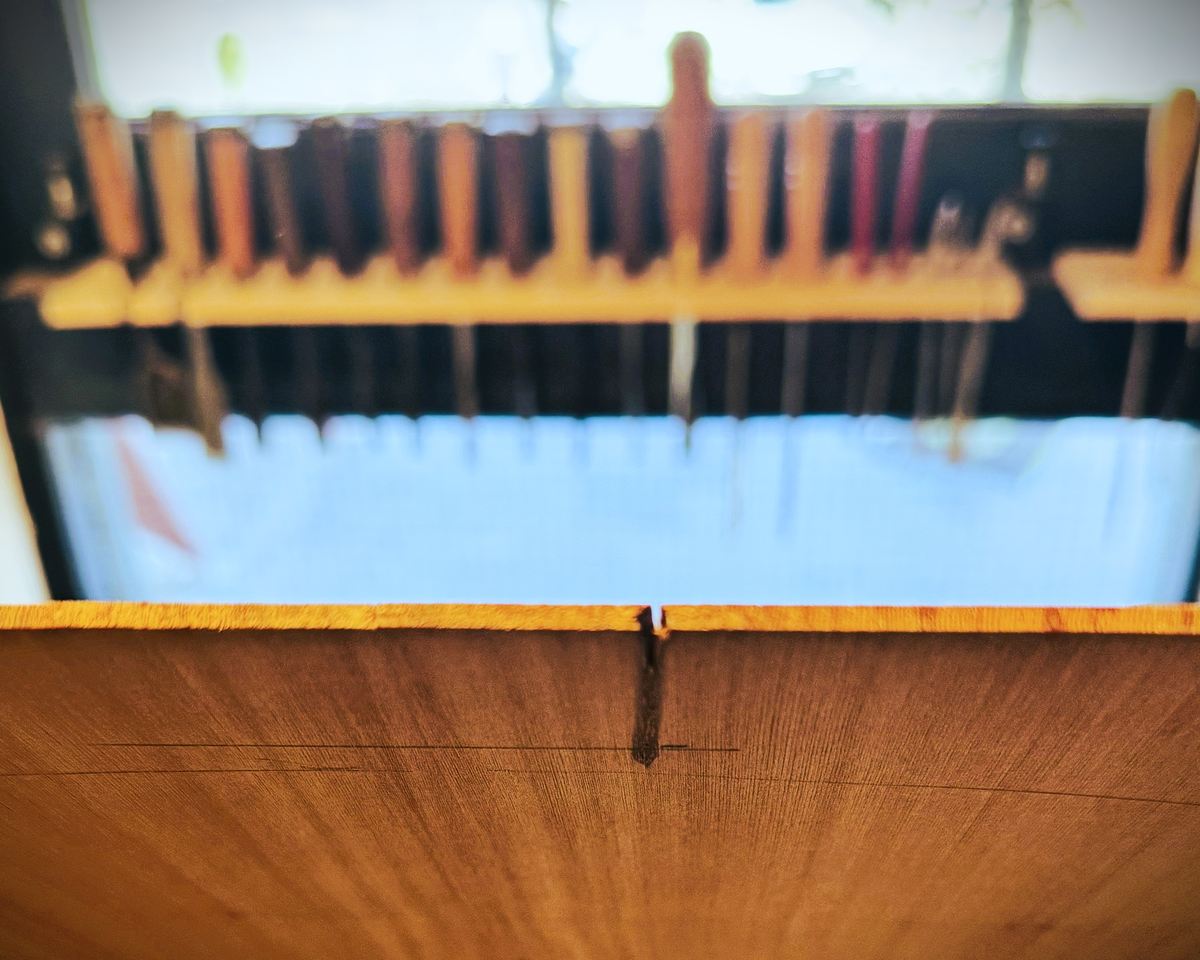
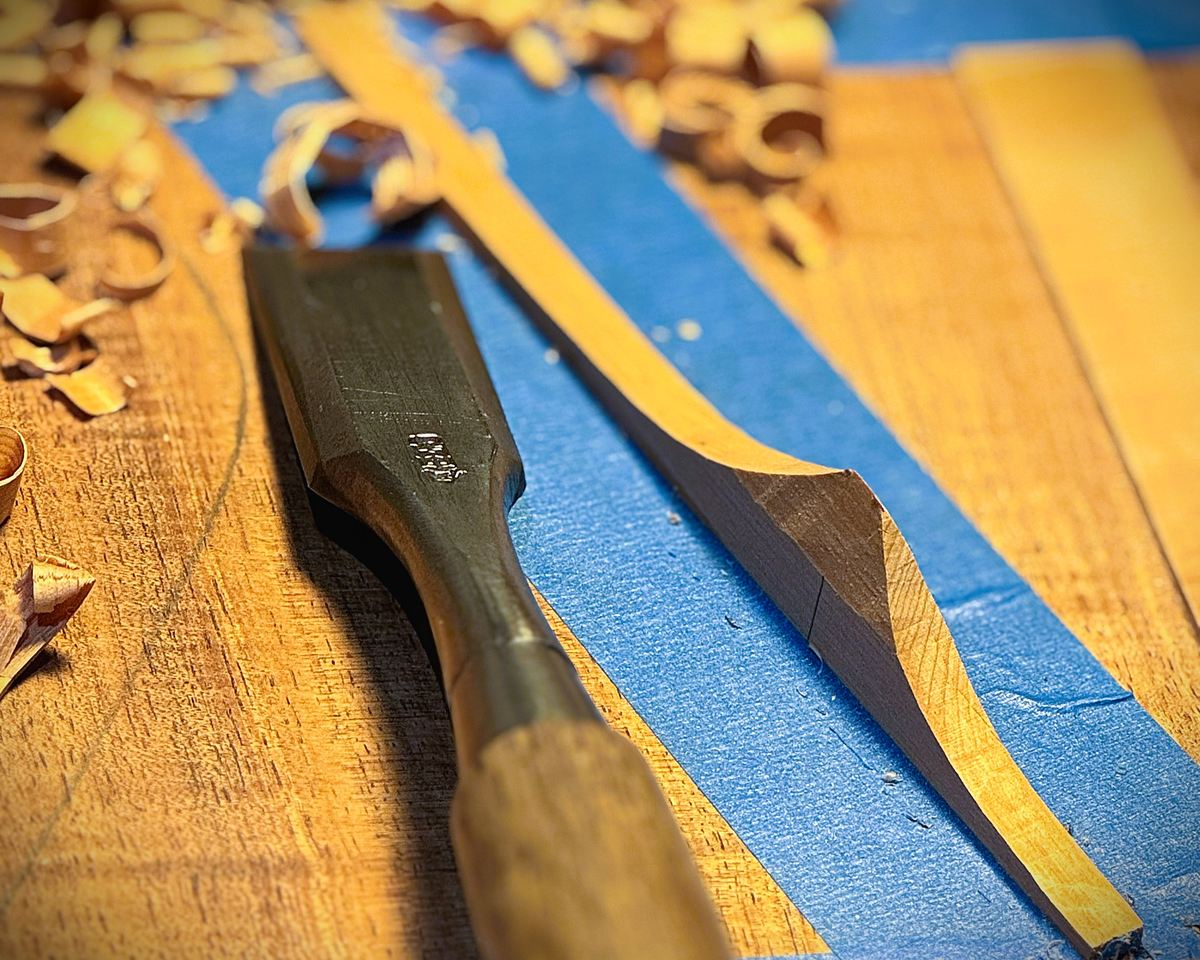
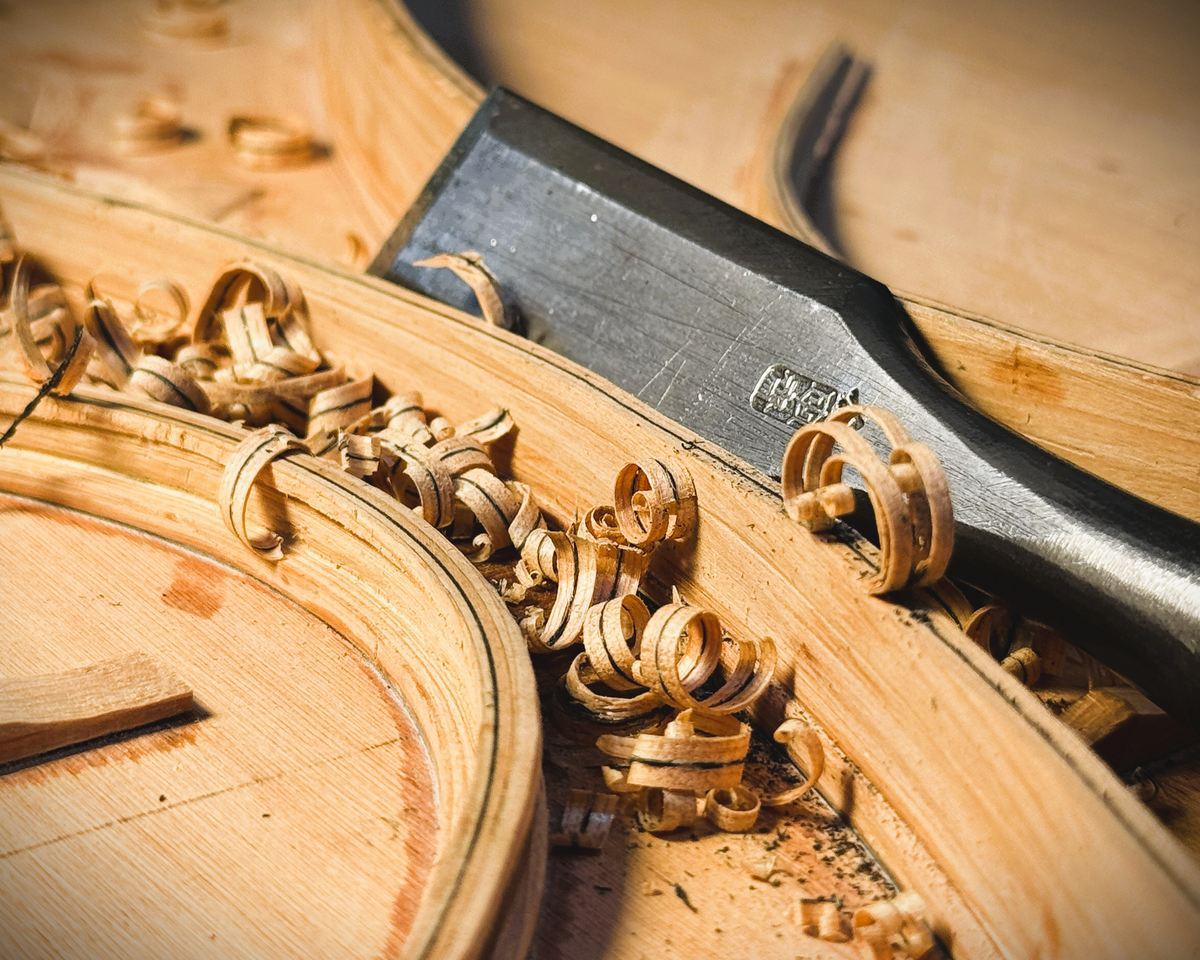
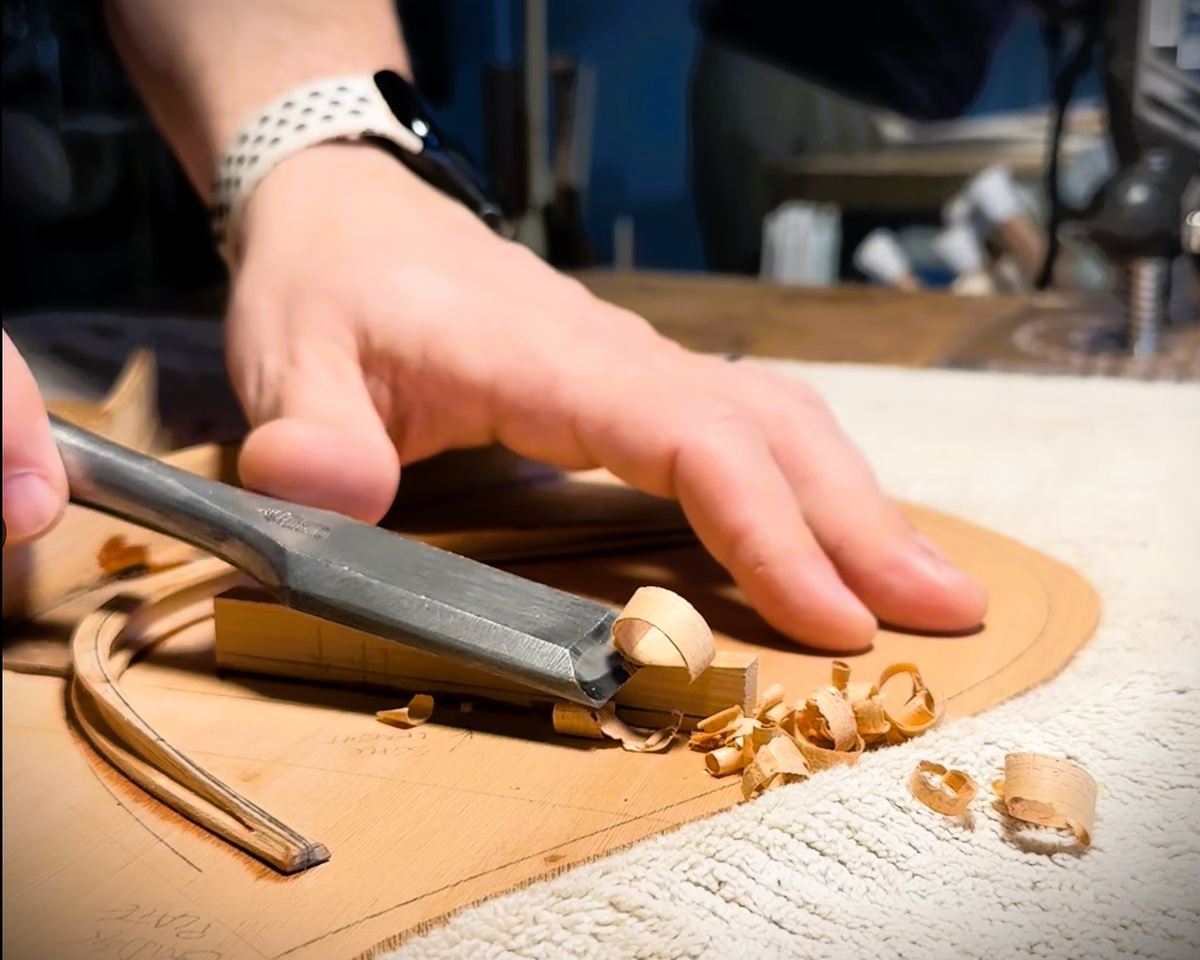
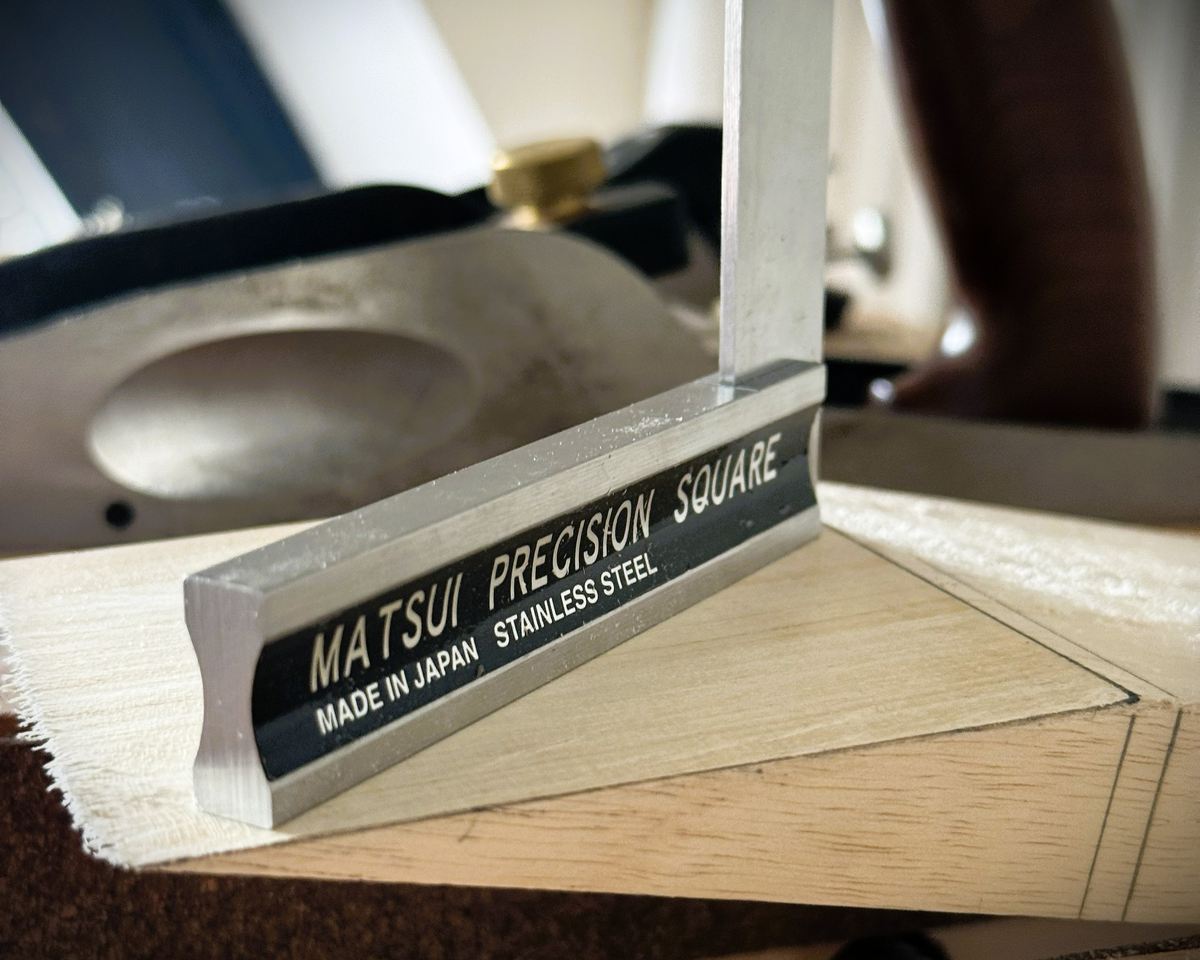
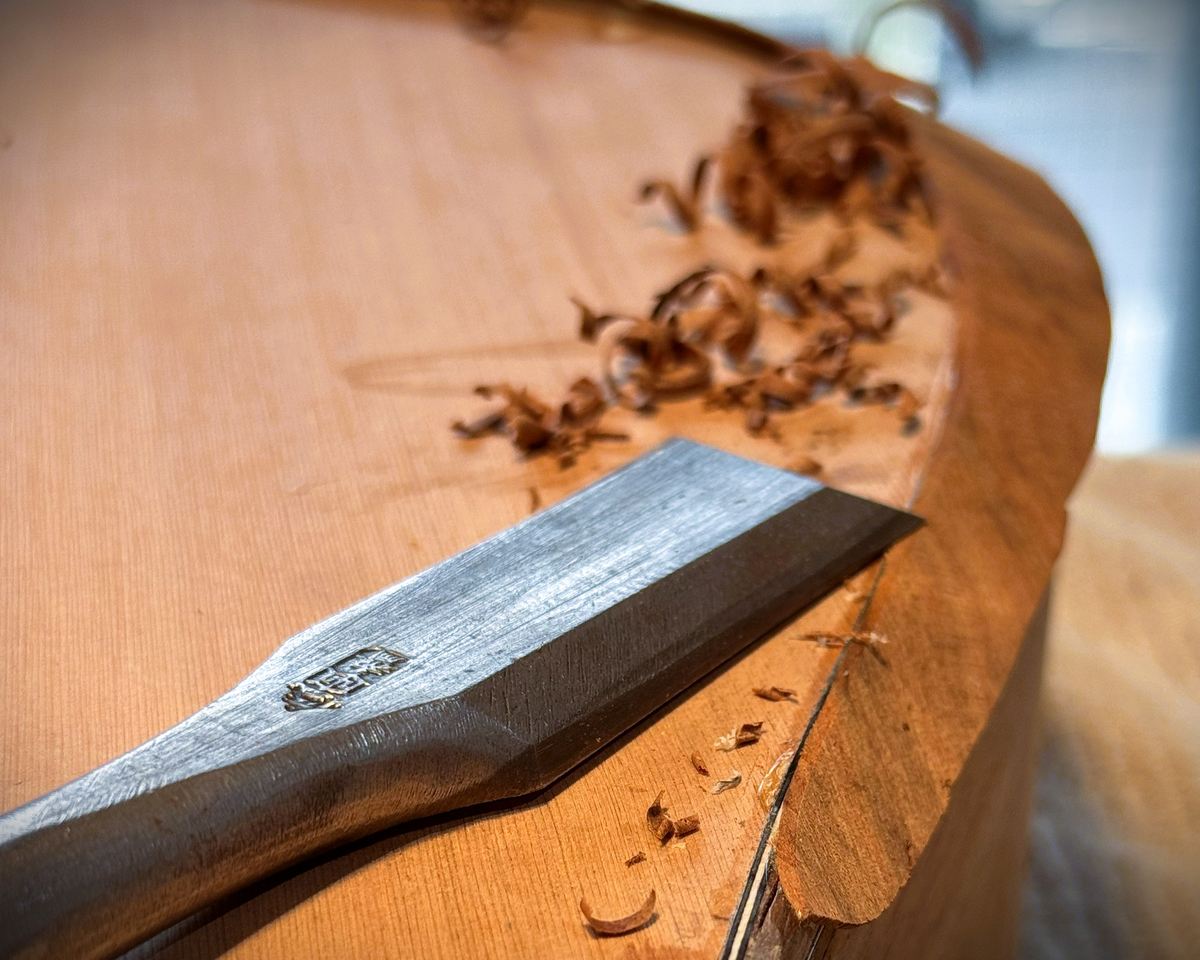
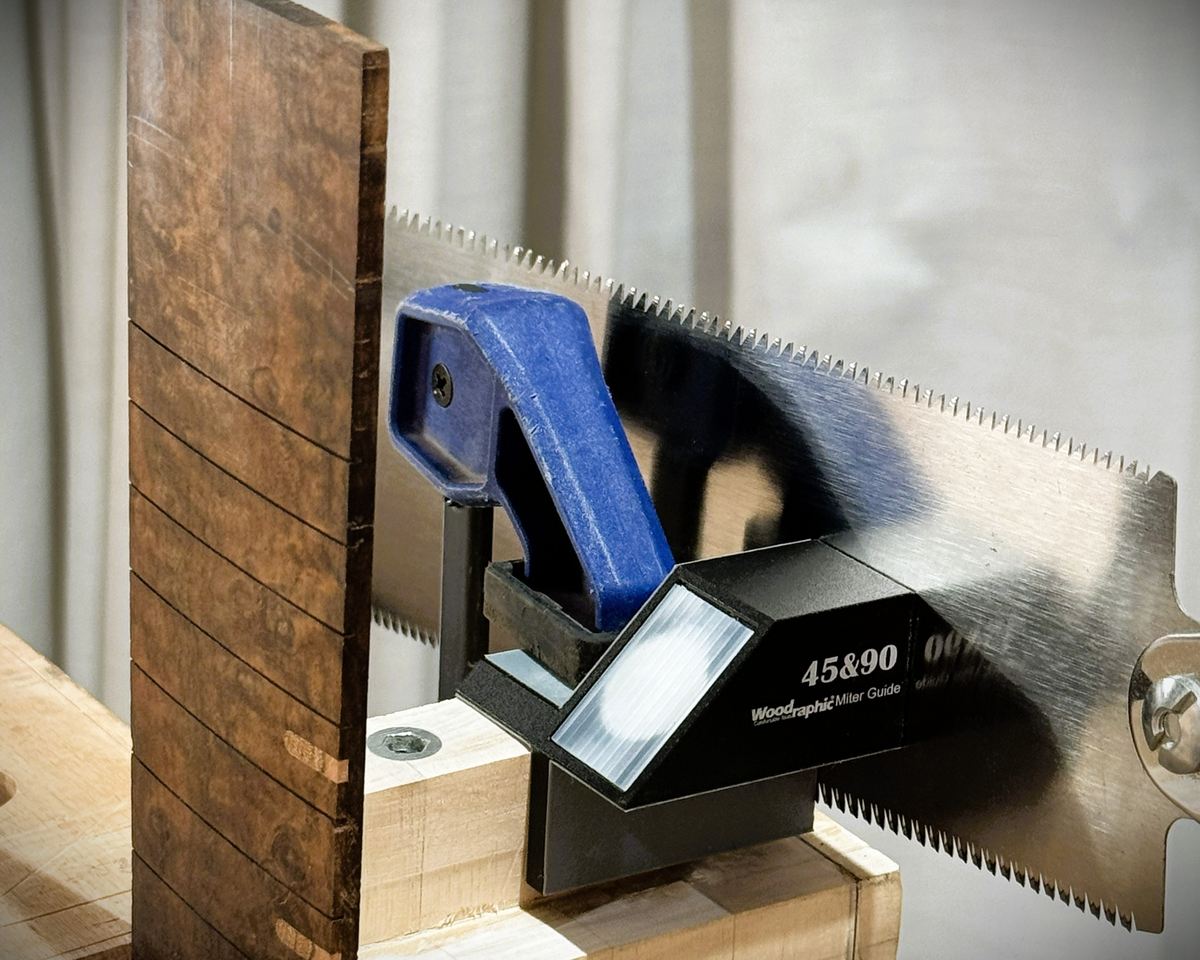
So the bench is stocked accordingly, and most of what is on it is precision engineered rather than merely traditional. The edge tools are largely Japanese: chisels and saws in laminated hard steel that take a very fine edge and hold it through dense Gidgee and figured Blackwood, and pull saws thin enough to leave a kerf worth having. The planes come from Canada, machined to tolerances that used to belong to machine tools rather than to hand tools, with soles ground flat and adjusters fine enough to set a shaving by feel. Measurement, layout and the small powered work are mostly German, where the standard is held on the dial rather than by eye. The build fixtures, for fret slotting, radiusing and setup, come largely from the American makers who supply the lutherie trade.

None of it makes the instrument on its own. What a good tool does is remove a variable. What is left is the judgement of how far to go, and that stays with the hand.